background image

Clearing Jammed Paper (4/8)

EPSON AcuLaser C7000 Quick Reference

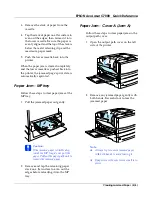
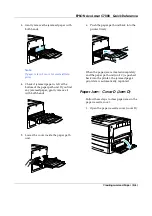
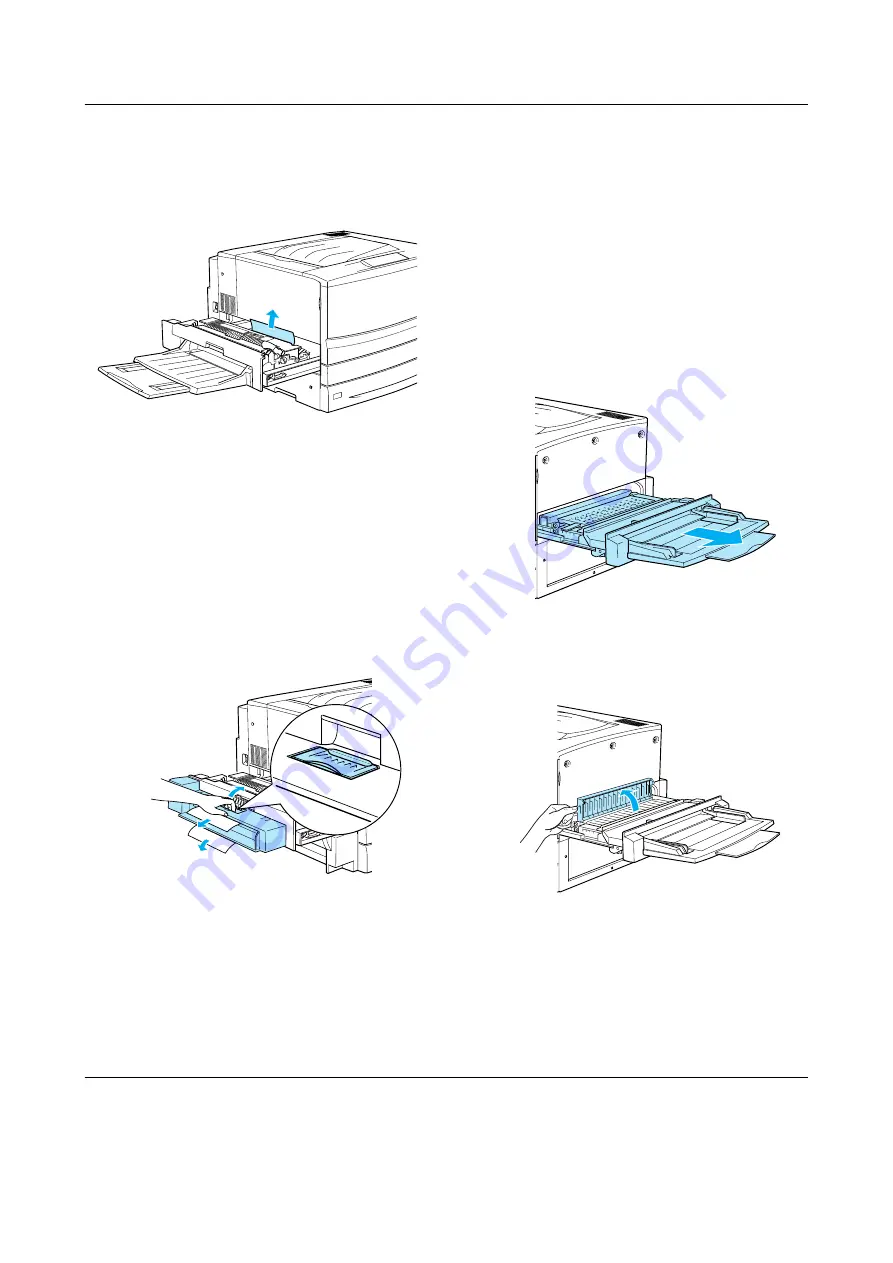
4. Gently remove the jammed paper with 

both hands. Be careful not to tear the 
jammed paper.

Note:

Be sure to remove the jammed paper by 
pulling it upward.

If paper is torn, be sure to remove all torn 
pieces.

If the Duplex Unit is attached, follow the 
next step. If you see the paper remains 
but cannot remove it, open the cover and 
remove the paper as shown below.

5. Make sure that jammed paper is not 

remains inside the fuser unit.

6. Push the fuser unit back into the printer 

firmly.

When the paper jam is cleared completely 
and the fuser unit (unit B) is pushed back 
into the printer, the jammed page’s print 
data is automatically reprinted.

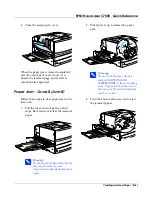
Paper Jam - Unit C (Jam C)

Follow these steps to clear paper jams in the 
paper path unit.

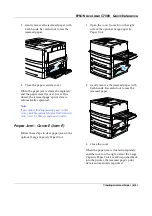
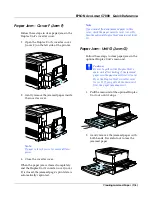
1. Pull the paper path unit out until it stops.

2. Lift the cover inside the paper path unit 

by its handle.

Summary of Contents for AcuLaser C7000

Page 1: ...bout the printer check the EPSON Status Monitor 3 utility Printer is warming up receiving data or adjusting for printing ready light error light A consumable product is almost used up Check the alert message on the EPSON Status Monitor 3 utility and replace the consumable with a new one There is an error that can be easily remedied Check the alert message on the EPSON Status Monitor 3 utility for ...

Page 2: ...ion contact your dealer w Warning Be careful not to touch the fuser which is marked CAUTION HIGH TEMPERATURE or the surrounding areas If the printer has been in use the fuser and the surrounding areas may be very hot Do not insert your hand deep into the fuser unit unit B as some components are sharp and may cause injury Paper Jam the Lower Cassette This section describes how to clear paper jams f...

Page 3: ...d Paper Jam MP tray Follow these steps to clear paper jams at the MP tray 1 Pull the jammed paper out gently c Caution If the jammed paper is visible deep inside the MP tray do not pull the paper Pull out the paper path unit to remove the jammed paper 2 Remove and tap the remaining paper stack on a flat surface to even out the edges before reloading it into the MP tray Paper Jam Cover A Jam A Foll...

Page 4: ...e fuser unit 1 Pull the fuser unit out gently until it stops Be careful not to tear the jammed paper w Warning Do not insert your hand deep into the fuser unit unit B as some components are sharp and may cause injury 2 Pull the lever up to release the paper path w Warning Do not touch the fuser which is marked CAUTION HIGH TEMPERATURE or the surrounding areas If the printer has been in use the fus...

Page 5: ...mains but cannot remove it open the cover and remove the paper as shown below 5 Make sure that jammed paper is not remains inside the fuser unit 6 Push the fuser unit back into the printer firmly When the paper jam is cleared completely and the fuser unit unit B is pushed back into the printer the jammed page s print data is automatically reprinted Paper Jam Unit C Jam C Follow these steps to clea...

Page 6: ...ind any jammed paper gently remove it with both hands 5 Lower the cover inside the paper path unit 6 Push the paper path unit back into the printer firmly When the paper jam is cleared completely and the paper path unit unit C is pushed back into the printer the jammed page s print data is automatically reprinted Paper Jam Cover D Jam D Follow these steps to clear paper jams in the paper cassette ...

Page 7: ...over check the optional Duplex Unit s inverter cover cover F then its main unit unit G Paper Jam Cover E Jam E Follow these steps to clear paper jams in the optional Large Capacity Paper Unit 1 Open the cover cover E on the right side of the optional Large Capacity Paper Unit 2 Gently remove the jammed paper with both hands Be careful not to tear the jammed paper 3 Close the cover When the paper j...

Page 8: ...ammed page s print data is automatically reprinted Note If you cannot find any jammed paper in this cover check the paper cassette cover cover D then the optional Duplex Unit s main unit unit G Paper Jam Unit G Jam G Follow these steps to clear paper jams in the optional Duplex Unit s main unit c Caution Be sure to pull out the Duplex Unit s main unit after checking if the jammed paper is in the p...

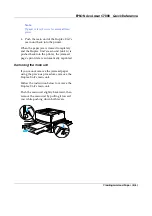
Page 9: ...nd the Duplex Unit s main unit unit G is pushed back into the printer the jammed page s print data is automatically reprinted Removing the main unit If you cannot remove the jammed paper using the previous procedures remove the Duplex Unit s main unit Follow the instruction below to remove the Duplex Unit s main unit Push the main unit slightly backward then remove the main unit by pulling it towa...

Reviews: