46
Printing from Start to Finish
Direct Printing from a Digital Camera or
Camera Phone
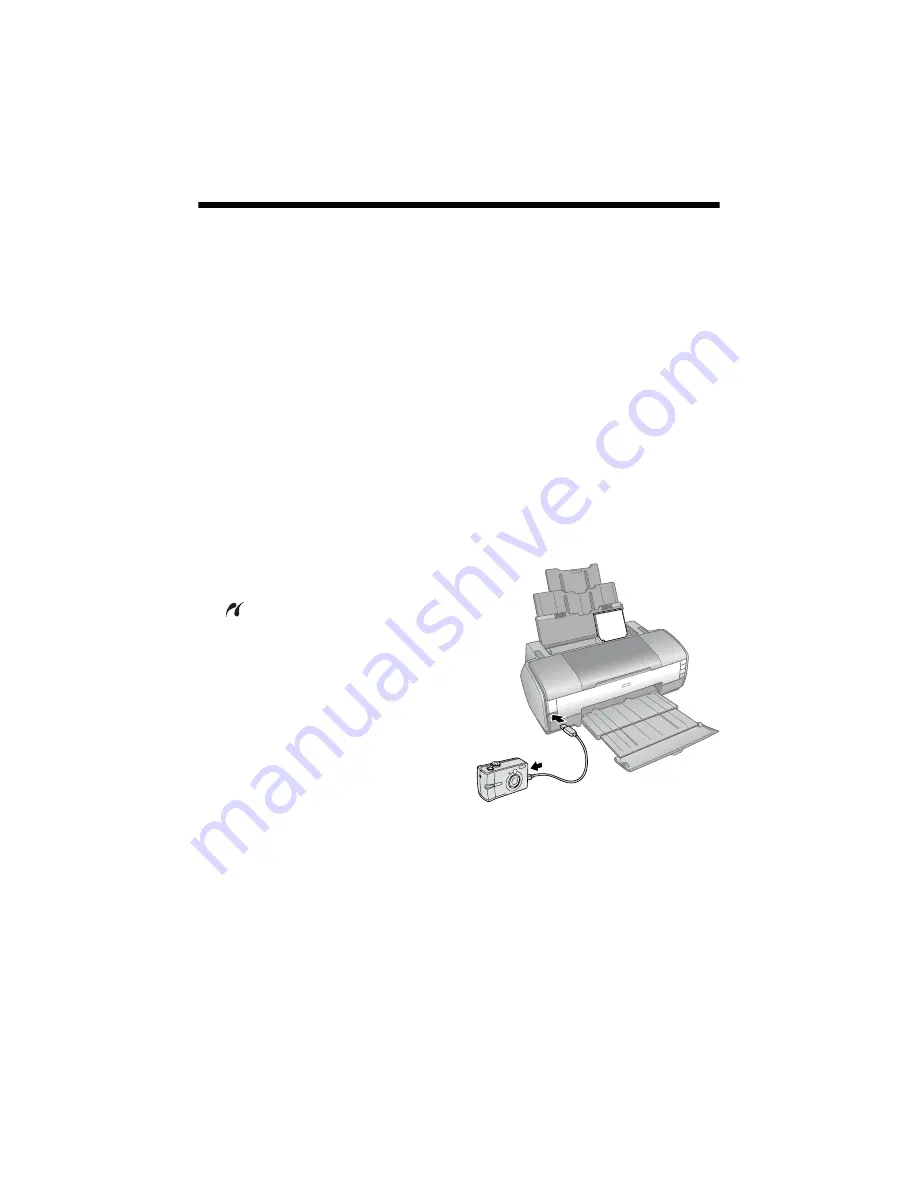
You can connect a digital camera or camera phone that supports PictBridge or
USB Direct-Print printing to the Epson Stylus Photo 1400 and use the camera or
phone to control printing of your photos. (A cable may not be included with your
camera or phone.)
Check your camera or phone manual to see if it supports PictBridge or USB
Direct-Print. If it doesn’t, the red
H
ink and
)
paper lights flash alternately when
you connect your camera or phone. Epson cannot guarantee the compatibility of
any cameras or phones.
The file format of your images must be JPEG, and the size of each image must be
at least 80 × 80 pixels but not more than 9200 × 9200 pixels.
1. Make sure your Epson Stylus Photo 1400 is turned on, but not printing.
2. Load the type of paper you want to use. See page 9.
3. Connect the USB cable that came
with your camera or phone to the
PictBridge port on the front of the
printer.
4. Connect the other end of the cable to
your camera or phone.
5. Turn on your camera or phone.
6. Use your camera or phone to select
the photos you want to print, adjust
any necessary settings, and print your
photos. See your camera or phone
manual for details.
Summary of Contents for 1400 - Stylus Photo Color Inkjet Printer
Page 1: ...Epson Stylus Photo 1400 User s Guide ...
Page 6: ...6 Contents ...
Page 60: ...60 Maintaining Your Printer ...
Page 84: ...84 Requirements and Notices ...


