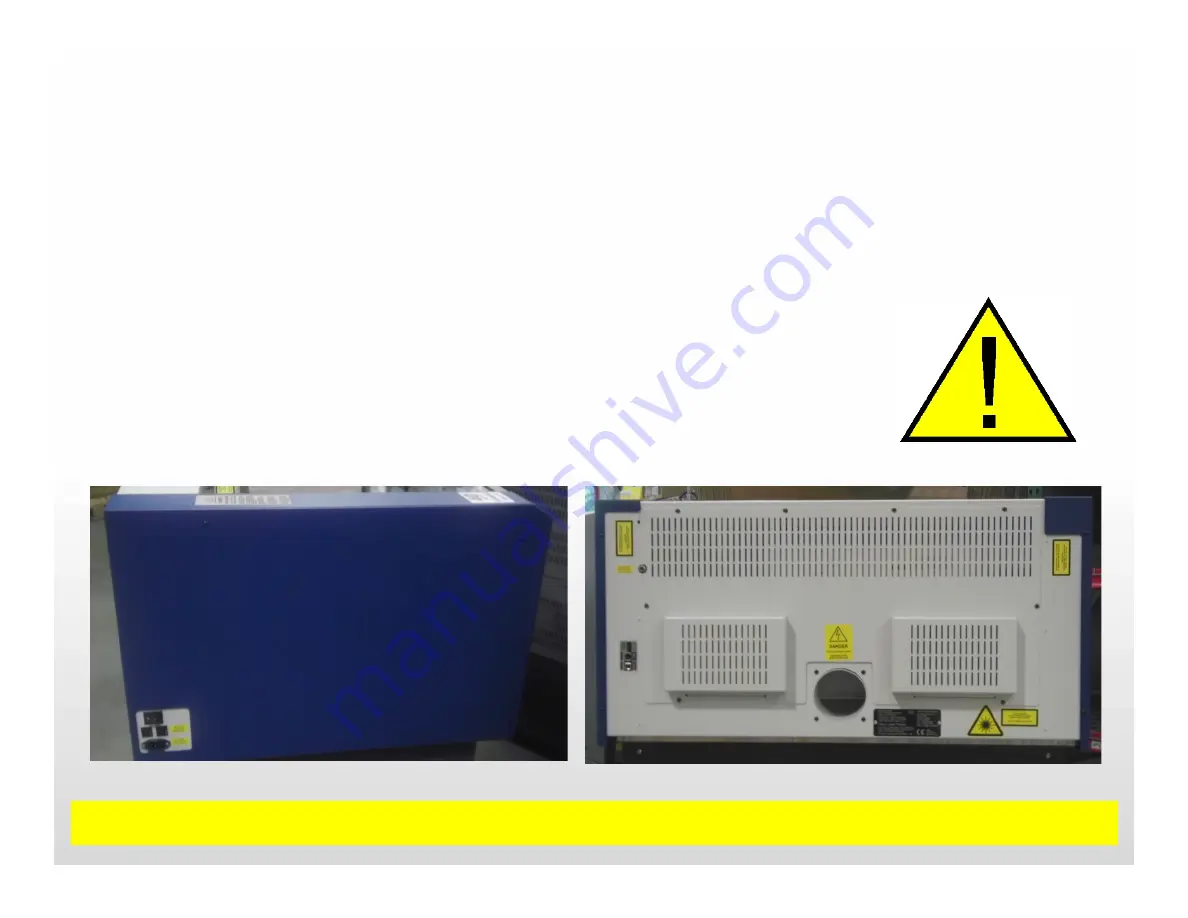
Remove Panels
Remove Left Side Panel and Rear Panel so that you
can access the mirrors and pointer.
Always wear safety glasses when the panels have
been removed and always stand away from the
exposed sides when firing the laser.
Tip: Any Safety Glasses will work. You don’t need special ‘laser’ glasses for the CO2 Laser.
4
Summary of Contents for Helix 8000
Page 9: ...Place Target Tape Place Alignment Target in Lens Carriage Place Masking Tape on Target 9 ...
Page 14: ...Turn On Red Pointer Press the Pointer button to turn on the Red Dot Pointer 14 ...
Page 16: ...Align the pointer Next Which Adjustment Screws to Use Clockwise 16 ...
Page 17: ...Align the pointer Next Which Adjustment Screws to Use Clockwise 17 ...
Page 18: ...Align the pointer Next Which Adjustment Screws to Use Counterclockwise 18 ...
Page 23: ...Align Position 1 Move the Lens Carriage to Position 1 Table I Beam L 23 ...
Page 24: ...Use Mirror 1 to move the pointer to the center of the alignment target 24 ...
Page 25: ...Align Position 2 Move the Lens Carriage to Position 2 Table I Beam L 25 ...
Page 26: ...Use Mirror 2 to move the pointer to the center of the alignment target 26 ...
Page 28: ...Align Position 3 Move the Lens Carriage to Position 3 Table I Beam L 28 ...
Page 29: ...Use Mirror 3 to move the pointer to the center of the alignment target 29 ...


