


English
0
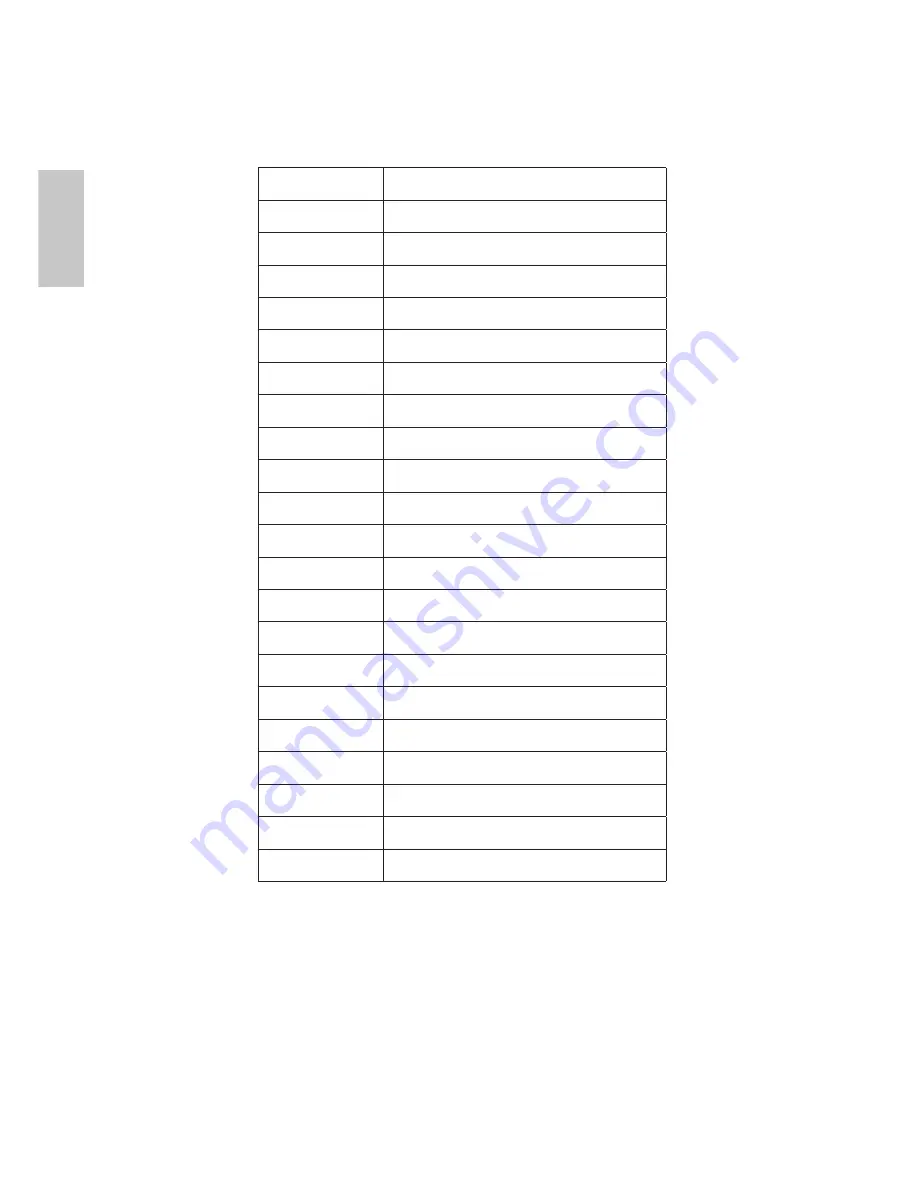
Supporting Timing Modes
Warning :
Do not set the graphic card in your computer to exceed these maximum
refresh rates. Doing so may result in permanent damage to your monitor.
VESA
720 x 400 @ 70Hz
VESA
640 x 480 @ 60Hz
MAC
640 x 480 @ 67Hz
VESA
640 x 480 @ 75Hz
VESA
800 x 600 @ 56Hz
VESA
800 x 600 @ 60Hz
VESA
800 x 600 @ 72Hz
VESA
800 x 600 @ 75Hz
MAC
832 x 624 @ 75Hz
VESA
848 x 480 @ 60Hz
VESA
1024 x 768 @ 60Hz
VESA
1024 x 768 @ 70Hz
VESA
1024 x 768 @ 75Hz
VESA
1152 x 864 @ 75Hz
VESA
1280 x 720 @ 60Hz
VESA
1280 x 960 @ 60Hz
VESA
1280 x 768 @ 60Hz
VESA
1280 x 1024 @ 60Hz
VESA
1280 x 1024 @ 75Hz
VESA
1440 x 900 @ 60Hz
VESA
1440 x 900 @ 75Hz
VESA
1680 x 1050 @ 60Hz


