Installation and Operation Manual
●
Fan Coil Controller – EZstat
EC-EZstat
Date: 9-2014
Supersedes: NEW
Engineered Comfort reserves the right to change any information concerning product or specification without notice or obligation.
Page 26 of 36
Procedure
Steps
Display
Reset the
application and
choose units of
measure.
Choosing an application will reset the EZstat.
Adjust the PID
loops.
Choose LOOPS from the ADVANCED menu to adjust the values for
the cooling or heating PID loops. Only the proportional and integral
properties can be changed from the display.
•
The proportional default is 2° F.
•
The integral default is zero (0).
Enter or change
passwords.
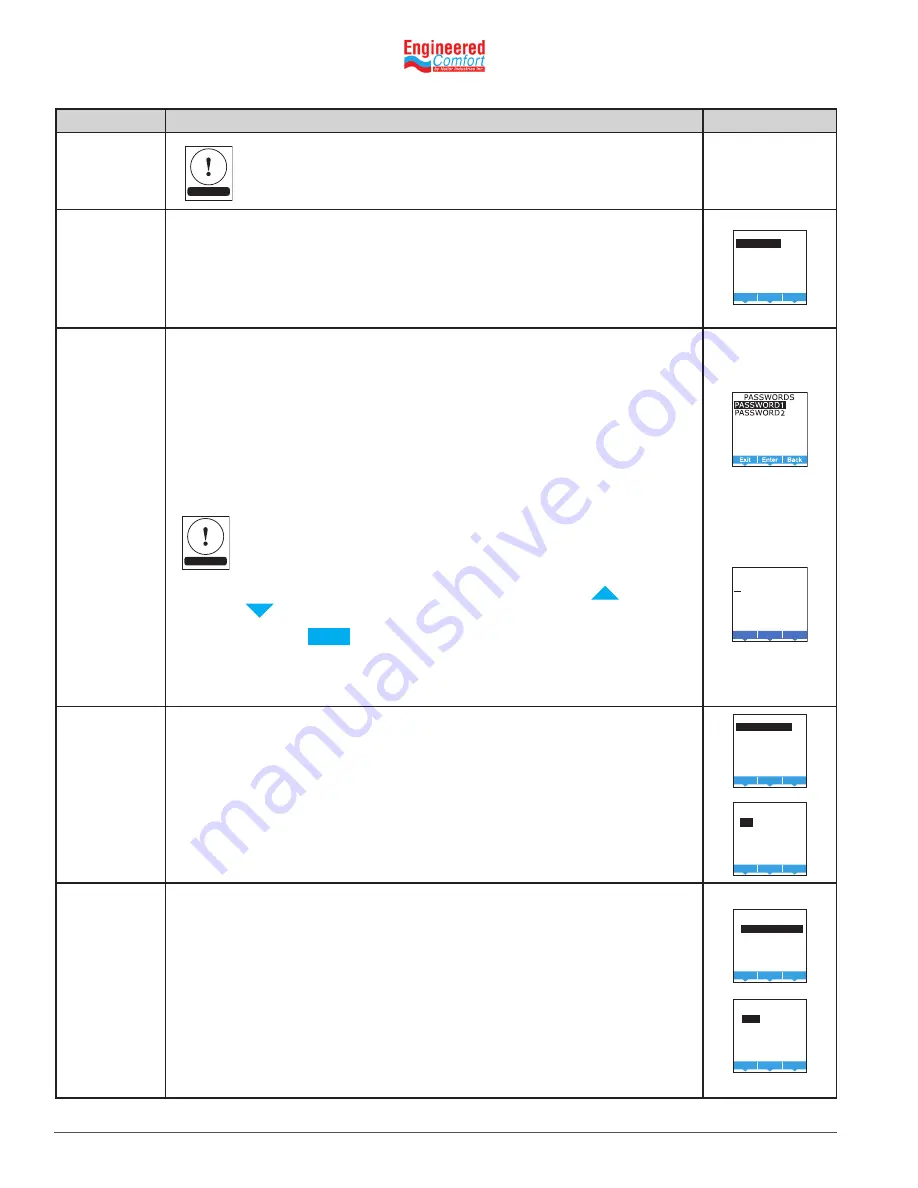
Choose PASSWORDS from the ADVANCED menu to set either
Password 1 or Password 2. Note: Allow 60 seconds time elapse for
password change/setup to enable.
•
Password 1 is for a facility user and limits changes to active
setpoints, fan operation, occupancy, and heating and cooling
modes.
•
Password 2 is for a controls technician to set up and commission
the EZstat. When set, will lock user out from setpoints, fan
operation, occupancy, and heating and cooling modes.
Entering four zeros (0000) removes the password. The EZstat is supplied
without passwords.
1.
From the PASSWORD1 or PASSWORD2 menu either the
or
button to change the first digit of the password.
2.
Press the
Enter
button to select the next digit. Repeat for all
four digits.
3.
When the Enter button is pressed for the last digit, the new
password is saved and the display advances.
Enter
PASSWORD1:
0 0 0 0
Calibrate the
inputs
Choose CALIBRATION from the ADVANCED menu to calibrate an
input. The EZstat includes two calibration entries; one for the internal
temperature sensor and one for the optional remote temperature
sensor connected to the RS terminal.
Enter a calibration factor to adjust either input for sensor
inaccuracies.
•
For a low input reading enter a positive correction value.
•
For a high input reading enter a negative correction value.
Set the display
blanking.
Choose DISPLAY from the ADVANCED menu to set the display
appearance after the last button is pushed.
•
BLANKING—Choose one of the blanking
○ CLOCK—An analog clock replaces the temperature and
mode icons.
○ BACKLIGHT OFF—The display brightness changes to the
level set by DIM LEVEL after the last button interaction.
○ NONE—The temperature and mode icons always remain
visible.
•
DIM LEVEL—Sets the level of brightness of the display back light
if BACKLIGHT OFF is the selected blanking option.
NOTE
NOTE


