Quick Installation Guide
EnGenius Europe | Veldzigt 28, 3454 PW De Meern,
Netherlands | 0900-WIFIABC | www.wifiabc.com
Disclaimer: Information may be subject to changes without prior notification.
Follow us
https://www.linkedin.com/company/engeniuseurope
https://plus.google.com/+EngeniusEuropeBVDeMeern
https://www.youtube.com/user/engeniuseuropebv
https://twitter.com/engeniuseu
EWS320AP
Adding managed access point (Through EnGenius wireless
management switch GUI)
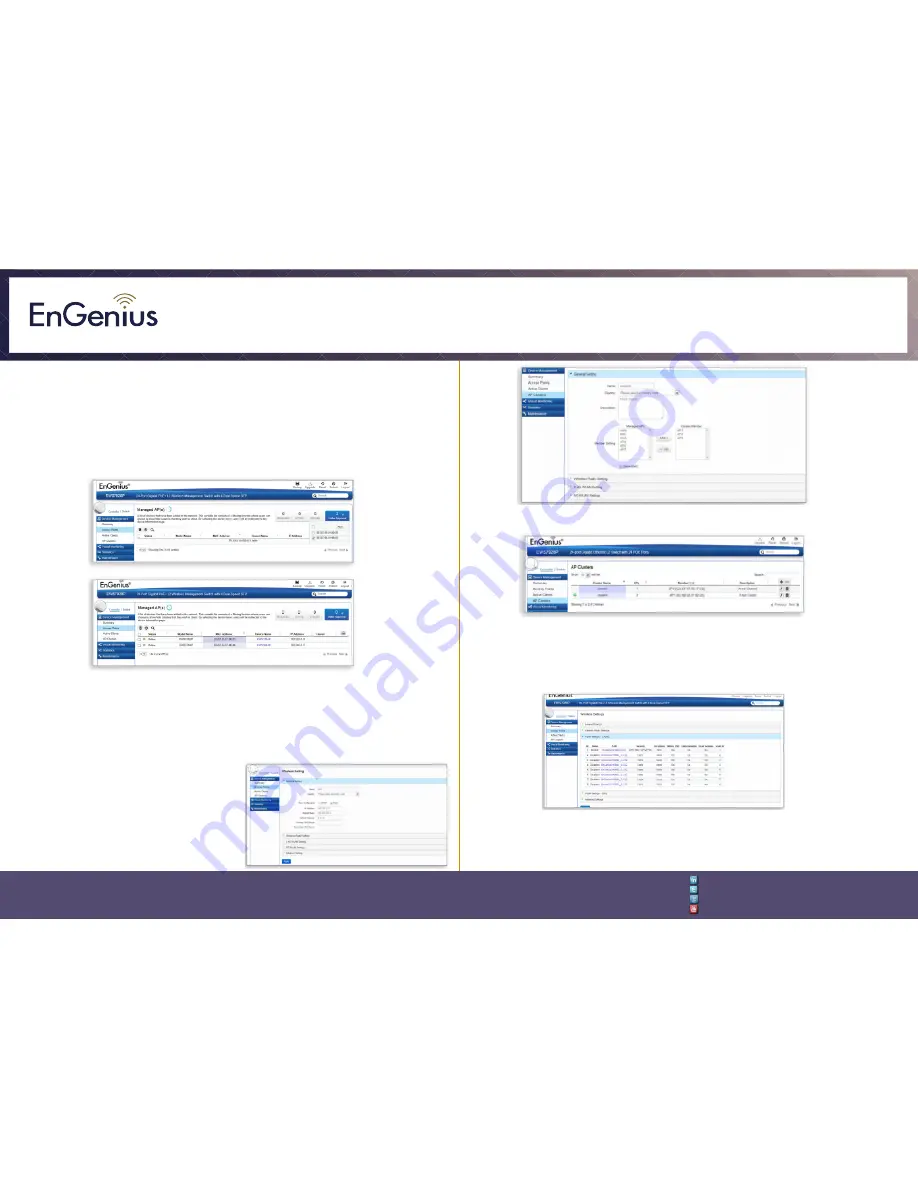
Step 1: All managed access point(s) connected to the same network as the
wireless management switch will appear on the right side of the screen, under
the access point ‘under approval’ list. Locate and select the managed access
point by checking the box and click ‘Allow’ to manage the device.
Step 2: You may configure your managed access point(s) after you successfully
connected to the wireless management switch through its GUI.
Configuring managed access point (Through EnGenius wireless
management switch GUI)
Step 1: Configure managed access
point(s) through the GUI interface from
the switch for WLAN settings under
‘device management’.
Step 2: Add managed access point(s)
to specific access point cluster to save
repetitive configuration tasks.
Step 3: Users may create several clusters simultaneously to accommodate their
deployments under access point clusters.
Step 4: For distinct settings, EnGenius wireless management switches still offer
individual managed access point customization for cluster members such as
different channels that best adapt your local WLAN deployments.
Step 5: Upon successful connection and setup, users can go through different
sections on the web management pages to unleash managed access point(s) full
features for your WLAN deployment and perfomance monitoring.


