Energy Star Xi3 NUC Lear Instruction Manual Download Page 3


Introduction 


Aside from the stunningly small form factor, the Xi3® NUC Lear features the Intel® Core™ i5 vPro™ processor offering robust 
computing capabilities and complete remote management capabilities; allowing for remote management and the ability to 
manage/repair systems anytime from anywhere.


What’s Inside?


When you open the box containing your Xi3 NUC, you  should find: 


• 

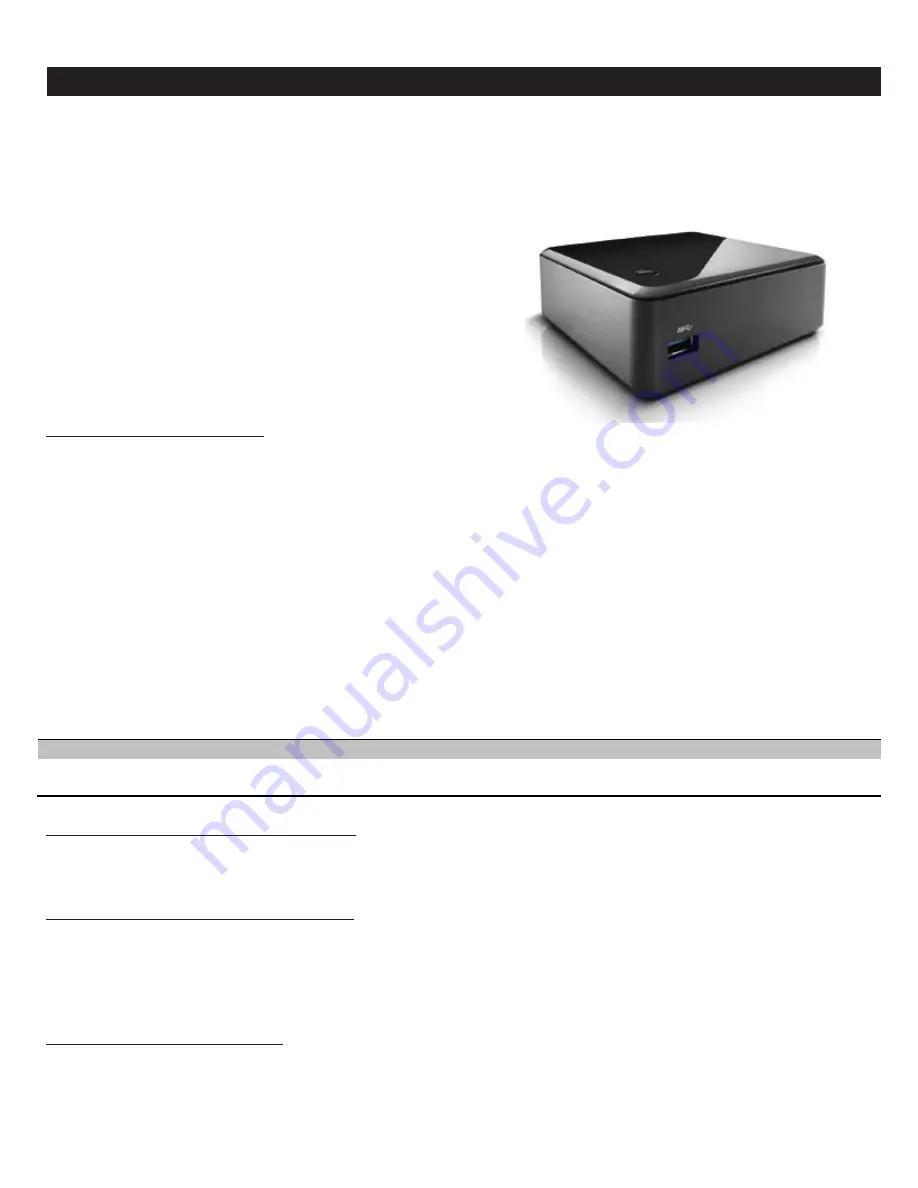
One fully integrated Intel® NUC DC53427HYE including RAM, SSD, 
OS, and WiFi (if applicable)


• 

One Power Cord


• 

One Power Adaptor


• 

One Vesa Mount


Getting Started 


Step One - Connect Your Display 
To get started, connect your monitor cable to your display and then connect to either the HDMI or one of the two 
DisplayPorts found on your NUC.  The HDMI port supports standard, enhanced, or high definition video, plus multi-channel 
digital audio on a single cable.  The port is compatible with all ATSCV and DVB HDTV standards and supports eight full 
range channels at 24-bit/96 KHz audio of lossless audio formats such as Dolby* TrueHD or DTS* HD Master Audio.  The 
DisplayPort is designed to support connections between PCs and monitors, projectors, and TV displays.  It is suitable for 
display connections between consumer electronics devices such as high definition optical disc players, set top boxes, and 
TV displays.     
 
Multiple DisplayPort and HDMI configurations feature the following: 
 

• 

Two independent displays 

• 

Single HDMI 1.4a with 1080P support 

• 

Single DisplayPort 1.2 with 4K support  

• 

Collage Display 


Triple Display Configuration Resolutions 

Active Display 

Active Display 

Active Display 

DisplayPort 

1920 x 1200 @ 60 Hz 

DisplayPort 

1920 x 1200 at 60 Hz 

HDMI 

1080P at 60 Hz 


Step Two - Connect Your Mouse and Keyboard


Connect your keyboard cable to any USB port on your Xi3 NUC. Next, connect your Computer Mouse cable to a different USB port. 

{NOTE: If 

your  keyboard and mouse share a combo USB cable, connect this to any USB  port. Additionally, you can also use a wireless keyboard and/or 
mouse; if you choose to do so, insert the wireless  USB keyboard and/or mouse module(s) into any USB port(s).}


Step Three - Connect Your External Hard Drive


If you will not be using an external hard drive, skip this step. If, however,  you will be using an external hard drive, connect this device into 
the  appropriate port on your Xi3 NUC. 

{NOTE: When we refer to external hard drives in this step, we are NOT referring to USB sticks or thumb 

drives. This is especially  noteworthy as a USB thumb drive cannot be used to launch a Windows  Operating System. Additionally, although it 
is possible to launch  openSUSE and other Linux Operating Systems with a USB thumb drive, we strongly recommend against doing so as this 
will seriously degrades  the performance of the Operating System.}


Step Four - Connect to the Network


If you intend to surf the World Wide Web or use email, you will need a network connection. For many Xi3 NUC owners, this will involve 
plugging an Ethernet cable into the Ethernet Port on the back of your computer. If, however, you want to connect to a network wirelessly, you 
will need a wireless connection, such as a wireless network adaptor, which can be plugged into one of the  unused USB Ports on the back of 
your computer. 

Chapter 1 - Getting Started 


Summary of Contents for Xi3 NUC Lear

Page 1: ...Xi3 NUC Lear Install Everywhere Manage Anywhere ...

Page 2: ...gy 9 Intel Anti Theft Technology 9 Trusted Platform Module TPM 9 The Dangers of Static Electricity 9 Removing Replacing Components 9 Turn Off Your Xi3 NUC 9 Restarting Your Xi3 NUC 9 Chapter 3 BIOS Settings 10 System Management BIOS SMBIOS 10 Legacy USB Support 10 BIOS Updates 10 BIOS Recovery 11 Boot Options 11 Power Button Menu 11 BIOS Security Features 12 Chapter 4 Troubleshooting 13 Front pane...

Page 3: ...guration Resolutions Active Display Active Display Active Display DisplayPort 1920 x 1200 60 Hz DisplayPort 1920 x 1200 at 60 Hz HDMI 1080P at 60 Hz Step Two Connect Your Mouse and Keyboard Connect your keyboard cable to any USB port on your Xi3 NUC Next connect yourComputer Mouse cable toadifferentUSBport NOTE If your keyboard and mouse share a combo USB cable connect this to any USB port Additio...

Page 4: ...operating systems openSUSE Linux After completing Steps One through Six above including turning on yourXi3 NUC andyourcomputermonitor display the main screen of the openSUSE Linux operating system should appear on your computer monitor signifying that you are ready to begin using your Xi3 NUC NOTE When shipped from the factory the initial Root Password on an Xi3 NUC pre loaded with openSUSE Linux ...

Page 5: ...lso numerous software applications that are free or for a nominal fee that can be installed onto your Xi3 NUC and will walk you through the file transfer process step by step Ifyouhaveonlyafewfilestocopy however youmaychoosetoemailthefilestoyourselfasthisisoftentheeasiestway to move files from one computer to another Simply send an email to yourself from your old computer and attach the files you ...

Page 6: ... and system performance If your computer is configured to use DVMT graphics memory is allocated based on system requirements and application demands up to the configured maximum amount When memory is no longer needed by an application the dynamically allocated portion of memory is returned to the operating system for other uses High bandwidth Digital Content Protection HDCP HDCP is the technology ...

Page 7: ...he LAN subsystem is operating LAN Connector LED States LED LED Color LED State Condition Link Green Off On Blinking LAN link is not established LAN link is established LAN activity is occurring Data Rate Green Yellow Off Green Yellow 10 Mb s data rate is selected 100 Mb s data rate is selected 1000 Mb s data rate is selected Hardware Management Subsystem The hardware management features enable the...

Page 8: ...assets Features include Out of band OOB system access to discover assets even while PCs are powered off Remote trouble shooting and recovery which allows remote diagnosis and recovery of systems after OS failures Hardware based agent presence checking that automatically detects and alerts when critical software agents have been stopped or are missing Proactive network defense which uses filters to...

Page 9: ...a protected space for key operations and other security critical tasks Using both hardware and software the TPM protects encryption and signature keys at their most vulnerable stages operations when the keys are being used unencrypted in plain text form The TPM shields unencrypted keys and platform authentication information from software based attacks The Dangers of Static Electricity Like all co...

Page 10: ...d asset tags Resource data such as memory size cache size and processor speed Dynamic data such as event detection and error logging Non Plug and Play operating systems require an additional interface for obtaining the SMBIOS information The BIOS supports an SMBIOS table interface for such operating systems Using this support an SMBIOS service level application running on a non Plug and Play opera...

Page 11: ...he BIOS Setup program you can choose to boot from a hard drive optical drive removable drive or the network The default setting is for the optical drive to be the first boot device the hard drive second removable drive third and the network fourth The network can be selected as a boot device This selection allows booting from the onboard LAN or a network add in card with a remote boot ROM installe...

Page 12: ...is the user mode If only the supervisor password is set pressing the Enter key at the password prompt of the BIOS Setup program allows the user restricted access to Setup If both the supervisor and user passwords are set users can enter either the supervisor password of the user password to access Setup Users have access to Setup respective to which password is entered Setting the user password re...

Page 13: ...On Off 1 0 second each two times then 2 5 second pause off entire pattern repeats blink and pause until the system is powered off When no VGA option ROM is found Memory error On Off 1 0 second each three times then 2 5 second pause off entire pattern repeats blinks and pause until the system is powered off Thermal trip warning Each beep will be accompanied by the following blink pattern 25 seconds...

Page 14: ...ODUCTS ARE NOT DESIGNED NOR INTENDED FOR ANY APPLICATION IN WHICH THE FAILURE OF THE Xi3 PRODUCT COULD CREATE A SITUATION WHERE PERSONAL INJURY OR DEATH MAY OCCUR All Xi3 NUC products are evaluated as Information Technology Equipment I T E for use in personal computers PC for installation in homes offices schools computer rooms and similar locations The suitability of this product for other PC or ...

Page 15: ...o 60 C Operating 0 C to 50 C Shock Unpackaged 50 g trapezoidal waveform Velocity change of 170 inches s 2 Packaged Half sine 2 millisecond Product Weight Pounds Free Fall inches Velocity Change inches s 2 20 36 167 21 40 30 152 41 80 24 136 81 100 18 118 Vibration Unpackaged 5 Hz to 20 Hz 0 01 g 2 Hz sloping up to 0 02 g 2 Hz 20 Hz to 500 Hz 0 02 g 2 Hz flat Packaged 5 Hz to 40 Hz 0 015 g 2 Hz fla...

Page 16: ...uencyenergy and if not installed and used in accordance with Xi3 s instructions may cause harmful interference to radio communications However thereis no guaranteethat interferencewillnotoccur ina particularinstallation Iftheequipmentcausesinterferenceto radioortelevisionreception which canbedeterminedbyturningtheequipmentoff and on users are encouraged to try to correct the interference by using ...

Page 17: ...t Lake City UT 84111 801 478 3800 www Xi3 com CustomerService 855 Xi3 HELP 855 943 4357 support xi3 com Sales 877 880 4289 sales xi3 com Informationinthisdocumentissubjecttochangewithoutnotice 2014Xi3Corporation Allrightsreserved Reproduction of these materials in any manner in whole or in part without the written permission of Xi3 Corporation is strictly prohibited Glossary Corporate Information ...

Reviews: