background image

User Manual  Xpresionn™ 2000                                                            5/26
Ref:  050505

GENERAL INFORMATION

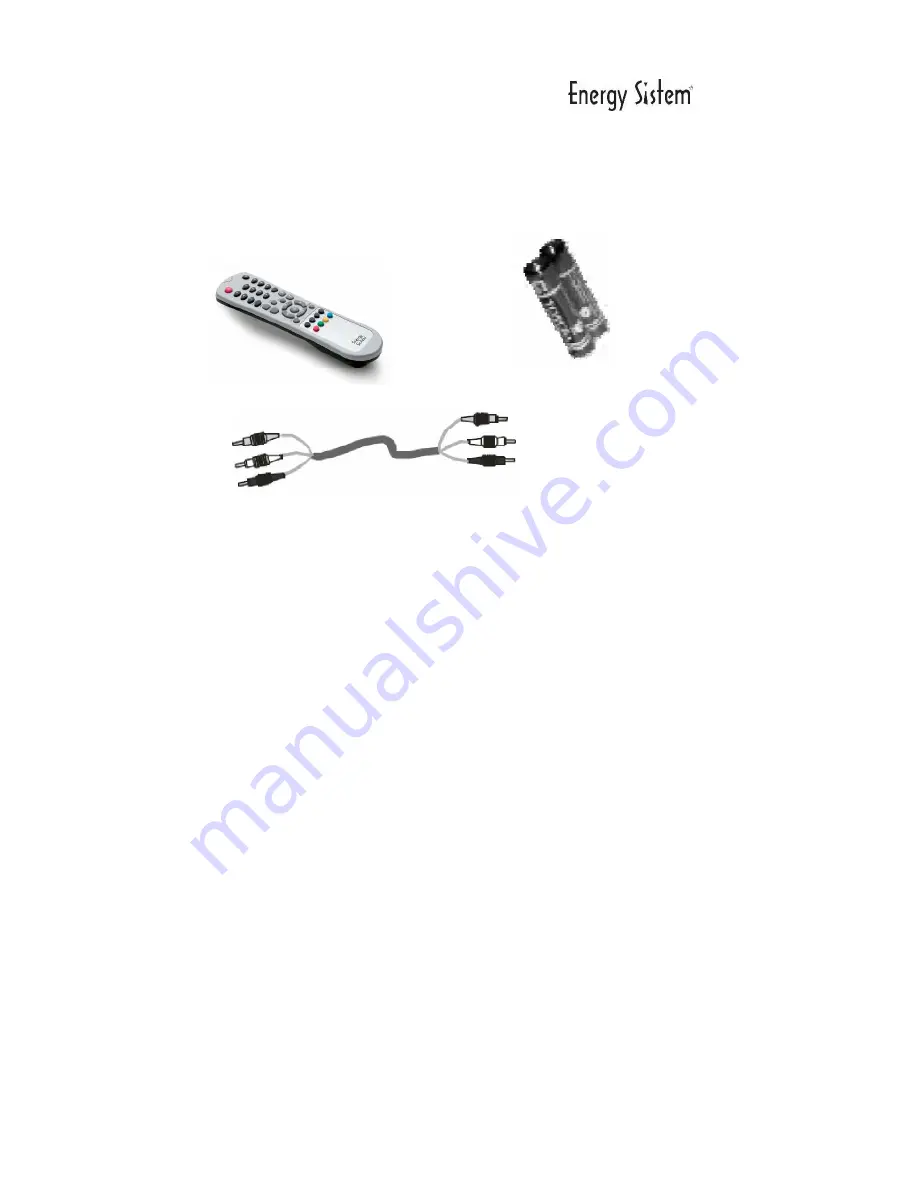
Unpacking

General Operation

Throughout this manual you will notice that the everyday operation
of the receiver is based on a series of user friendly on screen
displays  and menus. These menus will help you get the most from
your receiver, guiding you through installation, program rganizing,
viewing and many other functions.

All function can be carried out using the buttons on the RCU, and
some of the function can also be carried out using the buttons on
the front panel.

If at any time when you are using the menus you want to return to
the normal TV mode, press the TV/AV button.

The receiver is easy to use, always at your command and
adaptable for future advances.

Please be aware that new software may change the functionality
of the receiver.

Should you experience any difficulties with the operation of your
receiver, please consult the relevant section of this manual,
including the Trouble Shooting, or alternatively call your dealer or
a customer service adviser.

Summary of Contents for Xpresionn 2000

Page 1: ...User Manual Xpresionn 2000 1 26 Ref 050505 ...

Page 2: ...sing RF support Connecting to Digital Amplifier MENU INFORMATION USER INSTALLATON Channel Search System Setting Parental Lock Factory Default GENERAL VIEWING FUNCTION Select Program TV Radio mode Program Information Pause the Frame Previous Program Recall Favorite List Volume Audio Control PROGRAM MANAGER Program Manager Favorite Channel Move Channel Lock Channel Rename Channel Delete Channel Sort...

Page 3: ... or a customer service adviser MainFeatures High quality Video Digital Audio Fully MPEG 2 DVB compliant User friendly and easy to use menu system Various program editing functions Favorite moving locking renaming deleting and sorting Automatic search for newly added channels Stores up to 4000 programs Easy and speedy software upgrade through RS 232 port Plug and play data transfer system DTR to DT...

Page 4: ...ir can circulate freely Turn the power off at the mains and unplug the unit if an abnormal event occurs Do not touch the receiver during an electrical storm as it may create an electrical shock hazard Switch the receiver off whenever it remains out of service for an extended period disconnect the AC power cord before cleaning the Receiver surface If the surface is dirty wipe clean with a cloth whi...

Page 5: ... out using the buttons on the RCU and some of the function can also be carried out using the buttons on the front panel If at any time when you are using the menus you want to return to the normal TV mode press the TV AV button The receiver is easy to use always at your command and adaptable for future advances Please be aware that new software may change the functionality of the receiver Should y...

Page 6: ...and box Moves up down a page in the program list Ok LISTAR Executes the selected item in the menu screen or enters the desired value in any input mode PR PR When watching a program change programs or move to the next higher or lower item in the menu When watching a program adjust the volume or move to the left or right item in the menu SALIR Retums to the previus menu on the menu scree or escape f...

Page 7: ...Front Panel Key Funtion Turns the power of the receiver on and off CH In live mode changes to the next channel CH In live mode changes to the previous channel VOL In live mode increases the volume VOL In live mode decreases the volume Rear Panel ...

Page 8: ...User Manual Xpresionn 2000 8 26 Ref 050505 INSTALLATION Connecting to ANTENNA TV Connecting to TV using SCART support Connecting to TV using RCA support ...

Page 9: ...User Manual Xpresionn 2000 9 26 Ref 050505 Connecting to TV using RF support Connecting to Digital Amplifier ...

Page 10: ...llation Receiver Information During installation the OK key confirms a selection and may show a Down List Box if the column has 34 mark You can also use the numeric keys on the RCU to enter numeric value Use the PR or PR keys to move upwards and downwards from one line to another and use the VOL VOL keys to move from main menu to submenus and move from left side to right side or vice sersa To esca...

Page 11: ...CH key to highlight desired country then press OK key to confirm the selection 2 Channel Refer to the same operation methods as the above 3 Frequency The original data in this item is determined by the selected options in Country Code and Channel items Edit Mode If you want to edit the data in Frequency item please press the Edit Mode key Red color key on the RCU and then use the numeric keys on t...

Page 12: ...automatically Searching completely move cursor to VIEW button and press OK key A warning message Please wait for saving the data will appear for several minutes and then you can view searched programs in normal mode 6 Set PID If you want to set PID Packet Identifier manually select CH in the Channel Search Page And select SET PID Green key on the RCU command and press OK then set PID menu will be ...

Page 13: ...ed by the service provider 3 Video Format Select your desired video format 4 Screen Format Select your desired screen format from 4 3 and 16 9 options 5 Video output If your SCART supports RGB control select RGB Otherwise select CVBS 6 TV type Select from 4 3 or 16 9 7 Start On Channel To display a selected channel every time you turn the unit on press OK and select your default channel from the l...

Page 14: ...tal Lock 1 Set Parent Lock ON and go to the TV Channel Manager page 2 Press the Lock key Blue color key on the RCU 3 Selet the channel that you want to lock 4 Press OK key the symbol is marked How to use Parental Rating Level 1 Enter the password and press OK 2 In Parent Cuidance item system has provided eight levels to prevent children from watching programs beyond their age Parental Rating Value...

Page 15: ...er the current password 2 Select ON from the Install Lock sub menu 3 Enter new password 4 Confirm your new password entering new password again 5 Exit this menu 6 Select any menu and press OK on the RCU 7 The Enter Password Box will be displayed 8 Unless the correct password is entered menus cannot be operated Note 1 The Install lock password is the same as the Parental Lock password 2 The default...

Page 16: ...The program list will be displayed on the right side of the screen If you press the EXIT key the program list will be gone To select a program navigate through the program list and place cursor on a desired program Then press OK key to watch the selected program TV Radio mode While viewing TV program press TV RADIO key on the RCU to move to radio mode Press this key once again to return to TV mode...

Page 17: ...er to the Favorite Program Volume Audio Control 1 Volume Control To increase or decrease volume use VOL VOL key on the RCU or VOL VOL on the front panel 2 Mute To mute the sound press button on the RCU To bring back the normal sound press this key once again 3 Audio Control Press the key repeatedly to select one of three possible Audio settings Left Right and Stereo The current audio selection wil...

Page 18: ...PIG screen When you navigate the cursor through the channel list the PIG display will change accordingly You can utilize the colour keys on the RCU as below 1 Delete mode Red key 2 Favourite mode Green key 3 Move mode Yellow key 4 Lock mode Blue key In this mode press the MENU key on the remote to evoke the following 1 Rename Favourite group 2 Rename 3 Sort Favourite Channel When you select progra...

Page 19: ...oups will be created as Favourite 2 and Favourite 3 How to edit the name of Favourite group 1 In favourite mode press MENU key on the RCU then the Favourite sub menu will be displayed on the screen 2 Select Rename Favourite group 3 Edit the name using the keypad Move Channel In the TV program manager page press Move key Yellow colour key on the RCU Select a channel by pressing OK key and move the ...

Page 20: ...of your selected channel name Note To perform this function you should set up the Parental Lock in advance Rename Channel In TV program manager Page press MENU key on the RCU then select Rename on the command menu This Rename command allows you to rename the channel First select the channel to be renamed and press OK key then the Keypad dialog box will be displayed Edit your desired name entering ...

Page 21: ...e press EXIT key and then the Message box will be displayed Press OK to delete Check whether the channel name is deleted on program list Warning The deleted channel can not be recovered unless you search again Please be careful when you decide to delete channels Sort Channel In TV program manager Page press MENU key on the RCU and select Sort on the command menu This Sort menu has a sub command th...

Page 22: ... left side and Program schedule for selected program will be displayed on the right side The time will be displayed relating to the program schedule Select one channel and placing the 6 mark on the time of Program name which detail information you want to know Then you can see blue button if there is details information of the program And press Detail Blue colour key key on the RCU then detail inf...

Page 23: ...l If there are searched programs press OK key to pop up the searched program list Select desired channel and press OK key to confirm If there is no searched program this item turns grey and can not be set 3 Time Type Through this item you can set the timer one time daily weekly and monthly 4 Event Type Select between Turn ON and Tune OFF If select Turn ON the receiver will turn on the just set Tur...

Page 24: ...anual Xpresionn 2000 24 26 Ref 050505 FRONT PANEL DISPLAY UP load procedure VCR MODE Download procedure System waitng Error in data transmitting Flash rom error TV Modo System Booting Time Stand by indicator ...

Page 25: ...antenna with lower noise factor Bad picture blocking error The antenna is faulty Change the antenna The picture is not displayed on the screen when switching on The system is connected by RF leads Check the UHF channel fixed in your system and tune the UHF channel properly There is interference on your terrestrial program or video signal The system is connected by RF leads and the output program o...

Page 26: ...and Memory Cards 36 month for MP3 Players Digital Camera Digital Video Camera DVD DivX Player Mouse Battery Charger DVD Recorder 5 1 Speaker and Portable Multimedia Players For U P S and LCD TV the warranty is 36 month to domicile from purchase date except U P S battery which have 24 month warranty Warranty usage Refer to your product dealer presenting purchase invoice or ticket If you like you ca...

Reviews: