


I
N
S
PEED
M
ODEL
350 E
MBEDDED
S
TORAGE
S
WITCH
U
SER
’
S
G
UIDE
C
HAPTER
3: S
WITCH
M
ANAGEMENT
E
MULEX
C
ORPORATION
46
P
ART
N
UMBER
00041410-002 R
EV
. B
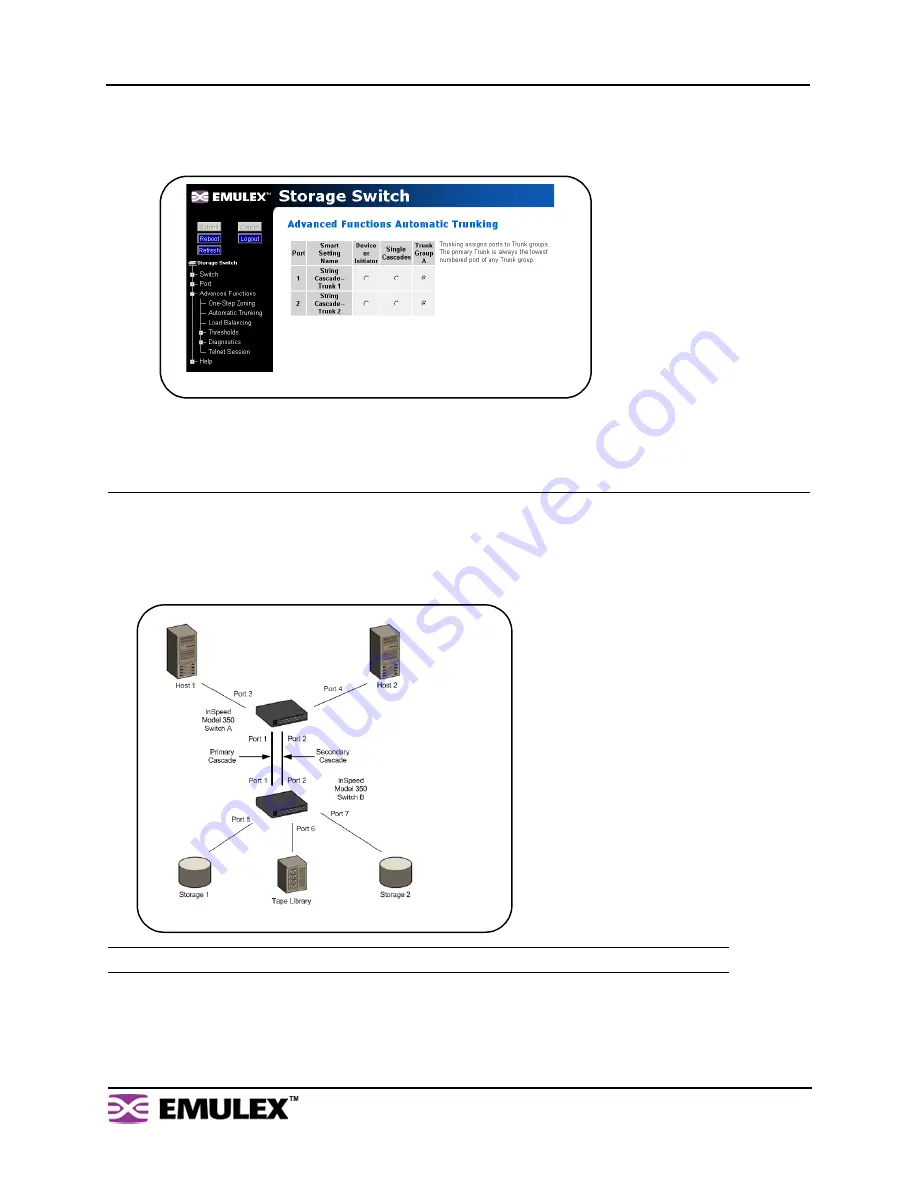
To assign ports to trunk groups:
1.
Click
Advanced Functions > Automatic Trunking
.
The Automatic Trunking page appears.
2.
Select a trunk group for each port by clicking the appropriate Trunk Group option.
3.
When finished making changes, click
Submit
.
Load Balancing
Load balancing builds on the Automatic Trunking functionality by specifying the path that the data uses
to flow between multiple switches. Manage the switch’s aggregate bandwidth by manually distributing
traffic across multiple cascade ports as shown below. A cascade port is a port that is attached to another
switch of the same type and configured as a String or Tree Cascade Smart Setting on the Port Smart
Settings page. All data flows through the primary cascade, unless the switch is configured differently.
In
Figure 3-23
, host 1 uses cascade port 1, while host 2 uses cascade port 2. All traffic will use the
lowest numbered (primary) cascade port by default but ports may be configured to use other cascades.
Note:
Cascade ports must be properly configured before load balancing will work.
Figure 3-22: Automatic Trunking page
Figure 3-23: Load Balancing Across Multiple Cascade Ports


