4
2. Place the both units next to each other. The weather station captures the signal from the sensor
within 3 minutes. In case the signal from the sensor has not been found, hold the CH button on the
weather station to repeat the operation.
3. We recommend to place the sensor to the Northern side of the house. In the built-up areas the
transmission distance may rapidly decrease.
4. The sensor is resistant to the dropping water, however do not dispose it to the persistent rain.
5. Do not place the sensor on the metal platforms, this may disturb the signal transmission.
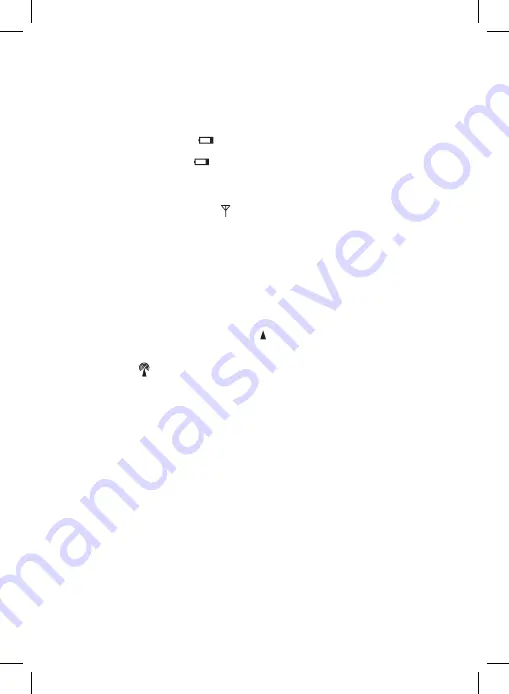
6. If the low batteries icon appears
when displaying the value of humidity, change the batteries
in the weather station.
If the low batteries icon appears
when displaying the value of the outdoor temperature, change
the batteries in the sensor.
Changing the channel and attaching additional sensors
1. By pressing shortly the CH button on the weather station choose the required sensor’s channel - 1, 2
or 3. Then hold the CH button, the icon will start flashing.
2. Remove the battery cover at the rear side of the sensor and insert the batteries (2× AAA).
3. Set the required channel No. of the sensor 1, 2, 3 by moving the sliding button.
The information from the sensor will be retrieved within 3 minutes.
4. In case the signal from the sensor has not been found, remove the batteries from the weather station
and repeat all the steps again.
Radio Controlled Clock (DCF77)
The radio signal is spread by the radio waves (77.5 kHz) to the places in the range of 1500 km from Frankfurt
am Main in Germany. This radio clock signal automatically takes into the account the daylight saving time
(DST), leap-years and the date changes.
After registration of the remote sensor, the weather station automatically starts capturing the DCF77
signal. This lasts for 7 minutes and this icon is flashing . During capturing the signal no information on
the display will be updated and the button will not be working (except the SNOOZE button). When the
signal will be captured - the icon will stop flashing, the current time will be displayed and the following
icon will be displayed . Under this icon the DST icon is displayed – DST.
The signal has not been found - the icon disappeared.
To initiate the DCF77 signal capturing process again, hold the -/Wave button. To cancel the DCF77 signal
capturing process, press the -/Wave button again.
DCF77 signal will be synchronized daily from 2.00a.m. till 5.00a.m. o’clock. To capture the signal under the
normal circumstances (in the save distance from the sources of interference such as TV sets, PC screens) it
lasts several minutes. In case the clock does not capture this signal, proceed the following steps:
1. Relocate the weather station into another place and repeat the DCF77 signal capture steps.
2. Check the distance of the clock from the sources of interference such as PC screens TV sets. The
distance should be kept at least from 1.5 to 2 meters.
3. Do not put the weather station when capturing the signal close to the metal doors, window frames
or any other metal constructions, objects (washing machines, laundry dryers, refrigerators, etc.).
4. Within the iron-reinforced concrete construction premises (basements, high building, etc.) depend-
ing on the conditions, the DCF77 signal reception is weaker. In the extreme cases place the weather
station close to the window into the direction towards the transmitter.
The quality of the DCF77 radio signal is influenced by the following factors:
• thick walls and insulation, basement and underground premises
• inappropriate local geographic conditions (difficult to estimate)
• atmospheric disorders, storms, radio interference not suppressed electrical appliances, TV sets and
PCs placed close to the radio receiver DCF77
Manual time and date setting
1. Hold the Set button at the rear side of the weather station.
Summary of Contents for E3070
Page 2: ...2...
Page 39: ...39 12 24 15 20 70 75 100 12 4 A 3 40 70 RV a 20 26 C 40 RV 70 RV 20 28 C 40 70 RV...
Page 60: ...60...
Page 61: ...61 Emos spol r o E3070 1999 5 http www emos eu download...
Page 62: ...62...
Page 63: ...63...


