background image

3660 and 3661 Positioners

Instruction Manual

Form 5265

March 2006

6

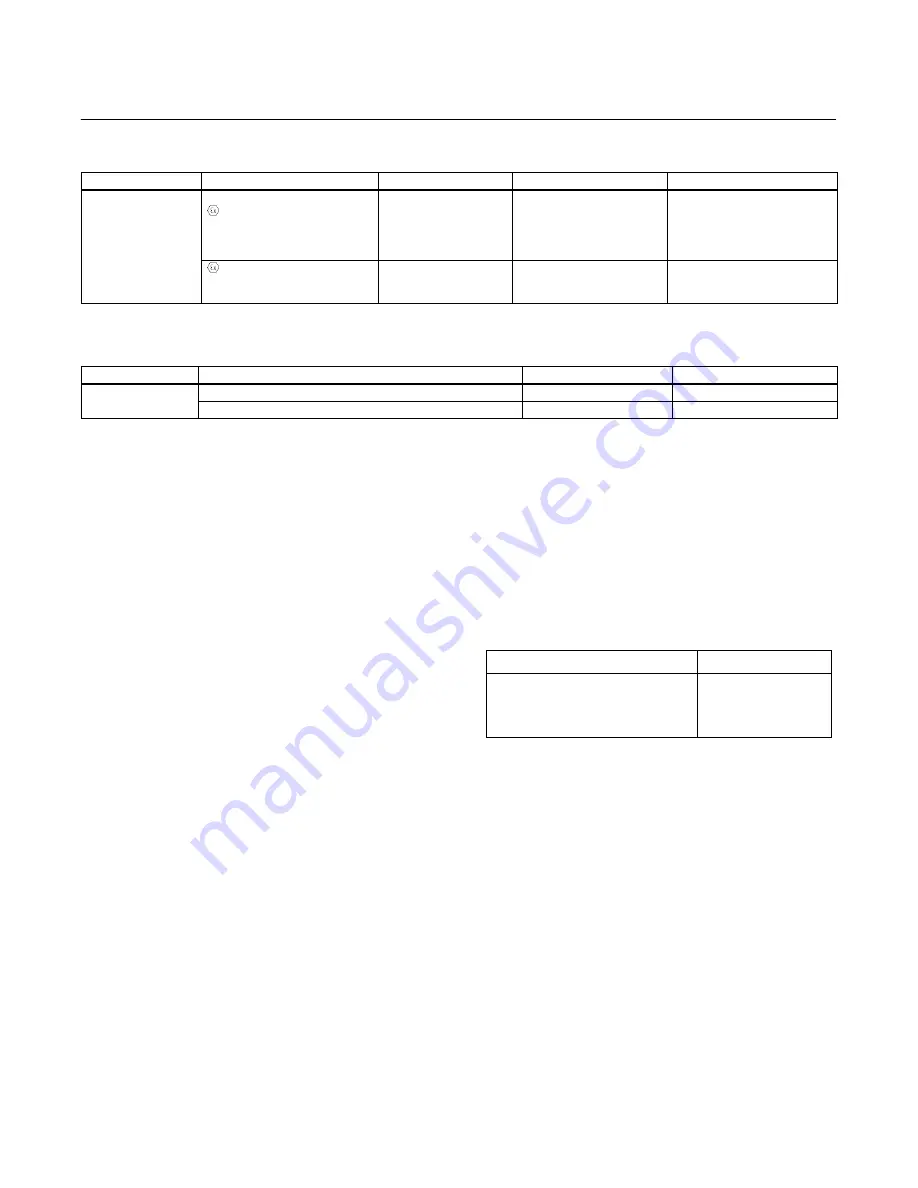
Table 4. Hazardous Area Classifications for Type 3661—ATEX

CERTIFICATE

CERTIFICATION OBTAINED

ENTITY RATING

TEMPERATURE CODE

ENCLOSURE RATING

ATEX

     II 1 G —Intrinsic Safety

Gas

EEx ia IIC T4/T5/T6

U

i

 = 30 Vdc

I

i

 = 150 mA

P

i

 = 1.25 W

C

i

 = 0 nF

L

i

 = 0 mH

T4 (T

amb


v

 82

°

C)

T5 (T

amb


v


62

°

C)

T6 (T

amb


v


47

°

C)

IP44

     II 3 G

Gas

EEx nA IIC T6 —Type n


T6 (T

amb


v

 82

°

C)

IP44

Table 5. Hazardous Area Classifications for Type 3661—Australia (SAA)

CERTIFICATION

CERTIFICATION OBTAINED

TEMPERATURE CODE

ENCLOSURE RATING

SAA

Ex ia IIC —Intrinsic Safety

T4 (T

amb


v

 40

°

C)

IP54

Ex n IIC —Type n

T4 (T

amb


v

 40

°

C)

IP54

ATEX Intrinsic Safety

Type 3661

Special Conditions for Safe Use

This


equipment is intrinsically safe and can be used

in potentially explosive atmospheres.

The electrical parameters of certified equipment

which can be connected to the device must not

exceed the following value:
U

 30 Vdc; I


150 mA; P


1.25 W.

Ambient Temperature:

T6, at T

amb

 = 47

_

C

T5, at T

amb

 = 62

_

C

T4, at T

amb

 = 71

_

C

Refer to table 4 for additional approval information

and figure 30 for the ATEX approvals nameplate.

ATEX Type n

Type 3661

Special Conditions for Safe Use

The Type 3661 has an IP44 ingress protection: it is

only intended to be installed in an area where a

convenient protection is ensured against the entry of

solid foreign bodies and liquids which may decrease

the safety.

Refer to table 4 for additional approval information

and figure 30 for the ATEX approvals nameplate.

SAA Intrinsic Safety, Type n

Type 3661

Conditions of Certification

1.  It is a condition of certification that the following

parameters are taken into consideration during

installation when the equipment is used as an Ex ia

apparatus:

Input Parameters

2-Way terminal block

Maximum Input Voltage U

i

Maximum Input Current I

i

Maximum Internal Capacitance C

i

Maximum Internal Inductance L

i

32 V

150 mA

µ

0 mH

2.  It is a condition of safe use that the input voltage

does not exceed 32 Volts when the equipment is

used as an Ex n apparatus.

3.  It is a condition of safe use that the equipment

shall be mounted such that the exhaust vents will be

self-draining.

4.  It is a condition of safe use that the cable gland or

conduit adaptor with an ingress protection rating of

IP54 must be used in the conduit entry in order to

maintain the IP rating of the enclosure.

5.  It is a condition of safe use that the irrelevant

explosion protection marking codes on the

certification label are permanently scribed off upon

completion of commissioning.

Refer to table 5 for additional approval information,

and figure 31 for the SAA approvals nameplate.

Summary of Contents for Fisher 3660

Page 1: ...ioner Action 25 Changing the Range Spring 25 Changing the Input Signal Range on Type 3660 Positioners 25 Removing the Positioner from the Actuator 26 Center Bolt Mounting on the Type 1250 1250R 3024S and Baumann Actuators 26 Clamp Mounting on the Type 1250 1250R and 3024S Actuators 26 Mounting Bracket U Bolt Mounting on Type 657 and 667 Actuators 26 W7174 IL Figure 1 Type 3660 Positioner Mounted o...

Page 2: ...ors These positioners can also be mounted on Gulde 3024S and Baumann actuators Figure 1 shows a Type 3660 positioner mounted on a Baumann actuator The positioner mounts on the actuator and provides the desired plug position for a specific input signal The Type 3660 positioner accepts a pneumatic signal and the Type 3661 accepts a 4 to 20 milliampere dc input signal Specifications Specifications fo...

Page 3: ...1 1 Meets emission levels for Class A equipment industrial locations and Class B equipment domestic locations Meets immunity requirements for industrial locations Table A 1 in the IEC specification document Immunity performance is shown in table 2 Positioner Adjustments Span J Adjustable up to 20 mm 0 75 inch stem travel or J Adjustable from 20 mm 0 75 inch to 50 mm 2 inch stem travel Zero 0 to 10...

Page 4: ...tput pressure gauges J Integrally mounted bypass valve Type 3661 Output pressure gauge Declaration of SEP Fisher Controls International LLC declares this product to be in compliance with Article 3 paragraph 3 of the Pressure Equipment Directive PED 97 23 EC It was designed and manufactured in accordance with Sound Engineering Practice SEP and cannot bear the CE marking related to PED compliance Ho...

Page 5: ...rocedures to avoid personal injury If installing into an existing application also refer to the WARNING at the beginning of the Maintenance section in this instruction manual Check with your process or safety engineer for any additional measures that must be taken to protect against process media Special Instructions for Safe Use and Installation in Hazardous Locations Certain nameplates may carry...

Page 6: ...ection it is only intended to be installed in an area where a convenient protection is ensured against the entry of solid foreign bodies and liquids which may decrease the safety Refer to table 4 for additional approval information and figure 30 for the ATEX approvals nameplate SAA Intrinsic Safety Type n Type 3661 Conditions of Certification 1 It is a condition of certification that the following...

Page 7: ...tors with travel between 20 and 30 mm 0 787 and 1 18 inches 16 and 32 mm for 3024S actuators attach the feedback adaptor key 103 to the feedback plate key 68 using machine screws lockwashers and wedge nuts keys 102 101 and 104 The feedback plate and the wedge nuts must be assembled as shown in the lower right portion of figure 3 Use the mounting holes in the feedback adaptor and position it as ind...

Page 8: ...ESSURE TO ACTUATOR INPUT SIGNAL AIR SUPPLY OUTPUT FEEDBACK PLATE 2 ACTUATOR AIR TO EXTEND POSITIONER ACTION REVERSE INCREASING INPUT SIGNAL DECREASES OUTPUT PRESSURE TO ACTUATOR INPUT SIGNAL AIR SUPPLY OUTPUT 1 ACTUATOR AIR TO EXTEND POSITIONER ACTION DIRECT INCREASING INPUT SIGNAL INCREASES OUTPUT PRESSURE TO ACTUATOR INPUT SIGNAL AIR SUPPLY OUTPUT 2 NOTES WHEN MOUNTING ON BAUMANN ACTUATORS INSTA...

Page 9: ...P MOUNT SECTION A A CENTER BOLT MOUNT SIZE 45 WITH TRAVEL BETWEEN 20 AND 30 mm 0 787 AND 1 18 INCHES A A WEDGE NUT KEY 104 FEEDBACK PLATE KEY 68 FEEDBACK ADAPTOR KEY 103 LOCKWASHER K3Y 101 MACHINE SCREW KEY 102 FEEDBACK LEVER ASSEMBLY FILTER REGULATOR Figure 3 Positioner Mounting on Type 1250 1250R and 3024S Actuators ...

Page 10: ...ousing Then tighten the nuts key 66 only tight enough to prevent the positioner from moving on the actuator leg Locate the feedback lever assembly key 19 so that it may be temporarily installed into the positioner housing key 1 and the feedback plate key 68 to verify alignment Do not install the range spring at this time Place the pilot shaft key 19A in the slot of the feedback plate and at the sa...

Page 11: ...o the positioner and preloaded before attaching the positioner to the actuator 6 Attach the positioner to the actuator using a sealing washer and hex head screw keys 71 and 72 7 Install the feedback lever assembly and range spring Mounting on the Type 657 and 667 Actuators During the following mounting procedures refer to figures 7 24 and 25 for key number locations Figure 7 shows keys 61 through ...

Page 12: ...ers Instruction Manual Form 5265 March 2006 12 FILTER REGULATOR 41B6744 D DOC SECTION A A TO POSITIONER OUTPUT TYPE 667 NIPPLE MOUNTED FILTER REGULATOR A A APPLY LUB Figure 7 Positioner Mounting on Type 657 and 667 Actuators ...

Page 13: ...84 and the mounting bracket to the actuator leg using washers and hex nuts key 85 and 86 but do not tighten the nuts Depending on the positioner action it may be necessary to straddle the travel indicator scale located on the inside of the actuator leg Note Do not install the range spring in the following step Feedback lever assembly key 19 installation in the next step is only temporary to permit...

Page 14: ...stallation Key numbers are shown in either figure 24 for the Type 3660 positioner or figure 25 for the Type 3661 positioner Key numbers for the feedback lever assembly are shown in figure 26 ZERO ADJUSTMENT COVER FEEDBACK SHAFT SPRING PIN FEEDBACK SPRING FEEDBACK SPRING MUST HOOK AROUND SPRING PIN END OPPOSITE THE ZERO ADJUSTMENT SCREW 27B9999 D A7224 IL Figure 10 Positioning Feedback Spring CAUTI...

Page 15: ...key 17 flexures Installing the range spring A5211 IL Figure 12 Range Spring Alignment after the feedback lever assembly is completely installed may damage the lever assembly flexures 7 Tighten the retaining screw key 19P until the screw engages the anti rotating slot so that the bushing does not rotate but leave the screw loose enough so that the bushing can slide freely into the housing 8 Refer t...

Page 16: ...housing as shown in figure 14 12 Move the pilot shaft key 19A to the approximate span position shown in table 7 BUSHING AGAINST POSITIONER HOUSING ZERO ADJUST SELF LOCKING W7366 IL Figure 14 Feedback Lever Assembly in Operating Position Note To ensure proper positioner performance make certain after alignment and all tightening is completed that there is clearance between the face of the pilot sha...

Page 17: ...used in Type 3660 and 3661 positioners are made of EPDM ethylene propylene Use a clean dry oil free air supply with instruments containing EPDM components EPDM is subject to degradation when exposed to petroleum based lubricants Connect a clean dry oil free air source to the supply connection of the positioner Use 3 8 inch tubing or 1 4 inch pipe for the supply line A supply air filter or a filter...

Page 18: ...19 3 19 3 19 31B3959 C C0686 3 IL ACTUATOR POST CENTERLINE 34 32 1 35 49 2 1 94 191 2 7 53 93 3 66 49 1 93 34 32 1 35 ACTUATOR POST CENTERLINE 142 2 5 60 49 2 1 94 93 3 66 ACTUATOR CENTERLINE ACTUATOR CENTERLINE DIM X 122 3 4 81 30 1 18 30 1 18 21 5 85 1 4 INCH NPT OUTPUT CONNECTION 1 4 INCH NPT INSTRUMENT CONNECTION 1 4 INCH NPT SUPPLY CONNECTION 1 4 INCH NPT SUPPLY CONNECTION 1 4 INCH NPT INSTRU...

Page 19: ...efore assembling the pipe nipple pipe tee pipe bushings actuator piping and connector body apply sealant to all threads Sealant is provided with the diagnostic connectors and hardware 2 Turn the pipe tee to position the connector body and body protector for easy access when doing the diagnostic testing Vent Connection The Type 3660 and 3661 positioners are equipped with a 1 4 inch NPT vent connect...

Page 20: ...ated Adjustment locations are shown in figure 19 1 CONTROL DEVICE POSITIONER HOUSING TERMINAL BLOCK FIELD WIRING EARTH GROUND NOTE FOR TROUBLESHOOTING OR MONITORING OPERATION AN INDICATING DEVICE CAN BE A VOLTMETER ACROSS A 250 OHM RESISTOR OR A CURRENT METER 1 A3875 IL Figure 18 Typical Field Wiring Diagram 1 If mounting a new positioner on an actuator or if the positioner action has not been cha...

Page 21: ...ed These are left hand mounting on a spring to close actuator and right hand mounting on a spring to open actuator refer to figure 2 In the other two mounting positions the actuator must be pressurized to 100 percent input to create the spring holding force 6 Remove the calibration tool key 6 from the cover Place the calibration tool between the lever assembly key 17 and the input diaphragm assemb...

Page 22: ... 92 3 63 Three Way 3 1 0 2 to 0 5 3 to 7 0 5 to 0 8 7 to 11 0 8 to 1 0 11 to 15 0 3 4 0 5 to 1 0 6 to 14 1 0 to 1 5 14 to 22 1 5 to 2 0 22 to 30 0 6 8 4 to 9 33 9 33 to 14 66 14 66 to 20 5 33 11B3881X012 70 2 75 11B3881X012 137 5 38 Four Way 4 1 0 2 to 0 4 3 to 6 0 4 to 0 5 6 to 9 0 5 to 0 8 9 to 12 0 8 to 1 0 12 to 15 0 2 3 0 5 to 0 8 6 to 12 0 8 to 1 2 12 to 18 1 2 to 1 6 18 to 24 1 6 to 2 0 24 ...

Page 23: ...on In these cases bypassing the positioner sends the input signal directly to the actuator Such a change will affect the desired operation and possibly upset the system Use bypass operation only when the instrument signal range is the same as the positioner output range required for normal actuator operation Labels on the bypass body assembly key 41 figure 23 and a pointer on the bypass lever key ...

Page 24: ...ut pressure The positioner is once again in equilibrium but at a higher instrument pressure a slightly different flapper position and a new actuator stem position A decrease in instrument pressure decreases nozzle pressure which allows the relay to bleed off actuator loading pressure Operation of a reverse acting positioner is similar except that the position of the flapper is reversed from that s...

Page 25: ...signal to the positioner increases To change the action of a positioner that is already mounted on an actuator remove the positioner from the actuator Refer to the Removing the Positioner from Actuator section Refer to figure 24 or 25 for key number locations 1 Unscrew the two captive cover screws and remove the cover key 21 Carefully lift the flapper spring at the location shown by key 10 2 Slide...

Page 26: ...eys 66 and 67 in figure 3 and remove the positioner 3 To mount the positioner on the actuator refer to the Positioner Mounting section Mounting Bracket U Bolt Mounting on Type 657 and 667 Actuators Refer to figure 24 or 25 for key number locations unless otherwise indicated 1 Release all pressure from the positioner Disconnect the supply instrument and output tubing For Type 3661 positioners disco...

Page 27: ...ver Loosen the retaining screw key 19P and pull the feedback lever assembly key 19 out slightly to release the range spring key 30 tension Remove the range spring key 30 3 Remove the cheese head screw key 7 from the lever assembly key 17 and the diaphragm assembly key 28 4 Remove the two cheese head screws key 7 that hold the lever assembly key 17 to the housing and lift off the lever 5 Remove the...

Page 28: ...and turning motion slide the bypass lever assembly key 42 from the bypass body key 41 5 Inspect the O rings keys 43 44 45 and 49 for nicks and wear and replace as necessary When installing new O rings keys 43 44 and 45 on the shaft of the bypass lever assembly lubricate them sparingly using lubricant key 48 6 Install the bypass lever assembly key 42 into the body assembly key 41 using a gentle tur...

Page 29: ...e used for Type 3660 with bypass only An additional O ring is included in kit R3660X00012 but is not used for the Type 3660 Type 3661 R3660X00012 For Type 3661 the kit contains keys 9 26 27 28 29 43 44 45 49 95 and 97 Keys 43 44 45 and 49 are included in kit R3660X00012 but they are not used for the Type 3661 An additional O ring is also included in the kit for the I P converter outlet Mounting Ki...

Page 30: ...inum 13B7114X012 36 Pipe plug for Type 3661 stainless steel 1C3335X0012 37 Machine screw stainless steel 12B7285X012 Key Description Part Number 38 Output gauge optional Dual scale 0 to 2 Kg cm2 0 to 30 psig 11B4036X042 0 to 11 Kg cm2 0 to 160 psig 11B4036X062 Triple scale 0 to 2 bar 0 to 0 2 MPa 0 to 30 psig 11B4036X012 0 to 11 bar 0 to 1 1 MPa 0 to 160 psig 11B4036X032 39 Instrument gauge option...

Page 31: ...42 For 3661 Positioner For units with supply gauge SST fittings 12B8053X012 Brass fittings 12B8053X022 For units without supply gauge SST fittings 12B8053X032 Brass fittings 12B8053X042 Mounting Parts Common Mounting Parts Key Description Part Number 61 Elbow brass 2 req d for Types 657 1250 and 1250R 1 req d for Type 667 1 4 inch NPT 6 mm tubing 19A5602X032 1 4 inch NPT 1 4 tubing 1H229118992 1 4...

Page 32: ... and Type 3024S Sizes 1 31 and 1 41 19A4789X012 Type 3024S Size 1 21 10B6607X012 75 Washer pl steel 2 req d Types 1250 1250R and Type 3024S Sizes 1 31 and 1 41 10B6633X012 Type 3024S Size 1 21 1C225728982 Key Description Part Number 76 Lockwasher pl steel 2 req d Types 1250 1250R and Type 3024S Sizes 1 31 and 1 41 1C225728982 Type 3024S Size 1 21 2 req d 10B6609X012 Design GX 17B6150X022 Lockwashe...

Page 33: ...and 3661 Positioners Instruction Manual Form 5265 March 2006 33 51B3945 J DOC A A D D B B C C VIEW D D SECTION C C VIEW A A WITH M20 CABLE GLAND VIEW A A WITHOUT COVER Figure 25 Type 3661 Positioner Assembly ...

Page 34: ...X022 68 Feedback plate stainless steel 21B3932X012 69 Hex head screw stainless steel 2 req d 11B3943X012 70 Washer stainless steel 2 req d 10B6609X022 Key Description Part Number 71 Washer center bolt mounting only 1U984499012 72 Hex head screw center bolt mounting only stainless steel 11B3942X012 101 Lockwasher stainless steel 2 req d For size 45 20 to 30 mm travel only 12B1230X012 102 Machine sc...

Page 35: ...2 82 Mounting Bracket stainless steel 31B6741X012 83 Stud clamp stainless steel 11B6739X012 84 U bolt stainless steel 2 req d Sizes 50 and 60 11B6737X012 Sizes 30 34 40 45 and 46 11B6738X012 Key Description Part Number 85 Washer stainless steel 4 req d 1F1280X0022 86 Hex nut stainless steel 4 req d 1A3457K0012 87 Connector bracket stainless steel 21B6742X012 88 Feedback arm stainless steel 21B6740...

Page 36: ...arch 2006 36 STANDARD FOR BAUMANN ACTUATORS 28B9418 B DOC 28B9423 B DOC 19K 19G 19L 19M 19N 19D 19U 19C 19A 19B 19E 19Q 19F 19T 19P 19H 19J 19S 19R 19K 19G 19L 19M 19N 19U 19D 19C 19A 19B 19E 19Q 19F 19T 19P 19H 19J 19S 19R Figure 26 Feedback Lever Assembly ...

Page 37: ...his section includes loop schematics required for wiring of intrinsically safe installations as well as the approvals nameplates If you have any questions contact your Emerson Process Management sales office 21B5606 B Sheet 1 of 2 DOC 21B5606 B SHT 2 DOC Figure 27 CSA Loop Schematics for Type 3661 ...

Page 38: ...3660 and 3661 Positioners Instruction Manual Form 5265 March 2006 38 Figure 28 CSA and FM Approvals Nameplate for Type 3661 21B5607 B DOC Figure 29 FM Loop Schematic for Type 3661 ...

Page 39: ... 3661 Positioners Instruction Manual Form 5265 March 2006 39 INTRINSIC SAFETY TYPE N Figure 30 ATEX Approval Nameplates for Type 3661 INTRINSIC SAFETY AND TYPE n Figure 31 SAA Approvals Nameplate for Type 3661 ...

Page 40: ...cts at any time without notice Neither Emerson Emerson Process Management Fisher nor any of their affiliated entities assumes responsibility for the selection use and maintenance of any product Responsibility for the selection use and maintenance of any product remains with the purchaser and end user EFisher Controls International LLC 1987 2006 All Rights Reserved Printed in USA Baumann FlowScanne...

Reviews: