EAL - EAML
58 F - 63 F / G
INSTALLATION INSTRUCTIONS
© Copyright 2020 Eltra S.p.a. Unipersonale. All rights reserved.
All informations in this catalog are subject to change without notice.
Eltra takes no responsibility for typographic errors. For the terms of sales please check the website www.eltra.it.
Function
Cable colour
M12 5 pin
connector
*M12 8 pin
connector
+V DC
red
2
2
0 V
black
3
3
Vout / Iout
green
1
1
Iin
yellow
/
6
BEGIN
white
4
4
END
brown or grey
5
5
shield
housing
housing
ELECTRICAL CONNECTIONS
Complete documentation available on www.eltra.it
This device must be supplied by a Class 2
Power source or Limited Voltage / Current Circuit
Input Voltage: + 30V DC max
Input Current: 0.5A max
Teach-in procedure with SET button
• press SET button (at least 3 sec) -> the encoder enters into teach in procedure
(led B (GREEN) / led A (RED) on)
• keep pressed SET button (at least 3 more sec, 6 sec total) -> teach in procedure confi rmed
(led B (GREEN) / led A (RED) fl ashing 2 Hz frequency), 1 min timeout
• rotate the encoder shaft to initial position
• press SET button -> initial position set
(led B (GREEN) on / led A (RED) fl ashing), 10 min timeout
• rotate the encoder shaft to end position
• press SET button -> end position set
(led B (GREEN) / led A (RED) fl ashing 4 times (1,5 Hz frequency))
• led B (GREEN) on -> user parameters set
To reset to factory default (1 turn EAL - 15 turns EAML) press SET button at least 10 seconds
(led B (GREEN) / led A (RED) alternate fl ashing) -> led A (RED) on
Teach-in procedure with BEGIN/END inputs
• rotate the encoder shaft to start position
• set BEGIN input on high level (pulse) -> led B (GREEN) on / led A (RED) fl ashing (10 min timeout)
• rotate the encoder shaft to end position
• set END input on high level (pulse) -> end position set
(led B (GREEN) and led A (RED) fl ashing 4 times (frequency 1,5 Hz))
• led B (GREEN) on -> user parameter set
To reset to factory default (1 turn EAL - 15 turns EAML) set BEGIN / END inputs on high level simultaneously
(led B (GREEN) / led A (RED) alternate fl ashing) -> led A (RED) on
Led A (RED)
Led B (GREEN)
Meaning
on
off
normal operation / default parameters
off
on
normal operation / user parameters
on
on
entering teach-in
fl ashing
fl ashing
teach-in confi rmed / frequency 2 Hz
fl ashing
on
encoder start position set, wait for end position
fl ashing
fl ashing
SET button pressed for at least 10 sec
reset to factory default / alternate fl ashing
The leds on the encoder cover are useful to understand operating status of the product as show on below
table:
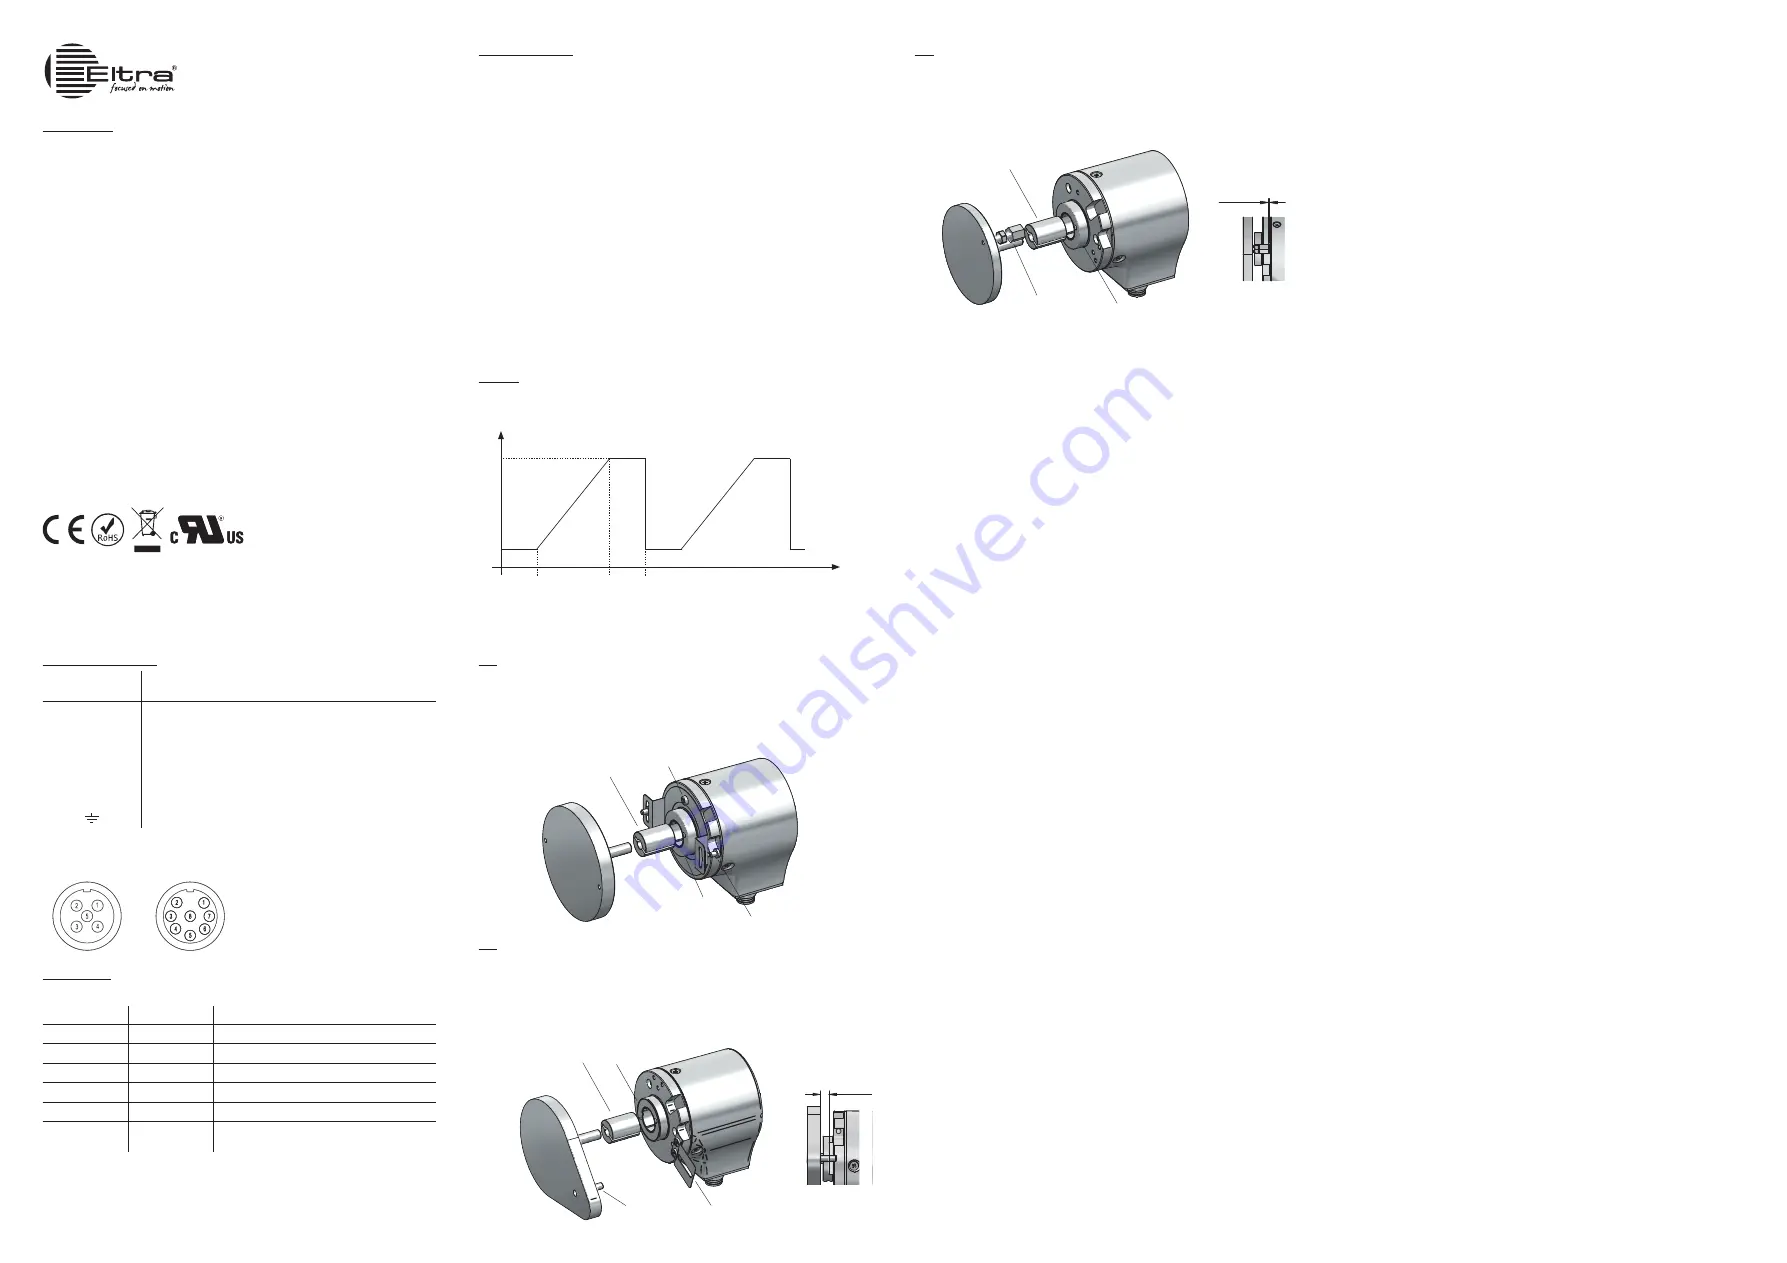
Overrun values outside programmed travel POS1 and POS2 are equally splitted respect minimum and
maximum output value with approximation to the next integer.
TEACH IN PROCEDURE
OVERRUN
LED INDICATION
SAFETY ADVICES
• The transducer must be used in observance of its specifi cations. The transducer is a precision measuring
instrument and it is not a safety device.
• The personnel charges in mounting and commissioning of the device must be qualifi ed and carefully
follow installation instructions. It is strongly recommended to avoid any mechanical or electrical
modifi cation for safety reasons. The warranty will lose in case of any modifi cations.
• Don’t expose the device to stresses or impacts in order to ensure the correct functioning.
• Make sure that the mechanical coupling of the transducer shaft is designed with the appropriate elastic
couplings, especially in the case of excessive axial or radial movements.
• The mechanical coupling between motor and trasducer shaft has to be made with appropriate elastic
couplings, especially in the case of excessive axial or radial movements.
• Check the operating environment is free from corrosive agents (acids, etc.) or substances that are not
compatible with the device and with its IP rating.
• Check the connection of the device to the ground; if necessary, provide an additional external connection.
• Products with variant code (a number or combination of numbers after “.”) may have different mechanical,
electrical or connections from standard product. Please refer to the additional documentation.
• Installation and wiring must be performed by trained personnel in a POWER-OFF condition.
• To prevent short-circuits, insulate unused wires at different lengths; do not use unused pins on the
connector.
• Before switching on, verify the voltage range applicable to the device.
• Place power and signal cables in order to avoid capacitive or inductive interferences that may cause
malfunction of the device. Place also transducer cable far from power lines or any other cable with high
noise levels.
• The user who integrates the transducer in his appliance must observe CE regulations and he is responsible
for the CE marking of the end machine/device.
• The malfunctions due to failure to observe these usage and installation precautions will loose the
warranty.
• Eltra considers itself free from any liability for damages or injuries due to non-observance of these
directives.
M12 connector (8 pin)
M12 A coded
solder side view FV
M12 connector (5 pin)
M12 A coded
solder side view FV
* with Q current ouput
Position
* not included
** not included, see P/N 41890426
this page intentionally left blank
this page intentionally left blank
this page intentionally left blank
Analogue output value
1. Apply the shaft adapter
1
(if present) to the encoder shaft and then to the customer motor shaft.
2. Apply the spring on the encoder with n.3 M3x4 supplied screws (recommeded threadlocker
Loctite 243), fi xing torque 0,4 Nm / 57 Ozin recommended.
3. Apply the encoder shaft on the motor shaft.
4. Fix the spring
2
to the customer motor fl ange without fi xing it with n.2 M3 screws
3
.
5. Fix the collar clamping
4
with an HEX key 2,5, fi xing torque 1,5 Nm / 212 Ozin recommended.
6. Fix the spring.
1. Apply the shaft adapter
1
(if present) to the encoder shaft.
2. Screw the torque pin
2
on the customer motor fl ange with key n.8, then secure it with the nut with key n.7.
3. Apply the encoder on the customer motor shaft, making sure the pin is inserted in the hole on the front
part of encoder, maintaining a minimum distance of 0,5 mm, see Figure A.
4. Fix the collar clamping
3
with an HEX key 2,5, fi xing torque 1,5 Nm / 212 Ozin recommended.
Figure A
1. Apply the shaft adapter
1
(if present) to the encoder shaft and then to the customer motor shaft.
2. Apply the bracket
2
on the encoder with n.3 M3x4 supplied screws (recommeded threadlocker Loctite 243),
fi xing torque 0,4 Nm / 57 Ozin recommended.
3. Apply the torque pin
3
to the customer motor shaft (recommeded threadlocker Loctite 243).
4. Apply the encoder shaft on the motor shaft and make sure to keep a minimum distance of 1 mm
between the bracket and the customer motor fl ange (fi gure A).
5. Fix the collar clamping
4
with an HEX key 2,5, fi xing torque 1,5 Nm / 212 Ozin recommended.
Figure A
Eltra S.p.a. Unipersonale
36040 Sarego - Italy tel. +39 0444 436489 fax. +39 0444 835335
www.eltra.it [email protected]
200610
63 G
cod.29050030
58 F
63 F
Min
Max
POS1
POS2
4
4
3**
1
2
3*
1
2
3
1
2


