WB-2P-LR5. User manual
61
•
•
•
•
•
•
•
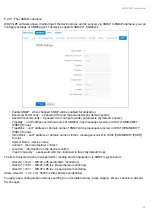
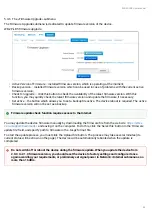
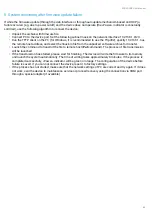
NAT Settings:
If there is modification of network addresses between client and ACS server (NAT – network address translation),
ACS server might not have the opportunity to establish connection with the client if certain technologies are not
used to avoid it. The techologies help the client to define so called public address (NAT addresses – an address
of external gateway, behind which the client is located). When the public address is defined, the client inform the
server. Then, the server uses the public address (not the local) to establish connection with the client.
NAT mode
– defines how client should obtain public address. The following modes are available:
STUN
– use STUN protocol for defining public address;
Manual
– manual mode, when public address is set manually in the configuration; in this mode, you
should add the rule for forwarding of TCP port used by TR-069 client on the device implementing NAT
functions;
Off
– do not use NAT – the mode is recommended to be used only when the device is connected to
ACS server directly, without network addresses modification. In this case, public address coincides
with local one.
When
STUN
mode is selected you should configure the following settings:
STUN Server Address
– IP address or domain name of STUN server;
STUN Server Port
– UDP port of STUN server (the value by default is 3478);
Minimum Keep Alive Period, s
and
Maximum Keep Alive Period, s
– defines time interval for sending
messages to STUN server periodically to detect public address changing.
When
Manual
mode is selected, client address is set manually in
NAT Address
parameter (the address should be
set in IPv4 format).
Through TR-069, you may implement main configuration of the device, firmware update and reading the data on
the device (firmware version, model, serial number, etc.), uploading/downloading of configuration file, remote
reboot (TR-069, TR-098 specifications are supported).
To apply a new configuration and store settings into the non-volatile memory, click the
'Apply'
button. To discard
changes click the
Cancel
button.
5.4.9
The «Advanced» submenu
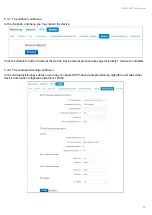
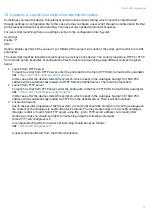
Use this menu to set reserved VLAN ID, enable UPnP and enable/disable Service Wi-Fi.
UPnP

