


7.1 Cooling:
Normally,
Cabinet temperature > temperature set-point (SEt value) + differential (diF), compressor starts when minimum protection time elapses.
Cabinet temperature < SEt value, compressor stops.
Note: The minimum protection time equals to OdO (delay Output (from power) On) at power on for the first time and later dOF (delay
(after power) OFF).
If cabinet temperature sensor is faulty, cooling outputs in duty cycle mode per Ont/Oft.
①Ont=0, Oft=0, the compressor is always off.
②Ont=0, Oft≠0, the compressor is always off.
③Ont≠0, Oft=0, the compressor is always on.
7.2 Defrost
1) dEt=0 (defrost endurance time is set to 0), defrost is disabled.
2) dEt≠0, neither during defrosting nor dripping:
① Evaporator sensor is enabled (H42=y), evaporator sensor temperature ≥ defrost stop temperature (dSt), defrost cannot start.
② H42=y, evaporator sensor temperature < dSt, or evaporator sensor is disabled (H42=n), defrost can start in any one of the following
conditions:
a.If dPO=y (defrost (at) Power On is enabled), and dOH (defrost Offset Hour) elapses.
b.Defrost interval time (dit) elapses.
c.Press for 3 sec.
Note: dit and dOH is counted per dCt=1(fixed time interval), dCt=0(compressor operating hours) or dCt=2(compressor stop hours).
3) During defrosting, defrost stops in any one of the following conditions:
① Evaporator sensor is enabled (H42=y), evaporator sensor temperature > dSt.
② dEt (defrost endurance time) elapses.
③ Press for 3 sec.
4) The controller enters dripping time after defrost to drain the water generated during defrosting. Cooling is disabled during drainage
time (dt). It enters cooling cycle status after drainage time elapses.
5) Display during defrosting
ddL=0 (Defrost display Lock): shows the temperature read by the cabinet probe.
ddL=1: locks the reading on the temperature value read by cabinet probe when defrosting starts, and until the next time the Set-point
value is reached.
User Manual ECS-974neo Temperature Controller
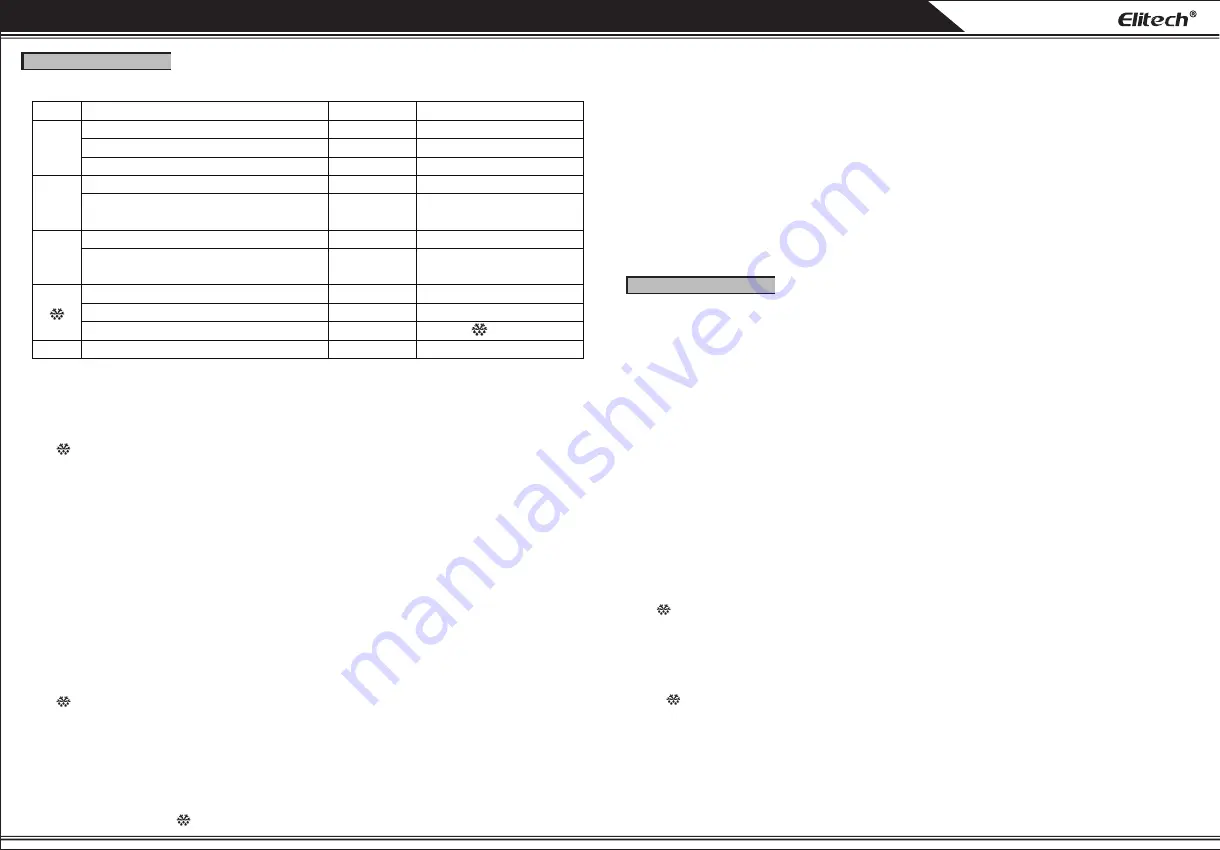
6. Keys’ function
7.Control output
6.1 Keys
Key
Func
ti
on
Opera
ti
on
LED
SET
Access
u
ser me
nu
Press a
n
d re
l
ease
set
L
ED
on
Access admi
n
istrat
o
r me
nu
Press f
o
r 5 sec
set
L
ED
on
Shift betwee
n
me
nu
s a
n
d parameters
Press
set
L
ED
on
▲
Scr
oll
s thr
ou
gh the me
nu
items
&
i
n
creases the va
lu
es
Press
set
L
ED
on
U
p
lo
ad data t
o
c
o
p
y
card
Press f
o
r 3 sec
Disp
l
a
y
“u
P
”
if
u
p
lo
ad s
u
cceeded;
disp
l
a
y
“
Er
”
if
u
p
lo
ad fai
l
ed.
▼
Scr
oll
s thr
ou
gh the me
nu
items
&
decreases the va
lu
es
Press
set
L
ED
on
D
o
w
nlo
ad data fr
o
m c
o
p
y
card
Press f
o
r 3 sec
Disp
l
a
y“
d
o”
if d
o
w
nlo
ad s
u
cceeded;
disp
l
a
y
“
Er
”
if d
o
w
nlo
ad fai
l
ed.
Exit
u
ser me
nu
Press
set
L
ED
o
ff
View the temperat
u
re read b
y
evap
o
rat
o
r pr
o
be
Press
Disp
l
a
y
defr
o
st temperat
u
re
F
o
rce defr
o
st t
o
start
/
st
o
p
Press f
o
r 3 sec
on
o
r
o
ff
▲
+
▼
Reset t
o
defa
ul
t
(
the sec
on
d c
o
p
y
)
Press f
o
r 10 sec
Disp
l
a
y
“
rSt
”
if it s
u
cceeded.
6.2 Operation
1) Set temperature
a. Press and release the SET key to enter user menu, set LED lights and SEt is displayed.
b. Press the SET key to display SEt value.
c. Use
▲
and
▼
keys to change SEt value.
d. Press key or keep the controller inactive for 30 sec to save settings and exit.
e. If the keys are locked, LOC is displayed and it is disabled to adjust SEt value.
2) Set password
a. Press the SET key for 5 sec, the controller displays PA1 (administrator menu password). (If you want to enter administrator menu, you
need to input correct password. When PA1≠0, and you enter administrator menu, the controller displays PA1 value. When PA1=0, you
will enter administrator menu directly).
b. Press the SET key to display 00, then press
▲
or
▼
to enter the password value.
c. After entering password value, press the SET key (to confirm the password), PA1 is displayed. The controller automatically verifies the
correctness of the password. When the password is verified (enter administrator menu), use
▲
or
▼
key to scroll through diF, HSE……
CA2, ddL; Otherwise, the controller will exit settings.
d. Once set, PA1 value must be remembered. Otherwise, parameters cannot be changed. The value 125 is a universal password.
3) Set parameters (PA1 value is input correctly to access administrator menu settings)
a. When a menu item is selected, press SET key to set its value.
b. Use
▲
or
▼
to change the value.
c. Press SET key to back for selecting another item.
d. Press key or keep the controller inactive for 30 sec to save settings and exit.
4) Reset parameters
a.In measuring status, press
▲
and
▼
keys for 10 sec, rST is displayed and the controller resets to default.
b.When Elitech copy card CPK-4 is used to download parameters to the controller, it doubles parameters.
c.The first copy is used to control and the second is used to reset parameters.
d.If the second is changed, please connect CPK-4 again to download parameters.
5) Force to start/stop defrost:
Press for 3 sec to shift between cooling, defrost and drip.
6) Copy card
Upload (copy parameters in the controller to the copy card)
a.Use keys to set parameters
b.Insert the copy card, press
▲
key until “uP” is displayed.
c.Plug out the copy card after 5 sec to power on the controller again.
Download (copy parameters in the copy card to the controller)
a.Insert the copy card, press
▼
key until “do” is displayed.
b.Plug out the copy card after 5 sec to power on the controller again.
Note: “Er” shows to indicate upload/download programming failure. Check whether the copy card is connected well.
“EP” shows to indicate the data in copy card disagrees with controller model, causing programming failure. Find a correct copy card to
upload or download parameters.
In this course, keep the power supply stable and copy card connected well. Please do not plug out the copy card before the operation is
finished.


