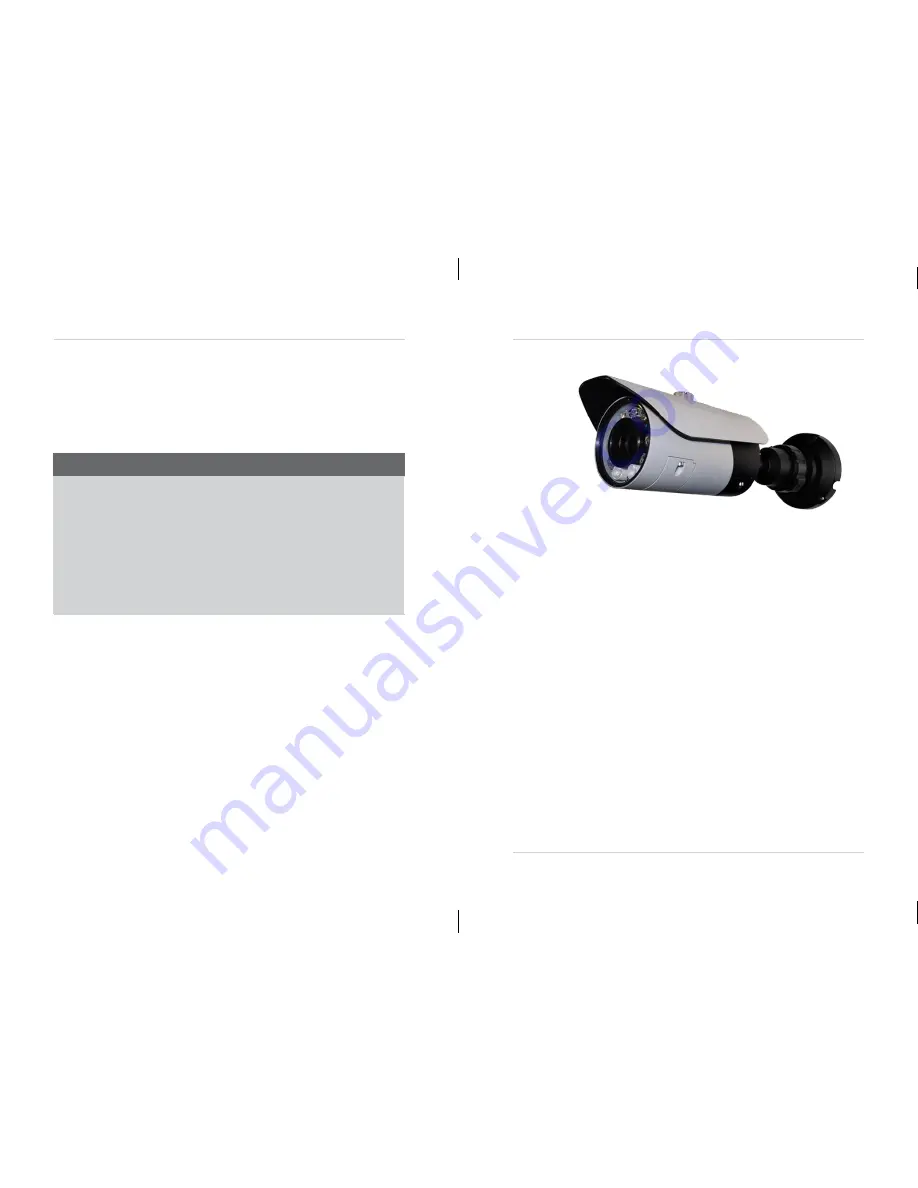
eLine ELI-SIP-B21-312R Instruction Manual Download Page 4


Features


 HD CMOS Progressive Scan


 720p or 1080p models with real-time (25/30 fps)


 Triple-streaming (H.264/MJPEG)


 Future proof ONVIF 2.1 compliance (1.02 backwards compatible)


 Compatible with popular third  party VMS software*


 Power-over-Ethernet  (PoE) operation, 14Watt max/12V operation


 Backup options: micro SD card, FTP, NAS, local


 Mobile Apps: iPhone®, iPad®, Andr

oid™


 Supports two-way audio 

• 

3.6mm 

 12mm Vari-focal lens


 Screw panel Vari-focal adjustment & service video setup & micro SD


 90 ft. (25-30m) IR Night Vision, True Day/Night (TDN)


 IP66 Weatherproof and IK7 Vandal Resistant


 Multi-browser support: IE, Firefox, Safari, Chrome


 3-axis gimbal for versatile mounting


* Check Onvif compliance on for your software.


General Precautions


1.   All warnings and instructions  in this manual should be followed.


2.   Remove the plug from the outlet before cleaning. Do not use liquid aerosol detergents. Use a 

water dampened cloth for cleaning.


3.   Keep enough space around the unit for ventilation. Slots and openings in the storage cabinet 

should not be blocked.


4.   During lightning storms, or when the unit is not used for a long time, disconnect the power 

supply, antenna, and cables to protect the unit from electrical  surge.


FCC CLASS A NOTICE


NOTE


This equipment has been tested and found to comply with the limits  for a Class A digital  device pursuant to 

Part  15  of  the  FCC  Rules.  These  limits are  designed  to  provide  reasonable  protection against  harmful 

interference when the equipment is operated in a commercial  environment. This equipment generates, uses, 

and can radiate radio frequency energy and, if not installed and used in accordance with the manu

facturer’

instruction  manual, may cause harmful  interference  with radio communications. Operation of this equipment 

in a residential area is likely to cause harmful  interference,  in which case you will  be required to correct the 

interference  at your own expense.


This equipment has been certified and found to comply with the limits regulated by FCC, EMC, and 

LVD. Therefore, it is designated to provide reasonable protection against interference and will not 

cause interference with other appliance usage.


However, it is imperative that the user follows the guidelines in this manual to avoid improper 

usage which may result in damage to the unit, electrical  shock and fire hazard injury.


In order to improve the feature functions and quality of this product, the specifications are subject 

to change without notice from time to time.


eLine Technology

eLineTechnology.com

Summary of Contents for ELI-SIP-B21-312R

Page 1: ...llation guide Browser setup with settings explained Product Made in China under ISO9001 ISO1400 standards Manual Printed in China v1 0 NETWORK CAMERA GUIDE Install Browse Use 01 BSM 16 1000002 eLine T...

Page 2: ...ce of un insulated dangerous voltage within the product s enclosure that may be of sufficient magnitude to constitute a risk of electric shock The exclamation point within an equilateral triangle is i...

Page 3: ...ore the video product is operated Follow all operating instructions 2 Retain Instructions The safety and operating instructions should be retained for future reference 3 Heed Warnings Comply with all...

Page 4: ...to protect the unit from electrical surge FCC CLASS A NOTICE NOTE This equipment has been tested and found to comply with the limits for a Class A digital device pursuant to Part 15 of the FCC Rules T...

Page 5: ...ted 1 1 1 Default Camera Username Password and Ports 1 1 2 Camera Interior Overview 2 1 2 1 Functions of Status LED s 2 1 3 ONVIF Compatibility and Included Software Overview 3 1 3 2 NVMS 3 1 3 3 CD C...

Page 6: ...will automatically assign IP address NOTE Once you have completed the basic setup of the camera it is recommendedto configure astatic IP address This will preventthecamera IP address changing in the e...

Page 7: ...le only Mac OS access to the cameras is available via Safari browser only 1 3 1 NVMS NVMS is a client only solution that supports up to 36 IP cameras NVMS is a free software provided on the CD NVMS su...

Page 8: ...rews Wall Connection 3 CAMERA INSTALLATION Make sure to follow the correct polarity if connecting the camera to DC power Polarity is marked on the power connector 1 Use the included drill template to...

Page 9: ...enter the default NVMS user name admin and password admin Click Login Enter Admin Enter Admin Click Login 3 NVMS opens and scans the local network for connected cameras Detected camera IP addresses o...

Page 10: ...Bookmarks button Finding the Camera s IP Address 4 Click on a camera IP address in Device List to login 5 Under User Name enter the user name for the camera default admin Under Password enter the pas...

Page 11: ...nmanually port forward yourrouter See yourrouter s user manual for details An example of a port forwarding screen is shown below HTTP 80 80 100 Control 30001 30001 100 Finding the Camera s IP Address...

Page 12: ...Login Once you have logged into your system using your DDNS address you can connect to the IP camera from a remote location using a web browser NVMS Configuring Remote Connection Step 3 of 6 Locate y...

Page 13: ...drag the camera to the display grid to open it NOTE For detailed instructions on using NVMS see the NVMS manual on the CD Configuring Remote Connection 5 1 Connecting to a DDNS address using NVMS NOTE...

Page 14: ...era includes a built in web interface that can be accessed using a web browser 6 1 Supported Browsers Google Chrome Mozilla Firefox and Apple Safari via Adobe Flash Player Microsoft Internet Explorer...

Page 15: ...sh Player to play live video Opens a link to download Flash Player from Adobe s website After completing the installation restart your browser and reconnect to the camera Select ActiveX or Flash Playe...

Page 16: ...t button This button will reset the sub menu options to factory defaults You then have to click OK to save changes Web Configuration 6 4 Web Interface Live Video Overview Camera configuration menus Cl...

Page 17: ...ain Profile or H 264 Base Profile Stream3 supports MJPEG only Audio Encode Type Select the Audio Encoding type for the stream G711_ALAW G711_ULAW or RAW_PCM Resolution Select the resolution for the st...

Page 18: ...ddress you would like to assign to the camera Make sure the IP address is available on your network Subnet Mask Enter the subnet mask Preferred DNS Server Alternate DNS Server Enter desired DNS server...

Page 19: ...ation The camera has the following ports Control port The default is 30001 Enables video streaming HTTP Port The default is 80 Enables web access Please note that if the HTTP is port is anything other...

Page 20: ...zone and Daylight Savings Time settings to ensure accurate time After a power failure the camera is configured to connect to an NTP server and automatically update the time when power is restored If u...

Page 21: ...ck OK 6 7 8 Language Change the language for the camera OSD display e g time and date display and email alarms Supported languages are English Polish Russian and Chinese Web Configuration Custom Creat...

Page 22: ...uage for the OSD and email alarms 1 Click Device Configuration Language 2 Under Language select the desired language then click OK to save changes 6 8 Alarm Configuration Alarm Configuration contains...

Page 23: ...Disk Name select SD1 Web Configuration 3 Click Schedule to configure a motion detection schedule The Schedule Time Setting menu opens NOTE If the Schedule Time Setting does not open disable any popup...

Page 24: ...pace in MB you would like to make available on the FTP server for recording Web Configuration 4 Click Modify The Record Disk Path menu opens Select SD1 Click Modify 5 Check Enable Check Enable Click F...

Page 25: ...mit the amount of space the camera can record on and enter the amount of space in MB available to the camera under Free Space 5 Click OK Web Configuration 6 Click OK 7 Set up recording using the Recor...

Page 26: ...all selected times in all 3 periods Click OK when finished configuring the recording schedule 4 To enable Motion Alarm Recording check Enable under Alarm Record Configure Pre recording and Post recor...

Page 27: ...rt For example if the Domain Name is mycamera dyndns org use the address http mycamera dyndns org 80 User Name Enter your User Name you registered as Web Configuration number of days and enter the Num...

Page 28: ...K to save your settings Click Send testmail to send a test email alert 6 13 Privilege Manager Privilege Manager allows you to configure user accounts and user groups Privilege Manager contains the fol...

Page 29: ...stem administrator and has full access to all functions Web Configuration 6 13 1 Group The Group page Privilege Group allows you to manage permissions for user groups Users obtain permissions from the...

Page 30: ...blockers 2 Enter a User Name and Password for the account and repeat the password under Confirm 3 Under Group select the desired user group for this account 4 Check Multi Login to allow the user acco...

Page 31: ...ter settings ShutterMode Select AutoShutter or FixedShutter Web Configuration 6 16 Default Settings Click Default Settings Click Restore then click OK to restore the camera to factory default settings...

Page 32: ...Gamma Gamma Select gammasetting Standard High Middle Low or Dynamic Web Configuration MaxShutter Sets the upper limit of the shutter speed when AutoShutter is selected FixedShutter Sets the shutter sp...

Page 33: ...is recommended to turn Control Mode to OFF Working Mode Select DLO Digital Side Overflow for environments with few moving objects Select MC Motion Compensation for environments with multiple moving o...

Page 34: ...sure rubber seal is firmly in place when replacing the panel cover Reset Button Web Configuration 6 17 10 Mirror Enable disable image mirroring Mirror Select Horizontal to mirror the image horizontal...

Page 35: ...monitor display shows the camera s IP address A default IP address of 192 168 0 120 may mean that the camera cannot obtain an IP address from the router Check the Ethernet power connections and router...

Page 36: ...8 If using a browser other thanIE e g Google Chrome Apple Safari Mozilla Firefox make sure latest version of Adobe Flash Player is installed Video performs poorly on browser Insufficient bandwidth ava...

Reviews: