DC and AC Power
Prior to using the TK-669D, we recommend you fully charge the rechargeable battery through the
USB Power Input (Figure 2). This may take up to four hours.
Lift the rubber tab on the back of the TK-669D to expose the power switch, as shown in Figure 2.
Select the Lithium Ion battery switch position:
Connect the DC power input cable
(not included)
to the USB mini jack, and the other end to the
USB power source. The red battery charge indicator light will illuminate when charging (Figure 2).
Continue to charge the TK-669D for several hours or until the charging light turns from red to
green. The TK-669D is now ready for use.
NOTE:
Use 5.0V USB power source
(not included)
(from a computer or appropriate AC or DC
adaptor). Over-voltage may result in damaging the TK-669D.
Solar Power
Lift the rubber tab on the back of the TK-669D to expose the power switch, as shown in Figure 2.
Select the Lithium Ion battery switch position:
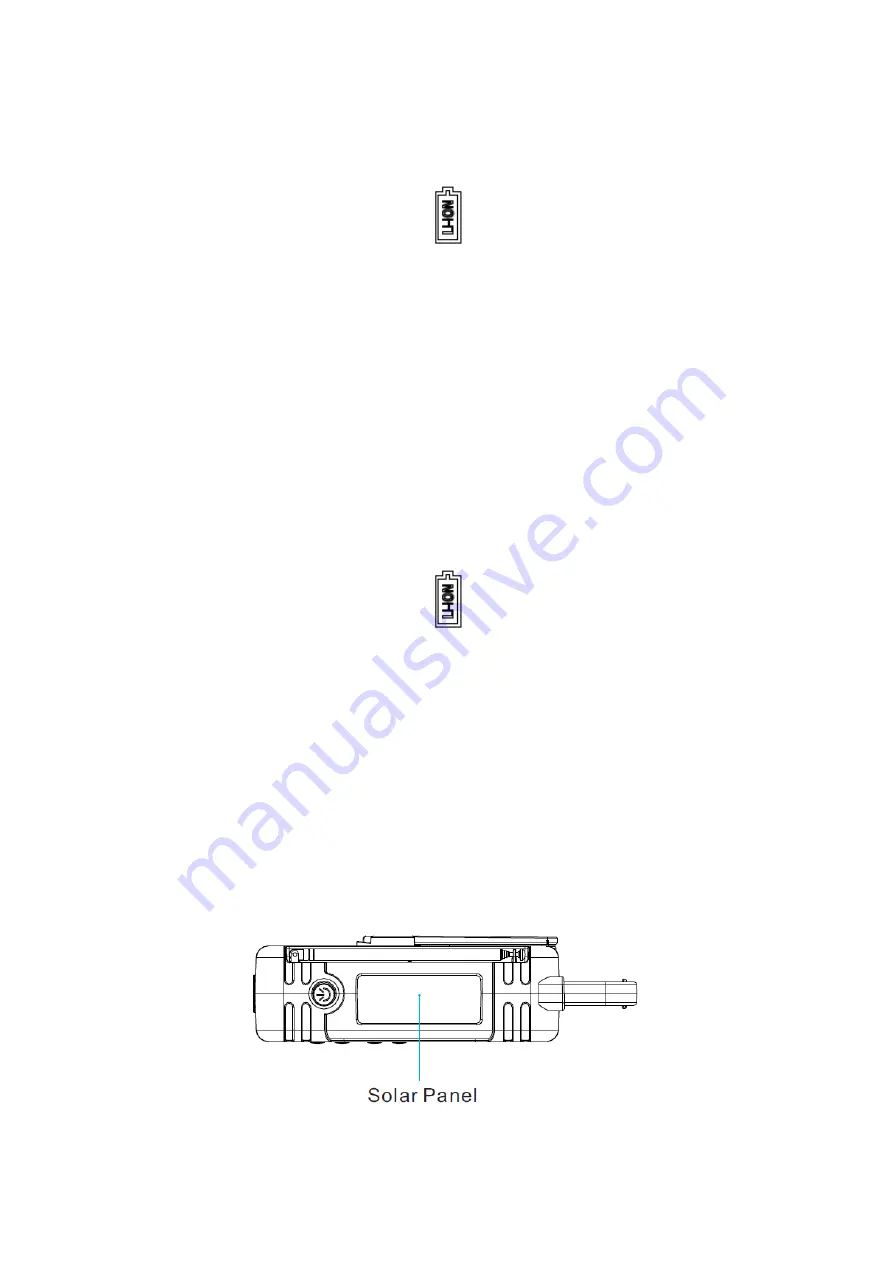
Place the TK-669D in direct (or indirect) sunlight with the solar panel facing upwards. The green
battery charging light may illuminate when charging, as shown in Figure 1.
NOTE:
There is not enough solar energy to turn on the red charging light. Thus, no light or a faint
green light (which consumes less energy) may be present during solar charging.
NOTE:
If the display heats up outside the operational range, the display will fade. For solar
charging, partial sunlight or shade is sufficient.
Figure 4


