40
www.electrolux.com
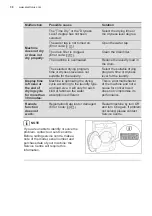
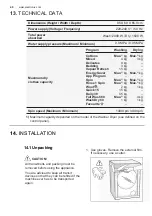
TECHNICAL DATA
13.
Dimensions (Height / Width / Depth)
Maximum dry
clothes capacity
Spin speed (Maximum / Minimum)
1400 rpm / 400 rpm
Power supply (Voltage / Frequency)
Total power
absorbed
Water supply pressure (Maximum / Minimum)
INSTALLATION
14.
Cottons
Mixed
Delicates
Bedding
Vapour Refresh
Energy Saver
App Program
Spin
Rinse + Spin
Wool
Quick 15
Daily 39
Full Wash 60
WashDry 60
Favourite
Max.
1)
kg
4 kg
4 kg
3 kg
1.5 kg
Max.
1)
kg
–
Max.
1)
kg
Max.
1)
kg
2 kg
1.5 kg
5.5 kg
Max.
1)
kg
1 kg
–
Washing
Program
Max.
1)
kg
3 kg
–
–
–
Max.
1)
kg
–
Max.
1)
kg
Max.
1)
kg
1 kg
–
–
4 kg
1 kg
–
Drying
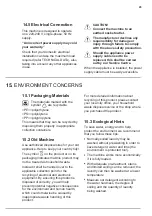
14.1 Unpacking
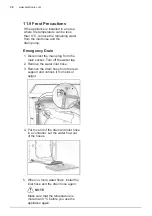
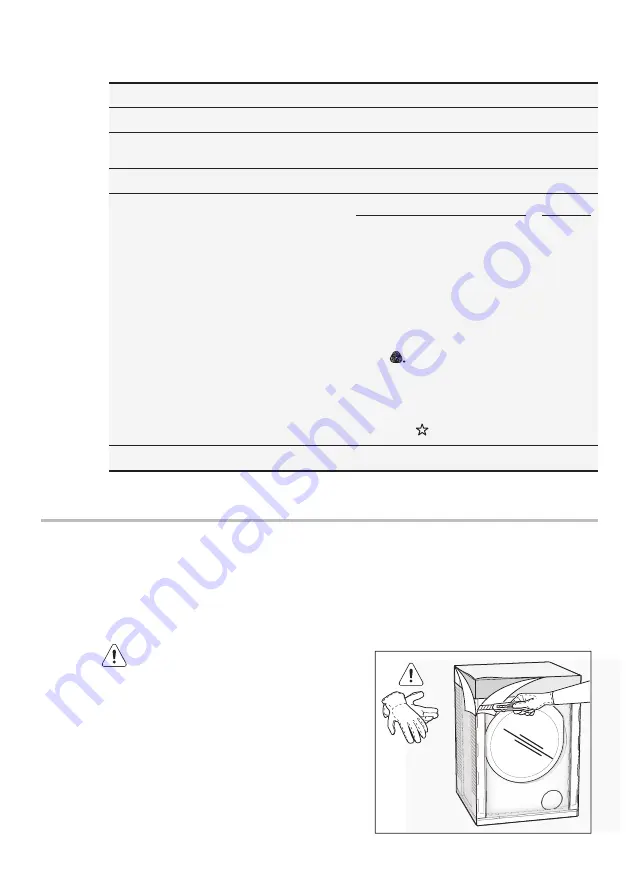
Use gloves. Cut and remove four cut
out straps as shown.
1.
You are advised to keep all transit
devices so that they can be refitted if the
machine ever has to be transported
again.
All transit bolts and packing must be
removed before using the appliance.
CAUTION!
1)
Maximum capacity depended on the model of the Washer Dryer (see defined on the
control panel).
220-240 V~ / 50 Hz
85 X 60 X 65.9 cm
Wash: 2000 W / Dry: 1500 W
0.8 MPa / 0.05 MPa
You are advised to keep all transit
devices so that they can be refitted if the
machine ever has to be transported
again.
All transit bolts and packing must be
removed before using the appliance.
CAUTION!
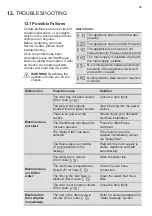
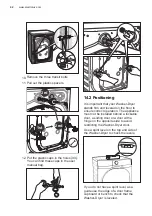
Use gloves. Remove the external film.
If necessary, use a cutter.
1.
6.
7. Remove the polystyrene base.
8.
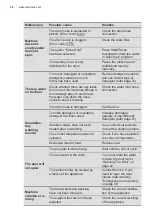
Put one of the polystyrene packaging
elements on the floor behind the
appliance. Carefully put down the
appliance with the rear side on it.
Make sure not to damage the hoses.
Pull up the appliance in vertical
position.
Open the door. Remove all the items
from the drum.
5.
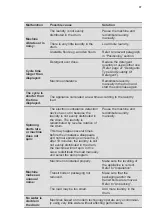
9. Remove the power supply cable and
the drain and inlet hoses from the
hose holders (A) on the rear of the
appliance.
Remove the cardboard top.
2.
Remove the polystyrene packaging
materials.
3.
Remove the plastic bag which cover
the machine.
4.
14.
INSTALLATION
14.1 Unpacking
Summary of Contents for EWW1042R7WB
Page 1: ...Washer Dryer EWW1042R7WB User Manual 2 WI FI Connectivity Setup 46 ...
Page 48: ...48 www electrolux com NOTE ...
Page 49: ...49 NOTE ...
Page 50: ...50 www electrolux com NOTE ...
Page 51: ...51 ...

