background image

15

www.electrolux.com

Summary of Contents for ERN23800

Page 1: ...2222781 90 r e f r i g e r a t o r INSTRUCTION BOOKLET ERN23800 EN ...

Page 2: ... from being done to the cooling circuit Only for freezers except for the case of built in models one ideal place is the cel lar Do not put electric devices inside the appliance an ice cream maker for exam ple Service Repairs Any modification to the house s electric sys tem that proves necessary for installing the appliance is to be performed by qualified per sonnel only It is dangerous to modify o...

Page 3: ...ce where the recycling centres are located The materials used in this appliance and identi fied by the symbol can be recycled Discarding old appliances The symbol on the product or packing means that this product cannot be handled as household waste It must be taken to special collection centres that deal with recycling electri cal and electronic material By ensuring that this product is eliminate...

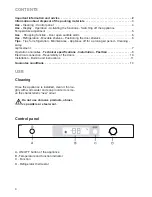
Page 4: ...on about disposal of the packing materials 3 Use Cleaning Control panel 4 Use Display Operation Activating the functions Switching off the appliance Temperature adjustment 5 Use Shopping function Door open audible alarm 6 Use Refrigeration Movable shelves Positioning the door shelves 6 Tips Tips for refrigeration Maintenance Appliance off for a prolonged period Cleaning Lamp replacement 7 Operatio...

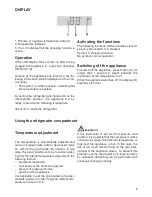
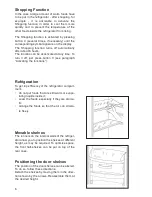
Page 5: ...l indicates the countdown of the temperature 3 2 1 When the appliance switches off the display B switches off in turn Using the refrigerator compartment Temperature adjustment The temperature is automatically adjusted and can be increased less cold or decreased cold er with of the grip handle D rotation In any case the exact position is to be found consider ing that the internal temperature depend...

Page 6: ...it off just press button C see paragraph Activating the functions Refrigeration To get top efficiency of the refrigerator compart ment do not put foods that are still warm or evapo rating liquids inside it cover the foods especially if they are aroma tic arrange the foods so that the air can circula te freely Movable shelves The runners on the internal walls of the refriger ator allow you to posit...

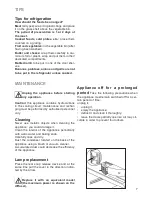
Page 7: ...t maintenance and rechar ging must be performed by authorised personnel only Cleaning Never use metallic objects when cleaning the appliance you could damage it Clean the interior of the appliance periodically with warm water and baking soda Carefully rinse and dry Dust the condenser located on the back of the appliance using a brush or vacuum cleaner Accumulated dust could decrease the efficiency...

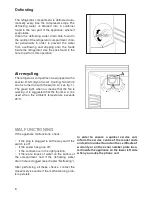
Page 8: ...e controls are in the right position if there are traces of water on the bottom of the compartment and if the defrosting water drain hole is clogged see chapter Defrosting After performing all these checks contact the closest service centre if the malfunctioning prob lem persists In order to ensure a quicker service call inform the service centre of the model code and serial number found on the ce...

Page 9: ...ECIFICATIONS POWER SUPPLY VOLTAGE AND FREQUENCY 230 240 V 50 HZ TOTAL POWER ABSORBED 0 6 A AVERAGE DAILY UNITS ELECTRICITY 0 36 KWH GROSS CAPACITY 225 L NET CAPACITY 222 L LOCATED This figure is based on standard test results in accordance with uropean Standard EN153 Actual consumption will depend on how the appliance is used and where it is located The appliance should be located in a dry atmo sp...

Page 10: ...lowing code Green and Yellow Earth Blue Neutral Brown Live If you fit your own plug the colours of the wires in the mains lead of your appliance may not cor respond with the markings identifying the termi nals in your plug proceed as follows Connect the Green and the Yellow earth wire to the terminal in the plug which is marked with the letter E or the earth symbol or coloured green and yellow Con...

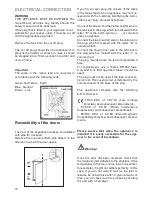
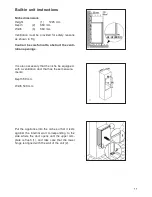
Page 11: ...ruct the venti lation openings It is also necessary that the niche be equipped with a ventilation duct that has these measure ments Depth 50 mm Width 540 mm Put the appliance into the niche so that it rests against the internal wall corresponding to the side where the door opens until the upper tem plate is flush 1 and take care that the lower hinge is aligned with the wall of the unit 2 ...

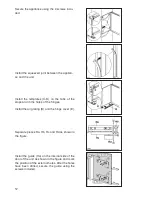
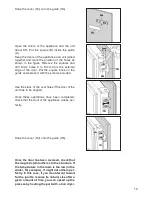
Page 12: ...of the stops and in the holes of the hinges Install the air grating B and the hinge cover E Separate pieces Ha Hb Hc and Hd as shown in the figure Install the guide Ha on the internal side of the door of the unit as shown in the figure and mark the position of the external holes After the holes have been drilled secure the guide using the screws included ...

Page 13: ... screws included Use the slack of the oval holes if the door of the unit has to be aligned Once these operations have been completed check that the door of the appliance closes per fectly Snap the cover Hd onto the guide Hb Once the door has been reversed check that the magnetic joint adheres to the structure If the temperature in the room is too low in the winter for example it might not adhere p...

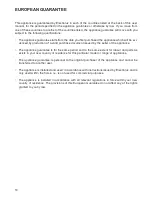
Page 14: ...ed by the seller of the appliance The appliance guarantee is for the same period and to the same extent for labour and parts as exists in your new country of residence for this particular model or range of appliances The appliance guarantee is personal to the original purchaser of the appliance and cannot be transferred to another user The appliance is installed and used in accordance with instruc...

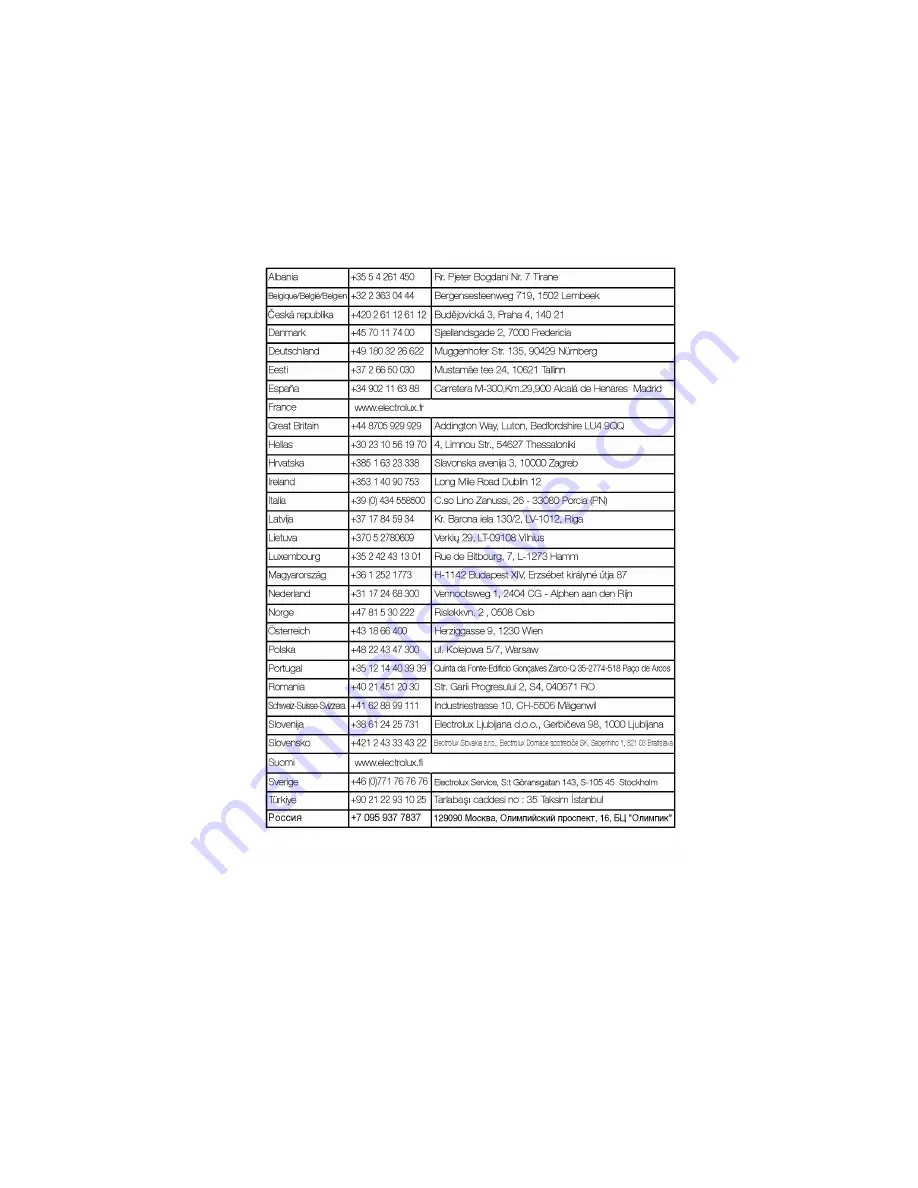
Page 15: ...15 www electrolux com ...

Page 16: ...www electrolux com ...

Reviews: