user manual
electrolux en:tice barbecue
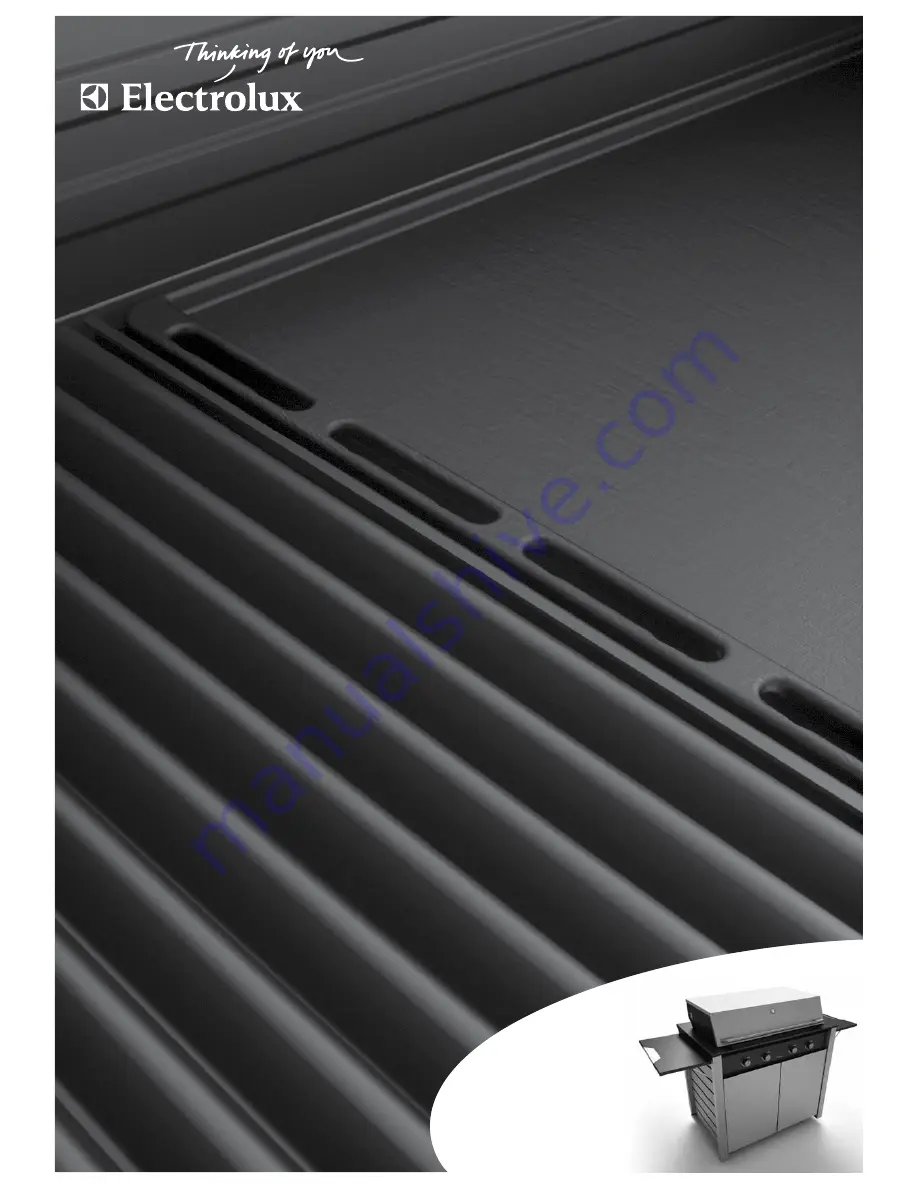
EQBM60AS and EQBM90AS
Page 1: ...user manual electrolux en tice barbecue EQBM60AS and EQBM90AS ...
Page 2: ...zards We recommend that you keep this instruction booklet for future reference and pass it on to any future owners After unpacking the barbecue please check it is not damaged If in doubt do not use the appliance but contact your local Electrolux Customer Care Centre Conditional Use This appliance is intended to be used in household and similar applications such as Farm Houses By clients in holiday...
Page 3: ...ersists turn off the gas supply and call Electrolux Service or a Licensed Gas Fitter warning Do not lean over barbecue when lighting Do not leave the barbecue unattended when alight Do not delay lighting once the gas has been turned on Do not store or use aerosol cans in the vicinity of the barbecue Do not store flammable liquids in the vicinity of the barbecue Do not use caustic or abrasive based...
Page 4: ...th brake 5 Swivel wheels not illustrated 6 Gas bottle well 7 Storage compartment 8 Fold down side table 3 1 10 12 13 8 7 11 2 9 6 4 9 Grill 10 Hotplate 11 Warming racks 12 Gas connection point 13 Gas hose with universal LPG connection 14 Match holder for manual lighting not illustrated 15 Removable oil reservoirs located at front of cooking surface not illustrated ...
Page 5: ...electrolux en tice barbecue EQBM90AS dimensions 5 Dimensions EQBM90AS 581mm 202mm 539mm 924mm 1080mm 1169mm 700mm 966mm Weight 86kg ...
Page 6: ... 6 Gas bottle well 7 Fold down side table 8 Grill 3 1 9 14 10 11 7 2 8 6 4 9 Hotplate 10 Gas connection point 11 Gas hose with universal LPG connection 12 Match holder for manual lighting not illustrated 13 Removable oil reservoirs located at front of cooking surface not illustrated 14 Wire warming rack 6 EQBM60AS description electrolux en tice barbecue ...
Page 7: ...Dimensions EQBM60AS 581mm 636mm 792mm 700mm 1169mm 966mm 202mm 539mm electrolux en tice barbecue EQBM60AS dimensions 7 Weight 70kg ...
Page 8: ... assembly 1 Hotplate 1 Grills 2 Wire warming rack model EQBM60AS 1 description qty Base panel 1 Left side panel assembly 1 Right side panel assembly 1 Left right door assemblies 2 Wheel assemblies 4 Blister pack containing screws washers door hinge brackets and control knobs 1 Warming racks model EQBM90AS only 2 Tools you will need for assembly Phillips head screwdriver Contents of your barbecue p...
Page 9: ...ing the burner box and hood assembly from the box ensure that it is placed onto a support such as the polystyrene packaging to prevent kinking the flexible gas hose Unpacking the barbecue Polystyrene Packaging Polystyrene Packaging Take care to prevent kinking of hose here ...
Page 10: ...rtially install screws to base panel DO NOT screw in fully Assembling the barbecue Lower hinge bracket Base panel Lower hinge bracket Qty 4 Type 3 screw M5 x 12 Spring washer Flat washer Qty 2 Lower hinge bracket Screw locations Qty 3 Type 1 screw M4 x 8 Note EQBM60AS only requires 2 screws Base panel ...
Page 11: ...et 4 Partially install screws to left side panel assembly DO NOT screw in fully Screw locations Qty 7 Type 1 screw M4 x 8 Left side panel assembly Left side panel assembly Qty 2 Type 3 screw M5 x 12 Spring washer Flat washer Qty 1 Left upper door hinge bracket Left upper door hinge bracket ...
Page 12: ... 6 Partially install screws to right side panel assembly DO NOT screw in fully Qty 2 Type 3 screw M5 x 12 Spring washer Flat washer Qty 1 Right upper door hinge bracket Right side panel assembly Right upper door hinge bracket Qty 7 Type 1 screw M4 x 8 Screw locations Right side panel assembly ...
Page 13: ...it wheel and bracket assemblies Right side panel assembly Base panel Qty 8 Type 2 screw M6 x 20 Spring washer Flat washer Left side panel assembly All hinge brackets this side up Base panel secured by 2 screws each side Qty 4 Type 2 screw M6 x 20 Door hinge brackets this side up Wheel assembly with brake Qty 2 Wheel assembly with brake Qty 2 Wheel assembly without brake ...
Page 14: ... slots under screw heads and tighten screws 9 places 3 each side 3 at bottom 10 Fit upper rear panel Align upper rear panel slots at side with screws and slide rear panel slots under screw heads and tighten screws 4 places 2 each side DO NOT fit screws to these holes until next step Rear panel Upper rear panel angled bend at top ...
Page 15: ...n each side above the base and lower into position Ensure the trim panel fits neatly over the top frame and the gas hose fits through the slot in the separation panel Do not fit screws to underside of separation panel at front until step 13 Qty 3 Type 1 screw M4 x 8 Note EQBM60AS only requires 2 screws Side of panel rests on shoulder of side panel Screws fitted to holes at rear Separation panel as...
Page 16: ...the 3 tabs EQBM60AS only has 2 tabs at top into slots Ensure that valve shafts locate through holes Check the lower tabs of control panel are below the separation panel Align the lower tab holes with those in the separation panel and fit screws in 2 places Qty 4 Type 3 screw M5 x 12 Fibre washer Left side screw locations Right side screw locations Qty 2 Type 3 screw M5 x 12 Upper control panel tab...
Page 17: ...ower pins of door to support brackets Repeat for other door Fit matcholder chain to inside of door with clip 15 Control knobs Align the control knob with the valve shaft and push on NOTE the hole and the shaft are not completely round having one side flat these need to be aligned Doors to be at 90 to barbecue for assembly Qty 4 Control knob ...
Page 18: ...e 17 Fit grills The grills are to be placed in the correct orientation to enable the grease to flow to the front grease collectors refer diagram for details Slots of grease collectors to be placed over the location screws Rear bracket locates on top of burner box Bracket at front located behind barrier panel to prevent grill from sliding forward Location screws ...
Page 19: ...ll when correctly installed 18 Fit hot plate The hot plate has forms underneath for location The rear forms lift the plate at rear to give slope for grease drainage The front forms are located behind front barrier to prevent sliding forward The plate slope will match the grills when installed correctly 19 Fit warmer racks model EQBM90AS only The warmer racks have slots in the rear bend which slide...
Page 20: ...d 0 97kPa with one burner operating and approximately 0 87kPa for model EQBM90AS and 0 89kPa for model EQBM60AS with four burners operating The outlet pressure at the LPG regulator will be lower when all burners are operating Burner pressure should read 2 75kPa with one burner operating and approximately 2 67kPa with four burners operating For conversion to Natural Gas a conversion kit is availabl...
Page 21: ...n 3 Connect the NG hose to the NG regulator Place threaded end of hose through hole in rear panel Apply thread tape or sealant to the male thread on the hose and screw into the regulator The thread type for this connection is 1 2 BSPT 4 Connect the regulator to the barbecue gas inlet Fit the regulator ensuring the blue sealing washer is in place and the arrow is pointing in the right direction The...
Page 22: ...must be installed in accordance with Australian Standards AS4557 and AS5601 and in accordance with the local authority Choosing a location valve rotation limit screw warning This appliance shall only be used in an above ground open air situation with natural ventilation without stagnant areas where gas leakage and products of combustion are rapidly dispersed by wind or natural convection This barb...
Page 23: ...r with attached chain is fixed to the inner panel of the left door To light manually unclip match holder and fit a 40mm match to the holder and light Pass match through viewing slots below the front of the cooking plate down towards the burner then rotate the control knob to HIGH to ignite If ignition fails turn the control valve OFF and allow several minutes for the gas to disperse before attempt...
Page 24: ...e off after turning all knobs to OFF position when appliance not in use Using the roasting hood Cooking with the hood closed only requires 2 burners to be on low setting Setting is to be adjusted depending on conditions and using the temperature indicator as a guide It is recommended when roasting to place the solid hot plate in the centre with one grill on each side of the plate Use the two outer...
Page 25: ...nd has cooled down before following the instructions below Cast iron plates enamel coated steel grills The cooking plates and grills have a porcelain enamelled coating Note Many food acids juices marinades and sauces contain highly acidic elements that will slowly attack the surface of the cast iron if not removed immediately after cooking After use remove all solid material from the cooking surfa...
Page 26: ... Gas bottle empty refill or change gas bottle Ignition system not working Check spark being generated when knob rotated Ignition electrode wet or dirty gently clean and dry electrode ensuring position unchanged Manually light the barbecue Excess smoke being emitted from the cooking area Too much heat Turn down gas valve or turn off selected burners Smell of gas DO NOT ATTEMPT TO LIGHT THE APPLIANC...
Page 27: ...orkmanship Electrolux is not liable in the following situations which are not exhaustive a the Appliance is damaged by i accident ii misuse or abuse including failure to properly maintain or service iii normal wear and tear iv power surges electrical storm damage or incorrect power supply v incomplete or improper installation vi incorrect improper or inappropriate operation vii insect or vermin in...
Page 28: ...ppliances that our customers really need and want This kind of thoughtful care means innovating with insight Not design for design s sake but design for the user s sake For us thoughtful design means making appliances easier to use and tasks more enjoyable to perform freeing our customers to experience that ultimate 21st century luxury ease of mind Our aim is to make this ease of mind more availab...