background image

4

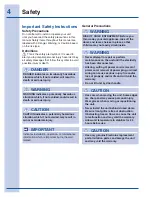
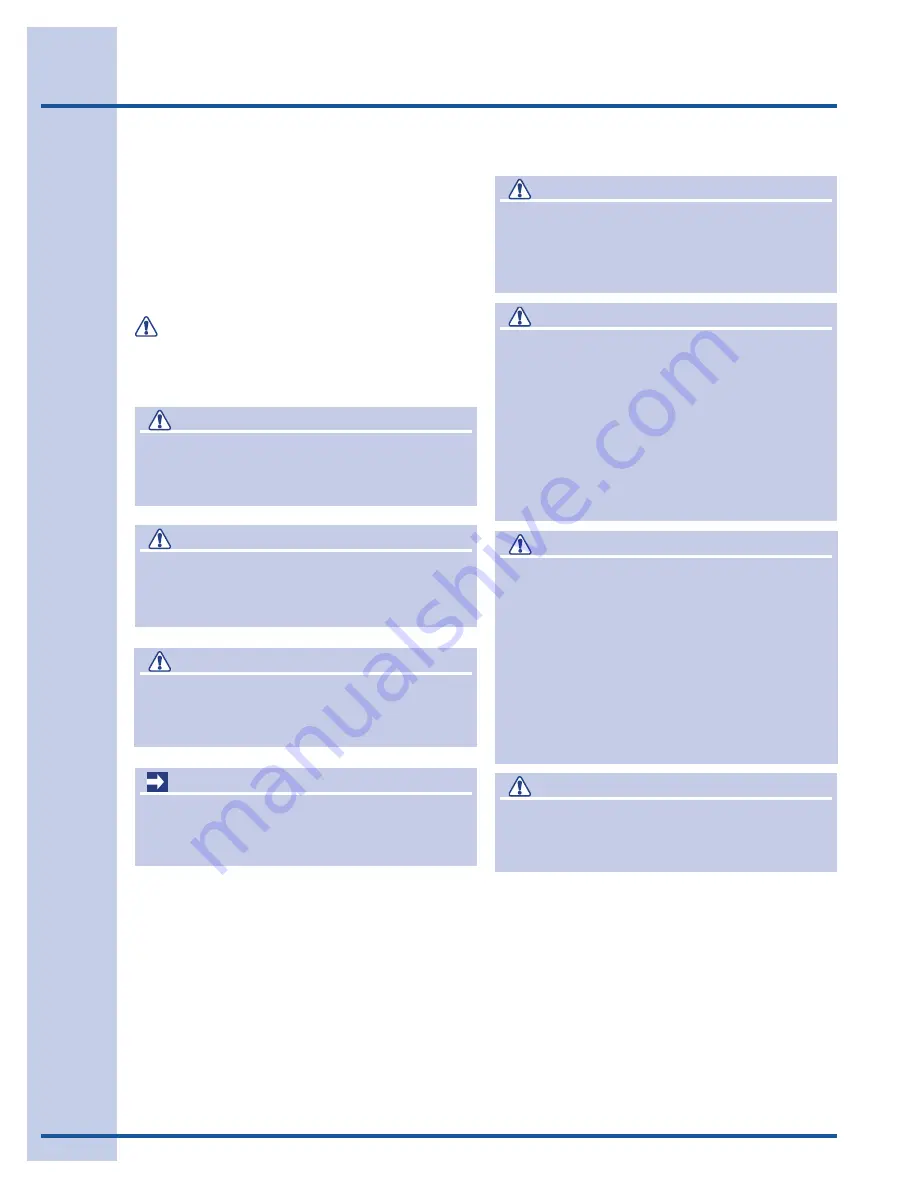
Safety

Important Safety Instructions

Safety Precautions


Do not attempt to install or operate your unit 
until you have read the safety precautions in this 
manual. Safety items throughout this manual are 
labeled with a Danger, Warning, or Caution based 
on the risk type.

Definitions

       This is the safety alert symbol. It is used to 
alert you to potential personal injury hazards. Obey 
all safety messages that follow this symbol to avoid 
possible injury or death.

       WARNING

WARNING indicates a potentially hazardous 
situation which, if not avoided, could result in 
death or serious injury.

       IMPORTANT

Indicates installation, operation, or maintenance 
information which is important but not hazard-
related.

       CAUTION

CAUTION indicates a potentially hazardous 
situation which, if not avoided, may result in 
minor or moderate injury.

       DANGER

DANGER indicates an imminently hazardous 
situation which, if not avoided, will result in 
death or serious injury.

General Precautions

       WARNING

RISK OF CHILD ENTRAPMENT. Before you 
throw away your old appliance, take off the 
doors and leave shelves in place so that 
children may not easily climb inside.

       WARNING

•  Never attempt to repair or perform 

maintenance on the unit until the electricity 
has been disconnected.

•  Altering, cutting of power cord, removal of 

power cord, removal of power plug, or direct 
wiring can cause serious injury, fire and/or 
loss of property and/or life and will void the 
warranty.

•  Do not lift unit by door handle.

       CAUTION

•  Use care when moving the unit. Some edges 

are sharp and may cause personal injury. 
Wear gloves when moving or repositioning 
the unit.

•  Never install the unit behind closed doors. 

Be sure front grille is free of obstruction. 
Obstructing free air flow can cause the unit 
to malfunction and may void the warranty.

•  Allow unit temperature to stabilize for 24 

hours before use.

       CAUTION

•  Use only genuine Electrolux replacement 

parts. Imitation parts can damage the unit 
and may void the warranty.

Summary of Contents for EI24RD65

Page 1: ...Use Care Guide Refrigerator Drawers Guia de Uso y Cuidado Cajones de refrigerador Guide D utilisation et D entretien Tiroirs de réfrigérateur 241958100 May 2008 ...

Page 2: ...l in a safe place for future reference Should any problems occur refer to the Troubleshooting section of this manual This information will help you quickly identify a problem and get it remedied In the event you require assistance please contact the dealer where you purchased your unit Make a Record for Quick Reference Whenever you call to request information or service you will need to provide yo...

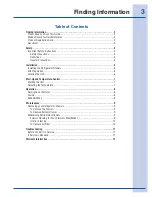
Page 3: ...rs 5 Site Preparation 6 Leveling the Unit 6 Start Up and Temperature Control 7 Starting the Unit 7 Adjusting the Temperature 7 Operation 8 Description of Features 8 Alarms 8 Sabbath Mode 8 Maintenance 9 Removing your Refrigerator Drawers 9 To Remove Top Drawer 9 To Remove Bottom Drawer 9 Maintaining Refrigerator Drawers 9 Exterior Cleaning for Your Stainless Steel Model 9 Interior Cleaning 10 To R...

Page 4: ...ion which if not avoided will result in death or serious injury General Precautions warning RISK OF CHILD ENTRAPMENT Before you throw away your old appliance take off the doors and leave shelves in place so that children may not easily climb inside WARNING Never attempt to repair or perform maintenance on the unit until the electricity has been disconnected Altering cutting of power cord removal o...

Page 5: ...is recommended that the cabinet rough opening dimensions be increased by at least inch over the dimensions given for your unit Width Height Depth 2313 16 inch 34 35 inches 263 4 inch Unit Dimensions Product Dimensions WARNING Double drawer Refrigerator Drawers are designed to be built in only They can not be used for free standing All screws supplied with the Anti Tip Kit are for mounting the brac...

Page 6: ...l codes 5 Position the unit to allow free air flow through the front grille 6 Wipe out inside of unit with a damp cloth 7 Be sure to install the Anti Tip bracket Follow the instructions provided with the Anti Tip bracket kit Site Preparation 1 Position the unit on a flat level surface capable of supporting the entire weight of the unit Remember the unit will be significantly heavier once it is ful...

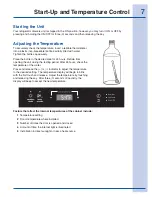
Page 7: ...ting period After 24 hours check the temperature of the water Press and release the or indicator to adjust the temperature to the desired setting The temperature display will begin to blink with the first touch and release Adjust the temperature by touching and releasing the key After three 3 seconds of inactivity the display will beep to accept the new temperature Start Up and Temperature Control...

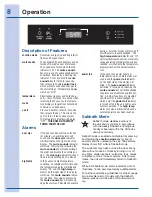
Page 8: ...e the alarm and disable the audible Description of Features vacation mode Conserves energy by disabling interior lights and keypad inputs mute sounds Tones emitted by each keypress can be turned off based on user preference The sounds are muted when the red indicator is lit The mute sounds key also is used to acknowledge alarm conditions denoted by a flashing red indicator Press and hold the mute ...

Page 9: ...ill remove surface contamination that could lead to rust Some installations will require cleaning on a weekly basis DO NOT CLEAN WITH STEEL WOOL PADS DO NOT USE CLEANERS THAT ARE NOT SPECIFICALLY INTENDED FOR STAINLESS STEEL this includes glass tile and counter cleansers CAUTION Stainless steel models exposed to chlorine gas and moisture such as areas with spas or swimming pools may have some disc...

Page 10: ... the interior with a solution of non abrasive mild detergent and warm water 3 Rinse with clear water 4 Reconnect power to the unit To Replace Air Filter 1 Fully extend lower drawer Air filter is located on lower left wall of cabinet 2 Remove old filter and replace with new filter Maintenance ...

Page 11: ...l service company you can check online at www electroluxappliances com or call 1 877 435 3287 warning ELECTROCUTION HAZARD NEVER attempt to repair or perform maintenance on the unit until the main electrical power has been disconnected Problem Possible Cause Remedy Unit not cold enough Control set too warm Airflow to front grille blocked Door gasket not sealing properly Adjust temperature colder S...

Page 12: ... of Alaska 13 Damages to the finish of appliance or home incurred during transportation or installation including but not limited to floors cabinets walls etc 14 Damages caused by services performed by unauthorized service companies use of parts other than genuine Electrolux parts or parts obtained from persons other than authorized service companies or external causes such as abuse misuse inadequ...

Page 13: ......

Reviews: