


limited period of time ( see Technical In-
formation chapter). After that, the induc-
tion cooking zone automatically sets back
to highest heat setting. To activate, touch
,
comes on. To deactivate, change
the heat setting.
4.7
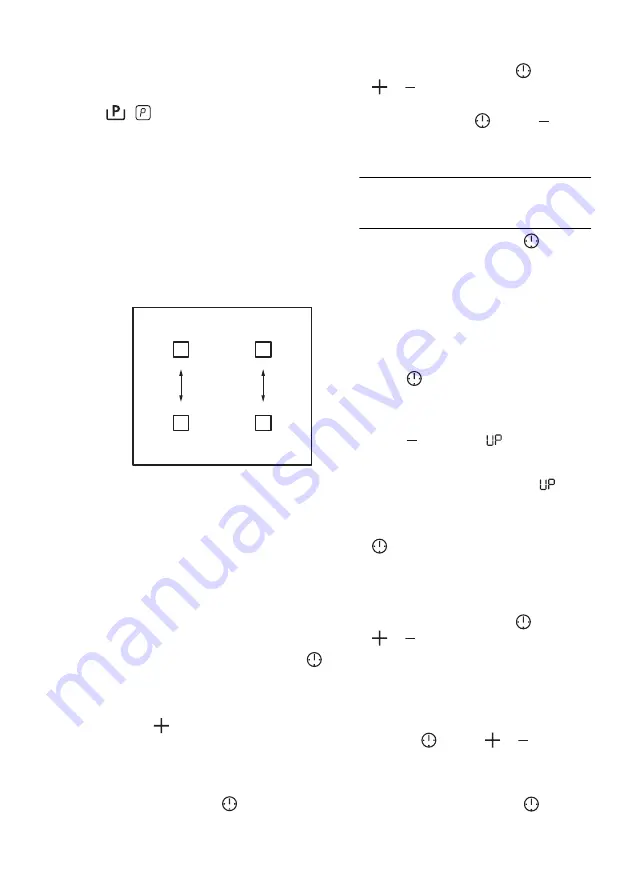
Power management
The power management divides the pow-
er between two cooking zones in a pair
(see the illustration). The power function
increases the power to the maximum level
for one cooking zone in the pair. The
power in the second cooking zone auto-
matically decreases. The heat setting dis-
play for the reduced zone changes be-
tween two levels.
4.8
Timer
Count Down Timer
Use the Count Down Timer to set how
long the cooking zone operates for only
this one time.
Set the Count Down Timer after the
selection of the cooking zone.
You can set the heat setting before or af-
ter you set the timer.
•
To set the cooking zone:
touch
again and again until the indicator of a
necessary cooking zone comes on.
•
To activate the Count Down Timer:
touch
of the timer to set the time (
00
-
99
minutes). When the indicator
of the cooking zone start to flash slow,
the time counts down.
•
To see the remaining time:
set the
cooking zone with
. The indicator of
the cooking zone starts to flash quickly.
The display shows the remaining time.
•
To change the Count Down Timer:
set the cooking zone with
. Touch
or .
•
To deactivate the timer:
set the
cooking zone with
. Touch . The
remaining time counts back to
00
.
The indicator of the cooking zone goes
out.
When the countdown comes to an end,
the sound operates and
00
flashes.
The cooking zone deactivates.
•
To stop the sound:
touch
CountUp Timer ( The count up
timer)
Use the CountUp Timer to monitor how
long the cooking zone operates.
•
To set the cooking zone (if more
than 1 cooking zone operate ) :
touch
again and again until the indi-
cator of a necessary cooking zone
comes on.
•
To activate the CountUp Timer:
touch of the timer
comes on.
When the indicator of the cooking zone
starts to flash slow, the time counts up.
The display switches between
and
counted time (minutes).
•
To see how long the cooking zone
operates:
set the cooking zone with
. The indicator of the cooking zone
starts to flash quickly. The display
shows the time that the cooking zone
operates.
•
To deactivate the CountUp Timer:
set the cooking zone with
and touch
or to deactivate the timer. The in-
dicator of the cooking zone goes out.
Minute Minder
You can use the timer as a
Minute Mind-
er
while the cooking zones do not oper-
ate. Touch
. Touch
or of the tim-
er to set the time. When the time comes
to an end, the sound operates and
00
flashes.
•
To stop the sound:
touch
ENGLISH
9
Summary of Contents for EHL6740XOK
Page 1: ...EHL6740XOK EN HOB USER MANUAL ...
Page 19: ...ENGLISH 19 ...