4
English
Prior to use
Installation
Troubleshooting
Setting/Adjustment
Displaying the Screen
1
Press to turn on the monitor.
The monitor’s power indicator lights up blue.
2
Turn on the PC.
The screen image appears.
When turning on the monitor and PC for the first time with the analog signal, the Auto Adjustment
function works to adjust the clock, phase, and display position automatically.
Installing the Touch Panel Driver
1
Uninstall the other touch panel driver, if it is installed.
2
Install the touch panel driver according to the instructions included in the EIZO
LCD Utility Disk (CD-ROM).
For how to install the touch panel driver, see the Touch Panel Driver User’s Manual (on the CD-ROM).
3
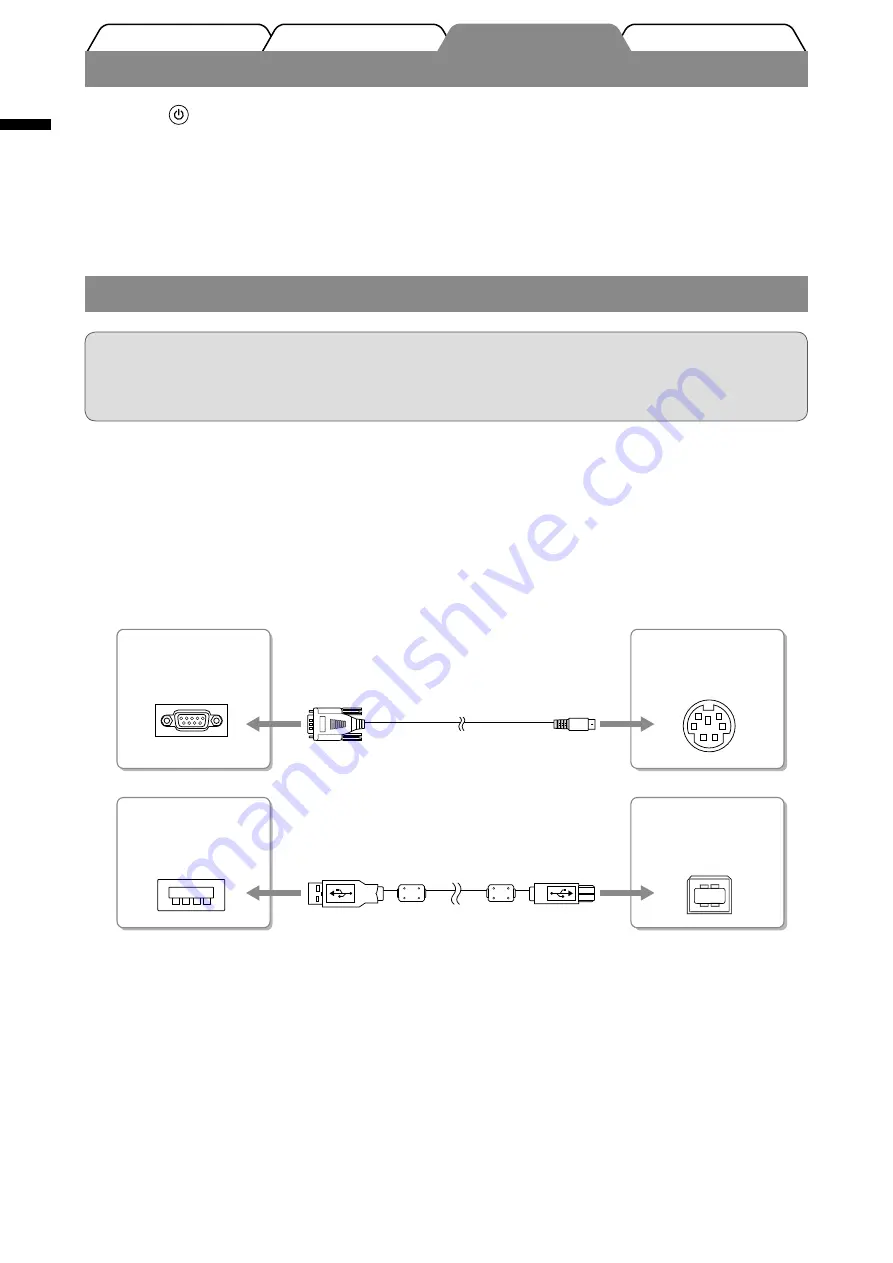
Use either cable of RS-232C (FD-C38-K) or USB (MD-C93) to connect the monitor
and the PC.
Connectors on the
PC
RS-232C Cable FD-C38-K (supplied)
COM port
Connectors on the
monitor
RS-232C port
USB port
USB port
[T1501-B]
[T1502-B]
USB Cable MD-C93 (supplied)
Connectors on the
PC
Connectors on the
monitor
4
Restart the PC.
Attention
• The user account to be used for installing the touch panel driver must have the “Administrators” privilege.
• When reinstalling the touch panel driver to update the driver, etc., restart the PC after uninstalling the
driver and then install it.
Summary of Contents for FLEXSCAN T1501-B -
Page 10: ...8 English Memo...
Page 18: ...8 Deutsch Memo...
Page 26: ...8 Fran ais Memo...
Page 27: ...1 PDF Adobe Reader 100 120 200 240Vac 50 60Hz LED...
Page 32: ...6 BrightRegulator 1 2...
Page 33: ...7 1 2...
Page 34: ...8 Memo...


