16
Chapter 2 Settings and Adjustments
●
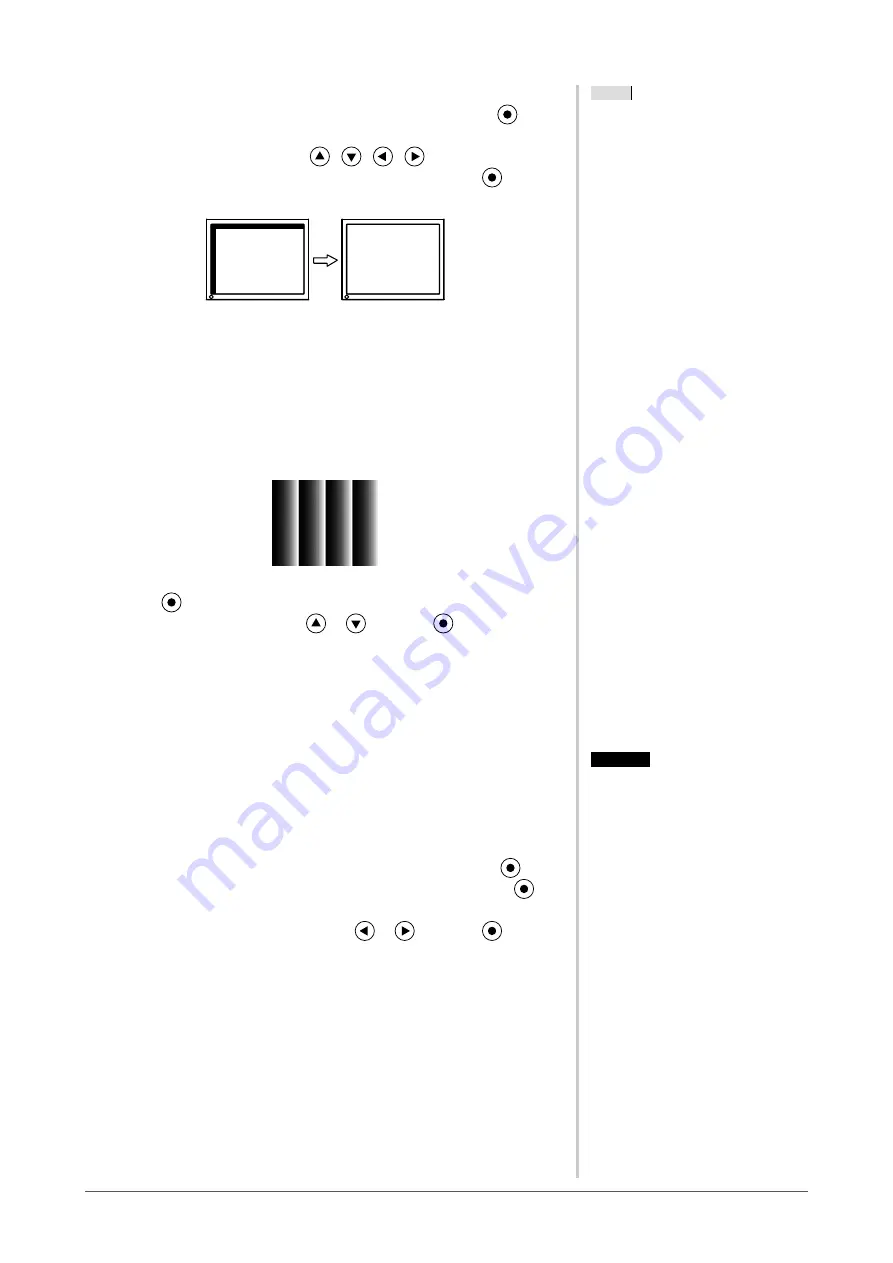
To correct screen position [Position]
(1) Choose <Position> from the <Screen> menu, and press
.
The <Position> menu appears.
(2) Adjust the position with
/
/
/
to display the image
properly in the display area of the monitor, and press
The adjustment is completed.
5
Adjust the color gradation.
●
To adjust color gradation automatically [Range]
Every color gradation (0 to 255) can be displayed by adjusting the
signal output level.
(1) Display Pattern 2 in full screen on the monitor using the “Screen
Adjustment Utility” or the screen adjustment pattern files.
(2) Choose <Range> from the <Auto Adjustment> menu, and press
.
(3) Choose “Execute” with
or
, and press
.
The output range is adjusted automatically.
(4) Close the Pattern 2. When using the “Screen Adjustment Utility”,
close the program.
6
Modify blurred characters or lines.
●
To modify blurred characters/lines [Smoothing]
When a image is displayed with a resolution other than the
recommendation, the characters or lines of the displayed image may be
blurred.
Adjustable range: 1 to 5
(1) Choose <Screen> from the Adjustment menu, and press
.
(2) Choose <Smoothing> from the <Screen> menu, and press
.
The <Smoothing> menu appears.
(3) Adjust the characters/lines with
or
, and press
.
The adjustment is completed.
NOTE
• Since the number of pixels and the
pixel positions are fixed on the LCD
monitor, only one position is provided
to display images correctly. The
position adjustment is made to shift
an image to the correct position.
NOTE
• Since the number of pixels and the
pixel positions are fixed on the LCD
monitor, only one position is provided
to display images correctly. The
position adjustment is made to shift
an image to the correct position.
Attention
• Smoothing setting may not be required
depending on the display resolution.
(You cannot choose the smoothing
icon.)
Attention
• Smoothing setting may not be required
depending on the display resolution.
(You cannot choose the smoothing
icon.)
Summary of Contents for FLEXSCAN S2232W -
Page 51: ......


