CONFIG EDIT
►
Step 1
Insert the USB-stick with the CONFIG file for editing to a USB port of a PC
►
Step 2
Open the
jedi_config.txt file with Windows Wordpad program
►
Step 3
Any data betweeen characters > <
(eg <Name>
ΤV-1
<\Name> ) can be edited and configured, according
to the installation requirements. Select ‘save’ after each change
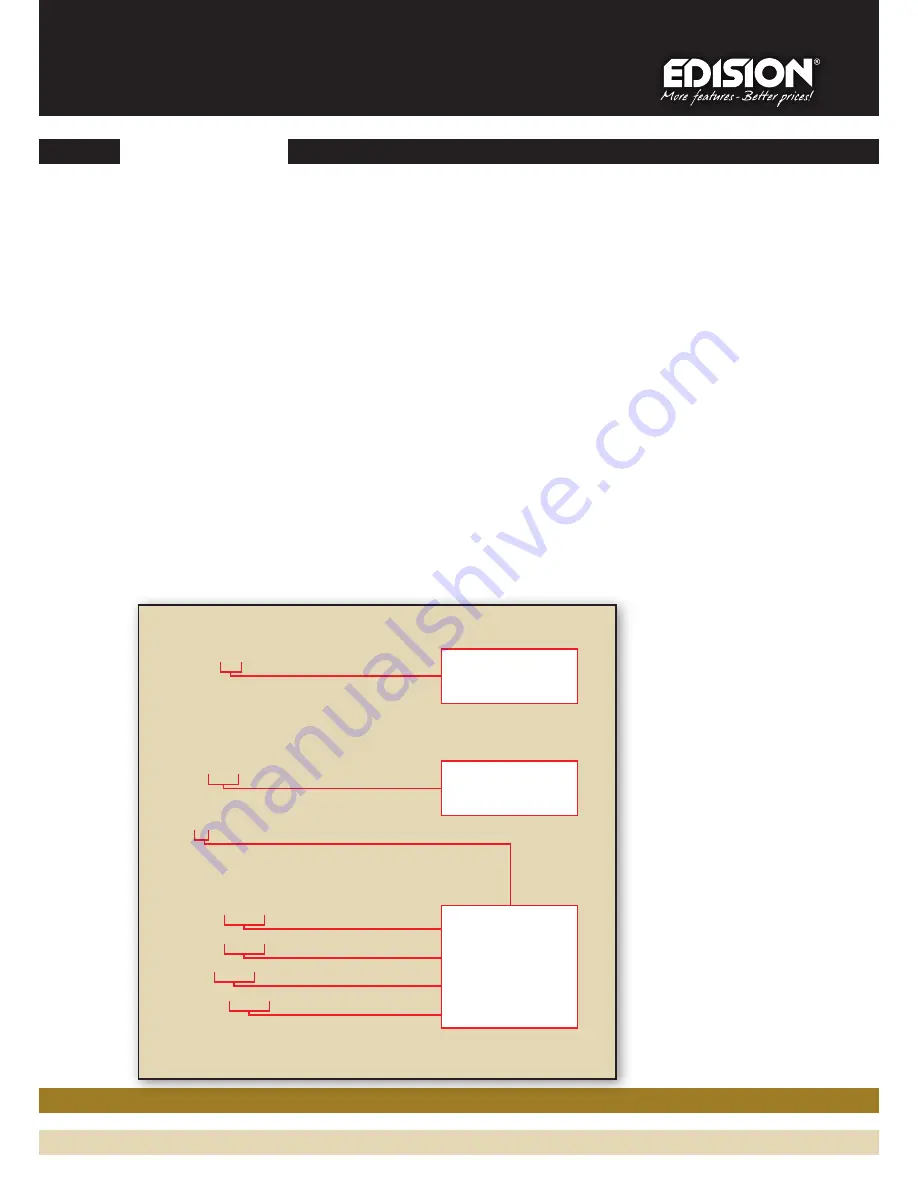
<constellation>2<\constellation>
<channel>43<\channel>
<FEC>4<\FEC>
<FFT>1<\FFT>
<GI>0<\GI>
<Name>TV-1<\Name>
<RF_Level>0<\RF_Level>
<LCN>1<\LCN>
<audio_bitrate>6<\audio_bitrate>
<audio_farmat>0<\audio_farmat>
<videopid>1002<\videopid>
<audiopid>1001<\audiopid>
<pmtpid>1003<\pmtpid>
<serviceID>1000<\serviceID>
<video_bitrate>18<\video_bitrate>
<Netname>EDISION<\Netname>
*
Inportant: All values in these
fields should be different and in
NO way the same. Example: 1001,
1002, 1003 etc , NOT: 1001, 1001,
1002, 1002 etc . In case there
are more HDMI MODULATORS in
the same installation, each one
must have different programmed
values. Example:Modulator No1:
1001, 1002...1005 etc, Modulator
No2: 1006, 1007...1009 etc.
Output channel
adjustment
Channel
Name editing
(up to 12 characters)
When there is more
than one [1] HDMI
MODULATOR in line,
the parameters
should be confifured
according to this
chart
*
2


