EN Installation, use and maintenance
page 2
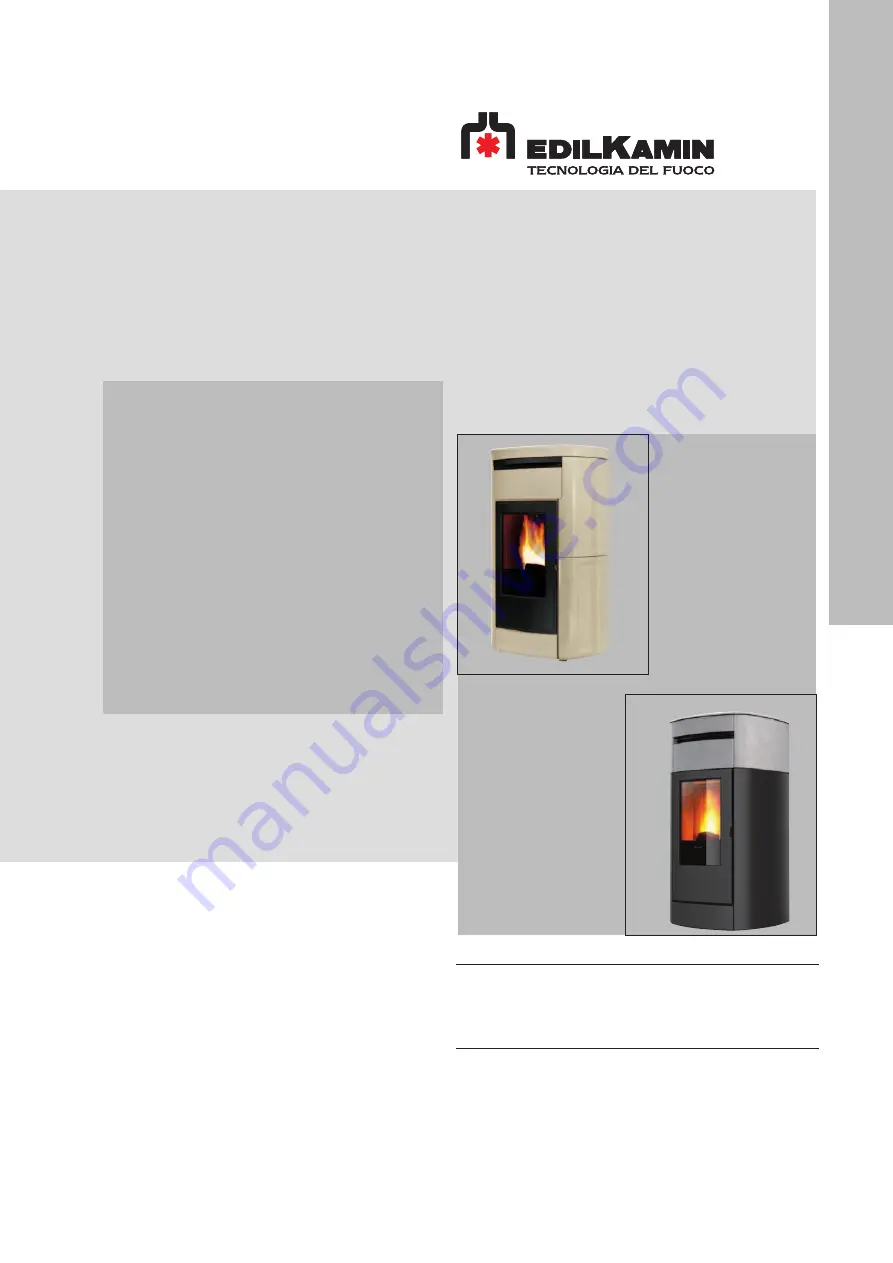
KIRA H 18-22VYDA H 18-22
PELLET BOILER STOVE
Page 1: ...EN Installation use and maintenance page 2 KIRA H 18 22 VYDA H 18 22 PELLET BOILER STOVE...
Page 2: ...y hereby declares that the wooden pellet boiler stoves VYDA H 18 VYDA H 22 KIRA H 18 and KIRA H 22 comply with the requirements in the following European Directives 2014 35 EC Low Voltage Directive 20...
Page 3: ...failure to follow the instructions in it could cause serious damage to the product and put the safety of those using it at risk OPERATING SEQUENCE follow the instructions for the operations described...
Page 4: ...ay become soiled the flue may catch fire and environmental damage may ensue cleaning the combustion chamber when hot DO NOT CLEAN THE HEARTH WITH A VACUUM CLEANER WHILE IT IS HOT You could damage the...
Page 5: ...18 VYDA H 22 cm USER INSTALLER 61 5 62 120 120 61 5 5 cm combustion air 8 cm smoke outlet 14 47 13 Hydraulic connections depend on the optional kits You can find further information in the paragraph...
Page 6: ...H 18 KIRA H 22 cm USER INSTALLER Hydraulic connections depend on the optional kits You can find further information in the paragraph water circuit installation 5 cm combustion air 8 cm smoke outlet 6...
Page 7: ...um operating temperature 90 C Heatable volume 585 485 m3 Smoke outlet diameter male 80 mm Air intake diameter male 50 mm Weight with packaging Kira H 280 kg Weight with packaging Vyda H ce ramic 260 k...
Page 8: ...ve this manual power cable small parts for installing the lining further details on the following page grille of the top protective lever removable handle for opening the combustion chamber door INSTA...
Page 9: ...open the combustion chamber door undo the two screws holding the bottom front panel and remove it to access the two screws which fix the product to the pallet 2 remove the two brackets screwed on the...
Page 10: ...of the pellet tank and take the pipe 2 FOR VYDA H remove the right side panel when viewing the stove from the front To remove it unscrew the two upper screws and remove it from the snap fastening belo...
Page 11: ...The material used in the circuit must be suitable to withstand overheating The installer must determine whether or not to use conditioned products In Italy refer to UNI 8065 Water treatment in heating...
Page 12: ...he left side of the product this line indicates the floor HEATING DELIVERY HEATING RETURN SAFETY DISCHARGE COLD H2 O THIS LINE INDICATES THE FLOOR COLD H2 O HEATING DELIVERY HEATING RETURN SAFETY DISC...
Page 13: ...ater the pump of the boiler stove turns on if the temperature of the boiler stove is 5 C above the temperature of the boiler if this happens the three way valve deviates to the domestic water supply T...
Page 14: ...RNAL SOLENOID VALVE Common Normally Closed Normally Open 4 Common 5 Normally Closed 6 Normally Open During First Ignition the technician can set up into parameters the connection setting on points 4 a...
Page 15: ...I 10683 and UNI 7129 in the presence of gas fired products INSTALLATION Protection from heat and safety clearances The surfaces of the building that are adjacent to the product must be protected again...
Page 16: ...at roof level with a proper chimney pot the flue may not discharge directly onto the wall or into an enclosed space even if the space in question is open to the sky be made of material with rated fire...
Page 17: ...rtant to ensure a change of heating air and glass cleaning air etc Indirect air intake The boiler stove takes air from the outside through the hole on the rear Install an air outlet at floor level wit...
Page 18: ...rical system must be compliant check the operation of the earth in particular Edilkamin is not responsible for malfunctions resulting from an improperly earthed system The power line must be of adequa...
Page 19: ...on of each ceramic side is indicated on the interior part of each piece example BTM RH The metal grille of the top is in the package of the stove structure together with the M4 screws fixing washers a...
Page 20: ...part on the bottom metal front panel using the M4 screws with washers Fitting of the bottom front panel 1 P 3 Screw the bottom metal front panel 1 with the bottom ceramic front panel already fitted t...
Page 21: ...he M4 screws provided with washers 4 Replace the support with the ceramic part and screw it back to the structure by using the two screws removed in point 1 To make alignment adjustments between ceram...
Page 22: ...w the alignment with the top The bottom screws allow the alignment with the front panel and with the bottom side panel If the ceramic or stone side is not aligned remove it adjust the screws and put i...
Page 23: ...der the sides as shown in the fitting of the sides with top and side removed 2 Place the grille under the ceramic or stone part and fit it with the M4 screws provided 7 G 1 Fit the two rubber buffers...
Page 24: ...eramic or stone 3 2 Top ceramic or stone 4 1 INSTALLER 1 3 3 4 2 The metal grille of the top is in the stove structure package together with the M4 screws and M6 for the stone top the fitting washers...
Page 25: ...r stone front panel 1 in the metal support above the door It is snapped into position on the side parts and screwed on the top part Fitting of the stone or ceramic front panel above the door 1 To make...
Page 26: ...26 ENGLISH 3 Refit the aesthetic cover VYDA H LINING 3 4 Screw it back with the two screws removed in point 1 aesthetic cover 4 INSTALLER...
Page 27: ...nt panel 4 Replace the support with the ceramic part and screw it back to the structure by using the two screws removed in point 1 To make alignment adjustments between ceramic stone and the door you...
Page 28: ...the door you can move the top or bottom screws of the bracket fixed to the structure The top screws in their slots allow the alignment with the top The bottom screws in their slots allow the alignment...
Page 29: ...nd M4 screws for ceramic Adjustments can be made by adjusting the feet supporting the top or the screws under the sides as shown in the fitting of the sides with top and side removed 4 G 3 Open the li...
Page 30: ...e touch Make sure not to touch the smoke discharge pipe if hot FUEL Use UNI EN ISO 17225 2 category A1 wood pellets or similar regulatory products with the following characteristics diameter 6 mm leng...
Page 31: ...tating it When the display is open there is a spring which keeps it in position to avoid movements while pressing the buttons On the top left side of the panel there is a lever To close the panel move...
Page 32: ...erma il cursore passa al successivo ca Il giorno della settimana calcolato automaticamen Successivamente il display si posiziona sulla scher Set the values with the keys and confirm with OK The day of...
Page 33: ...a principale Nella barra di stato sono presenti i simboli delle richieste calore RISC e SANITARIO l eventuale attivazione della pompa e l ora Nell area principale la temperatura ambiente visualizzazio...
Page 34: ...s activated by the anti freeze mode level 1 if the probe temperature reads a temperature which is below the Anti freeze Setpoint The activation of the anti freeze both level 1 and level 2 is indicated...
Page 35: ...ture bottom number in the main area the power level represented by the flames the fan level represented by the filling in of the blades If the timer programming is active Crono the text TIMER appears...
Page 36: ...e STB The LCD shows the following information product mode STB the current time the room temperature or the mode of the room thermostat the activation of the timer programming if present Timer Crono o...
Page 37: ...tasto M fa accedere alla schermata Men By pressing the M button you access the Menu screen SPECIFICA TECNICA Nome Rev Data Pagina Dalla schermata di OFF si passa alla schermata di ON oppure di STAND...
Page 38: ...nu level Press ON OFF to quit without saving USER 8 Men Premendo il tasto M si accede al Men Pressione tasto scorro verso l alt Pressione tasto scorro verso il ba Pressione tasto OK entro nella voce d...
Page 39: ...erature you can move from one T to the next using When the arrow is on a number e g 16 you can increase decrease using USER SPECIFICA T Crono Il radiocomando consente la programmazione ora passo di 30...
Page 40: ...programmazione mi appare la sche tranne che per la scelta Singolo giorno per cui de Nella schermata di impostazione appare la progra impostazione multipla la programmazione quell Luned per 7Giorni e 5...
Page 41: ...ing functions to scroll through the days ahead to scroll through the days back OK return to the previous menu M return to the previous menu ON OFF return to the main screen SPECIFICA Visualizza Pressi...
Page 42: ...on the side of the display SPECIFICA TE Temperature Permette l impostazione della temperatura caldaia e dell accumulo Se attivata la sonda esterna perme climatica al posto della temperatura caldaia In...
Page 43: ...menu as indicated in the Menu section above press the M button Scroll using the buttons and select the function by pressing OK Use the buttons to activate deactivate the function Press M to quit witho...
Page 44: ...ss M to quit without saving Confirm by pressing the OK button for 2 seconds VARIOUS MENUS Data Ora I valori si modificano con i tasti e si conferm USER Info These readings should only be done when req...
Page 45: ...oduct properly will prevent it from working properly Any problems due to failure in servicing the stove will void the warranty Using the stove without cleaning the grate can cause the gas in the combu...
Page 46: ...hes and lids closed We recommend emptying out the pellet tank Place the package of dessicating salts inside the combustion chamber SPARE PARTS for any spare parts contact your retailer or technician U...
Page 47: ...ly There are two possibilities NO flame Check that the grate is seated properly and is clean Check that there are pellets in the tank and grate Use a piece of solid paraffin to light the stove contact...
Page 48: ...e technician H12 Room temperature probe failure Contact the technician H13 Shut down due to breakage of the reading water temperature probe of the boiler stove Contact the technician H14 Shut down due...
Page 49: ...orised Edilkamin technician WATER OVERHEATING SHUT DOWN WITHOUT ALARM If the water in the boiler stove reaches a temperature of 85 C the boiling stove shuts down without switching to alarm mode The te...
Page 50: ......
Page 51: ......
Page 52: ...code 941393 GB 05 17 C w w w e d i l k a m i n c o m 941393 GB...