background image


Supported Audio Formats:

    MP3, WAV, WMA     


Resolution:

    480 x 234 (16:9 aspect ratio) 


Weight:

    1.5 lbs 


Dimensions:

    8.4” x 1.0” x 5.75” 


One-year warranty 


Chapter 2

  Getting Started 

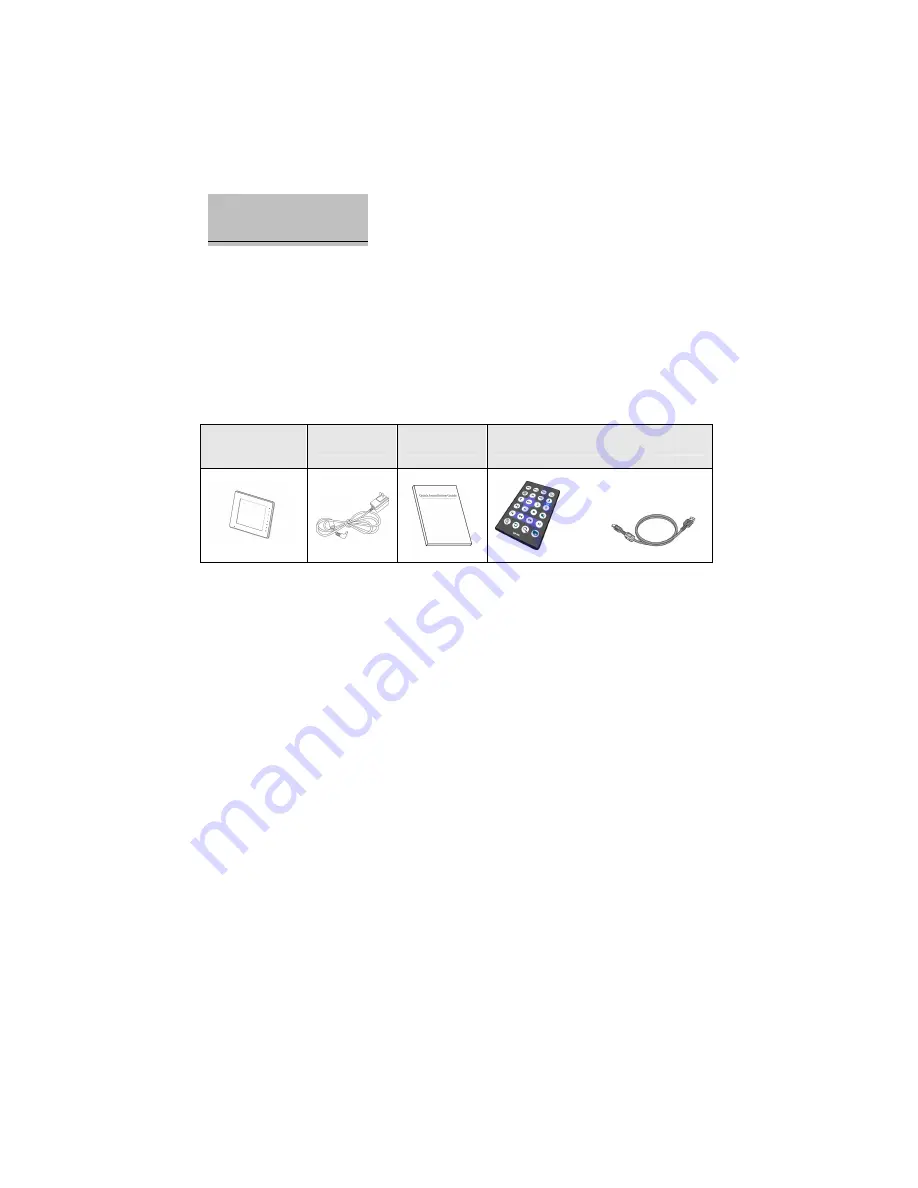
Packing Contents 

Before proceeding, please make sure the following items were included in the 

packaging: 


Digital Picture 

Frame 

AC Adapter 

User Guide 

Remote Control          Mini USB Cable 


Summary of Contents for EDGDM-219581-PE

Page 1: ...rol Key Description 6 Chapter 3 Accessing the Main Menu 7 Chapter 4 Playing Photo Video and Music Files 8 Viewing Photos 10 Auto Rotate View 9 Listening to Music 9 Playing a Slideshow with Music 10 Viewing Videos 10 Chapter 5 Connecting with a Computer 10 Chapter 6 Using the Calendar and Auto Power Feature 11 Using the Calendar 11 Auto Power 12 Chapter 7 Setup Menu 13 Photo 13 Display 13 System 14...

Page 2: ...estions or assistance with this product visit www edgetechcorp com support or call us toll free at 1 800 259 6565 Chapter 1 Features and Specs 7 active matrix LCD screen and integrated stereo speakers Picture slideshow with background music Calendar with clock and alarm functions Auto Power feature enables users to program the frame to power on and off at designated times Auto Rotate View function...

Page 3: ...t ratio Weight 1 5 lbs Dimensions 8 4 x 1 0 x 5 75 One year warranty Chapter 2 Getting Started Packing Contents Before proceeding please make sure the following items were included in the packaging Digital Picture Frame AC Adapter User Guide Remote Control Mini USB Cable ...

Page 4: ...ff the digital picture frame Directional keys and ENTER key 1 UP DOWN LEFT and RIGHT keys for navigating the on screen menus 2 The OK or ENTER key confirms a selection INFO 1 Displays available functions in Photo or Video Mode 2 Toggles between any media devices that are inserted in the frame ESC 1 Exits the current screen or cancels a selection ...

Page 5: ...out Right side view Bottom View Number Functions Number Functions 1 USB Flash Drive Port 5 Mini USB Port for PC Connection 2 CF Memory Card Slot 6 Power Adapter Input 3 SD MMS MS xD Memory Card Slot 4 3 5 Headphone Jack ...

Page 6: ...onal keys for moving LEFT RIGHT UP and DOWN and ENTER 7 MENU Returns to the Main Menu 3 Jumps to Video Music or Photo 8 Volume adjustment 4 Calendar Mode Rotate Zoom and Photo Music Mode keys 9 INFO Displays available functions in Photo or Video Mode Switches between inserted media devices 5 Jumps to the Setup Menu ...

Page 7: ...rd or USB flash drive into its corresponding slot on the digital frame 2 Place the digital picture frame on a flat surface Connect the AC adapter to the frame and plug it into an available power outlet 3 Press the Power key you will be taken to the Main Menu ...

Page 8: ...sh to view and press ENTER Chapter 4 Playing Photo Video and Music Files Viewing Photos 1 From the Main Menu screen use the direction keys to select the Photo icon and press ENTER a list will be displayed of all images saved on your device Press the RIGHT key if you would prefer to view the photos in a thumbnail format 2 Use the directional keys to select the desired photo and press ENTER to displ...

Page 9: ...cularly helpful for displaying pictures taken in portrait mode vertically displayed in it s entirety This change is automatic the following are examples Listening to Music 1 From the Main Menu screen use the direction keys to select the Music icon and press ENTER a list will be displayed of all music saved on your device 2 Use the directional keys to select the desired song and press ENTER to play...

Page 10: ...s saved on your device 2 Use the directional keys to select the desired video and press ENTER to watch it 3 Press the UP and DOWN directional keys to adjust the volume 4 Press the INFO key to bring up the command bar Use the command bar to play pause a video or skip to the next previous video You can also choose to fast forward rewind and repeat videos using the command bar 5 Press the ESC key to ...

Page 11: ... digital picture frame NOTE USB flash drives and CF cards will not function with this mode Chapter 6 Using the Calendar and Auto Power Feature Using the Calendar Your digital picture frame has a Calendar mode complete with date and time To access it select Calendar from the Main Menu and press ENTER Alternatively you can press the Calendar key on the remote control To set the date 1 Go to SETUP fr...

Page 12: ...date and time will be reset By just powering the frame off however the date and time will be retained Auto Power You can designate specific times of the day for your digital picture frame to power on and off To set the Auto Power On or Auto Power Off function 1 Go to SETUP from the Main Menu 2 Select Calendar and press ENTER 3 Select Auto Power On or Auto Power Off and press ENTER 4 Press the DOWN...

Page 13: ...to Transition Effect Sets the effect while changing from one photo to the next during a slideshow Transition Time Choose the length of time between each photo transition during a slideshow Photo Auto Start When on Photo Music Mode will automatically begin when the frame powers on Music Auto Start When on Music Mode will automatically begin when the frame powers on Display Once ENTER is pressed on ...

Page 14: ...e information Auto Power On Designate specific times of the day for your digital picture frame to power on See Chapter 6 for more information Auto Power Off Designate specific times of the day for your digital picture frame to power off See Chapter 6 for more information System Default Setting Press the ENTER key on Restore to return the digital frame s settings to the factory default S W Version ...

Page 15: ...er of the frame My photos show up with some of the image cut off Your digital picture frame uses a 16 9 widescreen aspect ratio Photos not formatted for widescreen are auto cropped in order to retain a crisp image that is not stretched In some cases you can use the Auto Rotate View see Chapter 4 to display the photos in full I set an On and or Off time for Auto Power but nothing happens Make sure ...

Page 16: ...ideo or music file exists on the media device Ensure you have selected the applicable mode from the Main Menu The digital picture frame will not power on Ensure that the AC adapter is connected securely to the frame and is plugged into a power source No sound The volume is muted The volume is set to the lowest level Ensure the file you are playing with sound is one of the supported media types in ...

Page 17: ...he equipment off and on the user is encouraged to try to correct the interference by one of the following measures Reorient or relocate the receiving antenna Increase the separation between the equipment and receiver Connect the equipment into an outlet on a circuit different from that to which the receiver is connected Consult the dealer or an experienced radio TV technician for help FCC Caution ...

Page 18: ...till responsible for testing their end product for any additional compliance requirements required with this module installed for example digital device emissions PC peripheral requirements etc IMPORTANT NOTE In the event that these conditions can not be met for example certain laptop configurations or co location with another transmitter then the FCC authorization is no longer considered valid an...

Reviews: