Quick Start Guide
– 3 –
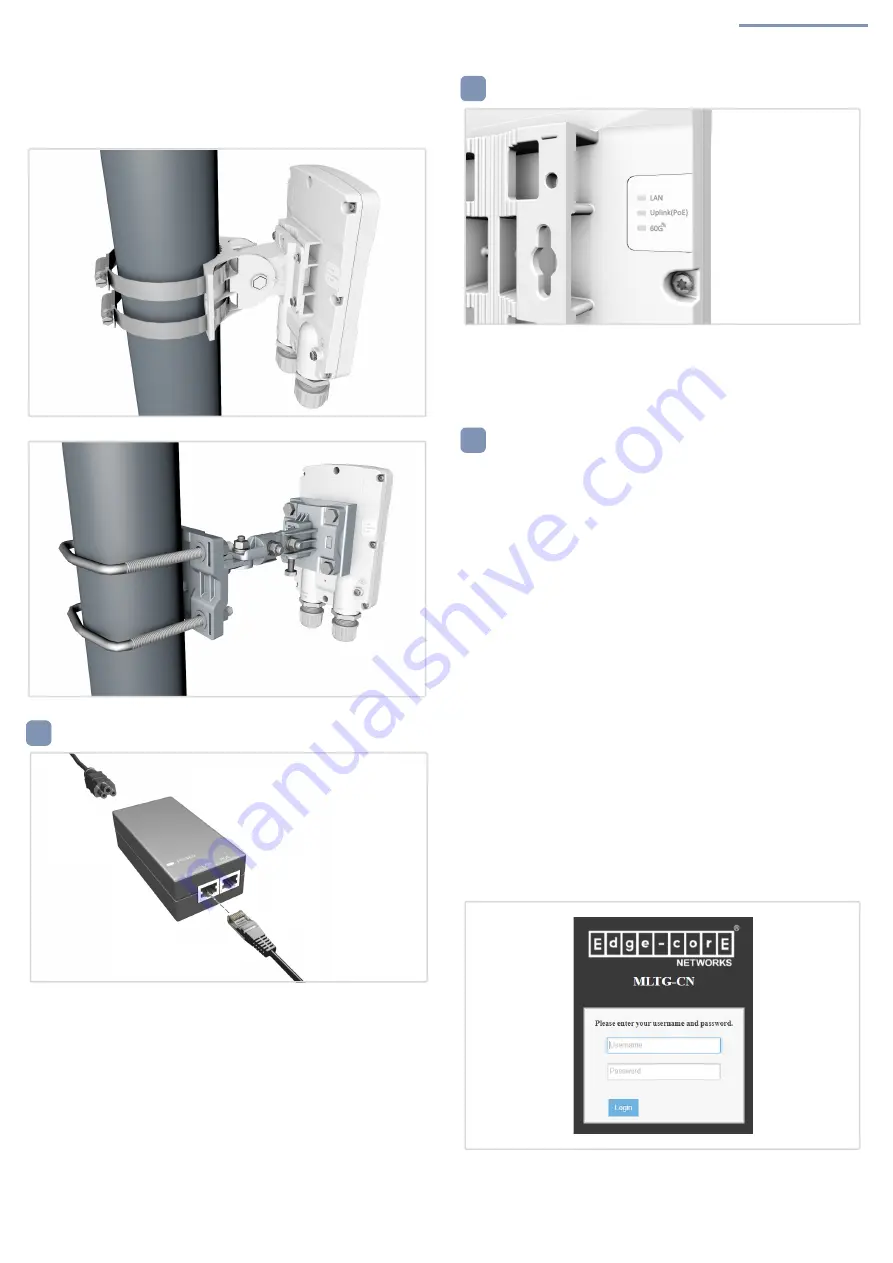
c. Use Precision Brackets (Optional)
Connect Power
Verify Power is On
Access the Web User Interface
Two optional precision brackets (ordered separately) are designed for
wall and pole mounting and provide additional degrees of movement
for antenna alignment.
4
Connect the other end of the outdoor-rated Ethernet cable from the
Uplink (PoE) port to the 802.3at-compliant power injector.
5
Check the LEDs
The Uplink (PoE) LED should blink slowly during boot-up and be on or
blinking
when operating normally.
6
a. Using the LAN Port
1.
Connect a PC directly to the MLTG-CN’s LAN port.
2.
Set the PC IP address to be on the same subnet as the MLTG-CN
LAN port default IP address. The PC address must start
192.168.2.x with subnet mask 255.255.255.0).
3.
Enter the MLTG-CN’s default IP address of 192.168.2.1 into the
web browser address bar.
4.
Log in to the web interface using default settings:
Username = admin
Password = admin
b. Using the Management Port (Uplink PoE)
1.
Connect a PC to the data port of the injector powering the MLTG-
CN.
2.
The MLTG-CN is configured as a DHCP Client and will receive its
IP dynamically. Check the DHCP Server on the PC for the
assigned address. In case the DHCP server is unavailable, the
MLTG-CN uses 192.168.1.20 and 255.255.255.0 as the
fallback IP address and subnet mask, respectively.
3.
Enter the MLTG-CN’s IP address into the web browser address
bar.
4.
Log in to the web interface using default settings:
Username = admin
Password = admin


