


59
NVIDIA RAID Configuration
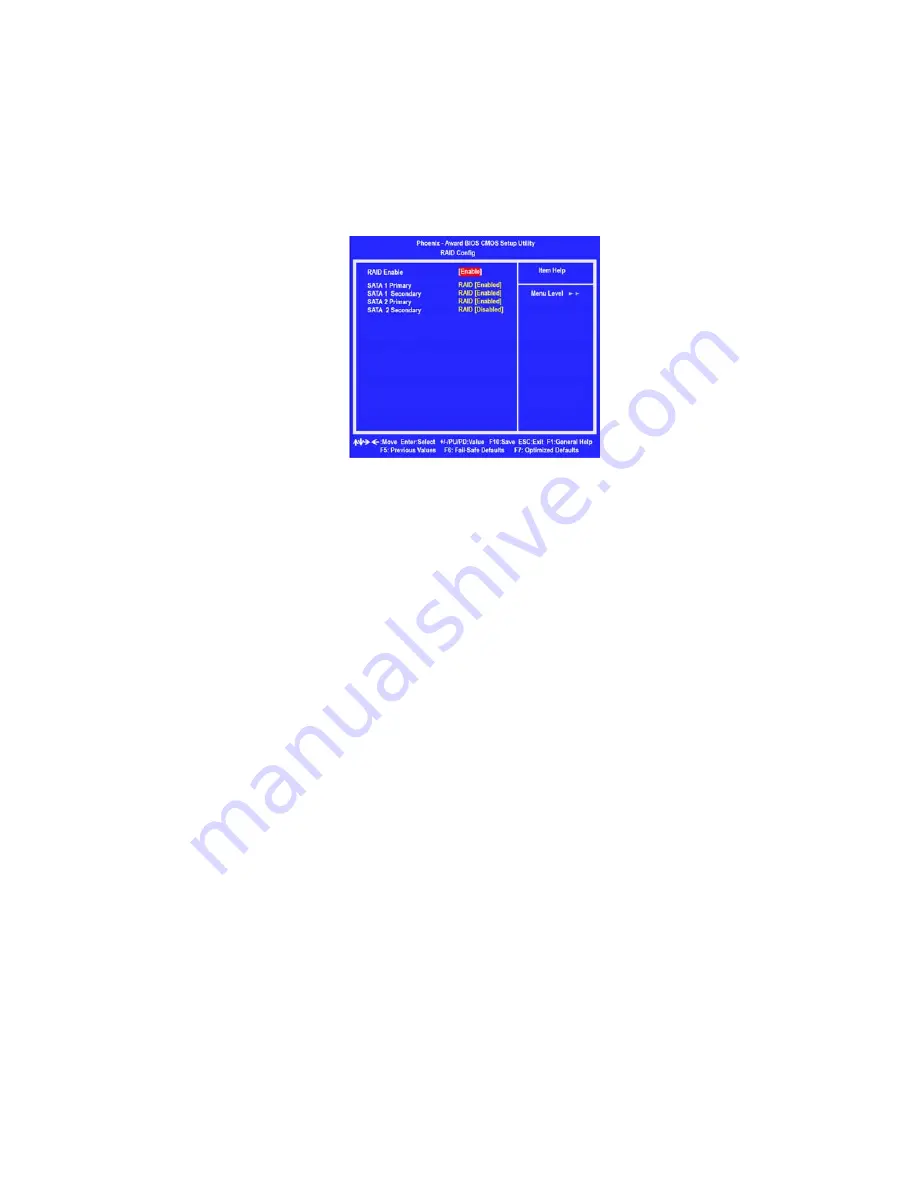
The RAID Config window appears.
Figure 2.7 RAID Config Screen
From the RAID Config window, globally enable RAID, then enable the SATA
ports with disks that you want to use for RAID.
If RAID is enabled globally but not enabled on the individual SATA port,
disks on that port can only be used for non-RAID applications.
In the example in Figure 2.7, three SATA ports are enabled, so the non-
bootable RAID array can include up to 3 SATA disks. If there is a disk
Connected to "SATA 2 Secondary", it can not be used for RAID.
7
Enter the RAID BIOS Setup by pressing F10 when prompted, and proceed
to set up the NVIDIA RAID BIOS as described in the next section.
The PC reboots.
Press F10 to save the configuration and exit.
Configuring the NVIDIA RAID BIOS
The NVIDIA RAID BIOS set up lets you choose the RAID type and which hard drives
you want to make part of the array.
Entering the RAID BIOS Setup:
1
Wait until you see the RAID software prompting you to press F10.
The RAID prompt appears as part of the system POST and boot process
prior to loading of the OS. You have a few seconds to press F10 before the
screen disappears.
Press F10.
5
6
2
Summary of Contents for NFORCE6M-A
Page 1: ......
Page 2: ......
Page 10: ...4 IntroducingtheMotherboard Motherboard Components...


