


– 10 –
JA
P
ANESE
ENGLISH
G
ERMAN
F
RENCH
IT
ALIAN
S
P
ANISH
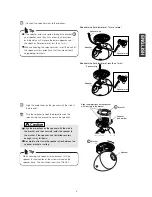
Wire
3
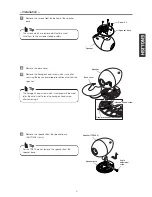
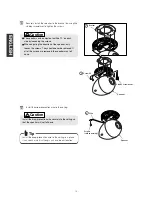
Securely install the speaker to the bracket by using the
stubby screwdriver to tighten the screws.
21
Speaker
Bracket
2
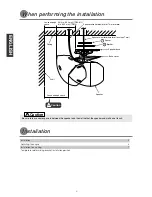
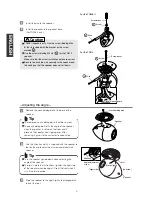
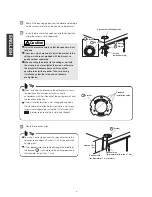
Install the drop-prevention wire to the ceiling.
22
Screw X4
4
Install the drop-prevention wire to the ceiling in a place
it can reach which is strong, such as a beam location.
Install the drop-prevention wire securely to the ceiling so
that the speaker will not fall down.
Speaker
Screws
(sold separately)
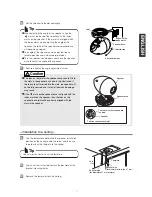
•
•
The speaker can be adjusted to within 10° on each
side by loosening the screws.
•
•
When adjusting the direction of the speaker, only
loosen the screws. They should never be removed. If
all of the screws are removed, the speaker may fall
down.
Stubby screwdriver
Caution
Caution
Tip


