background image

®

ECG

WSS-1

- 5 -

Zooming:

You can enlarge the picture seen on the receiver by two (2) times 

by pressing the ZOOM button once: press again to return to 

normal viewing mode.

Channel Looping Setup:

The receiver supports up to 4 cameras working at the same time. 

Press and hold the ZOOM button on the receiver until “scanning...” 

appears to enable the automatic looping function. The channels 

are shown on the monitor one by one every 5 seconds.

Press and hold the ZOOM button on the receiver again to exit the 

looping function.

You can also press the CHANNEL button to exit the looping function.

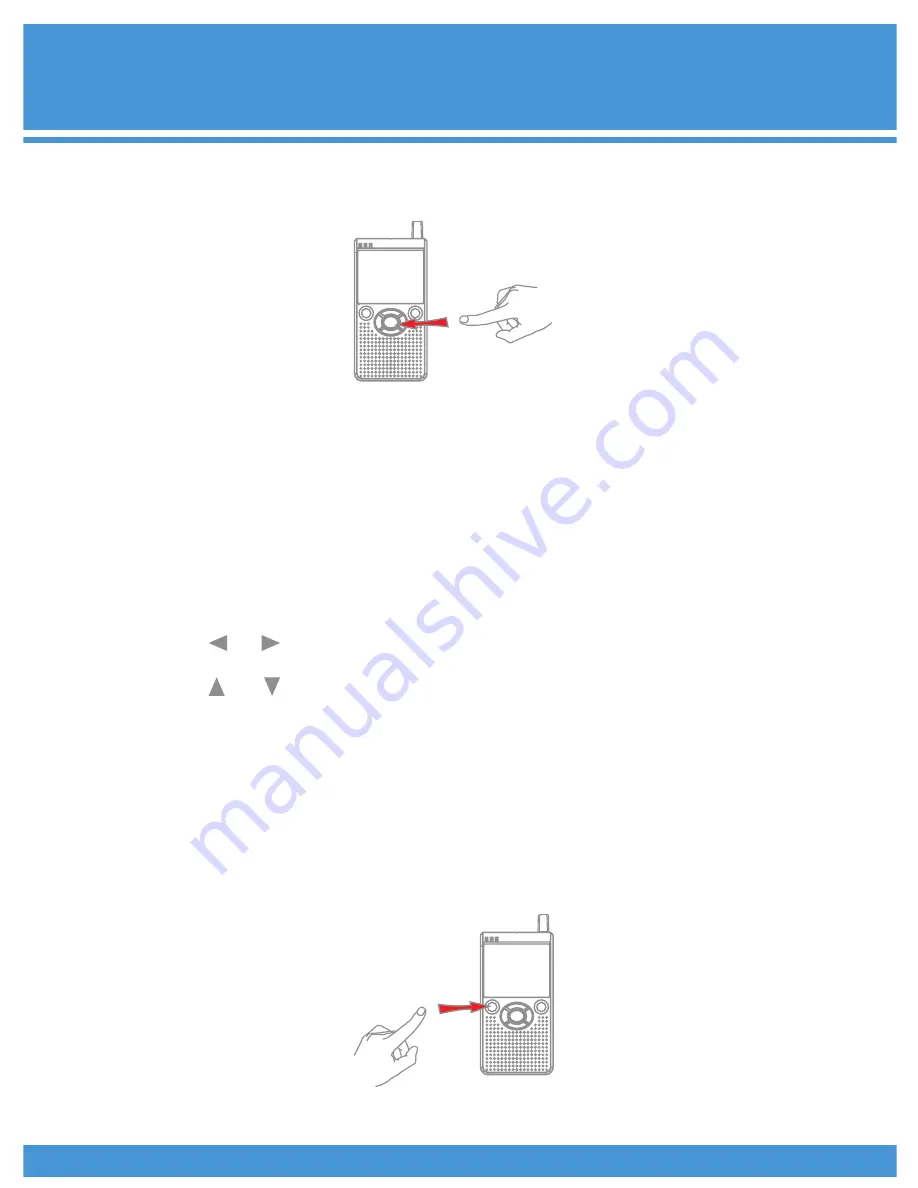
Adjusting Viewing Angle of Camera:

The direction pad buttons on the receiver act as a remote control 

for the viewing angle of the camera.

1.)

 Use the     /     keys to rotate the camera horizontally. The 

maximum angle of rotation is 270 degrees.   

2.) 

use the     /     keys to rotate the camera vertically. The 

maximum angle of rotation in this direction is 120 degrees.

Rotate Image:

Hold the CTRL button for 3 seconds to rotate the image seen on 

the receiver by 180 degrees. This optional mode is useful for 

users who have  installed their cameras upside down.

Other Functions:

Press the CTRL button once to turn off the LCD screen for sleep 

mode; press it again to turn it back on. While in sleep mode you 

will still be able to hear the sounds picked up by the microphone.

You may connect the receiver to any display device with an A/V 

input for a larger, clearer picture, which can be recorded!

Summary of Contents for WSS-1

Page 1: ...ECG WIRELESS DIGITAL PAN TILT SURVEILLANCE SYSTEM Model No WSS 1 Please read this user manual carefully before using this product USER MANUAL ...

Page 2: ...ne 1 2 5 to 3 5mm Earphone Adapter 1 Antenna 1 WSS 1 WSS 2 Camera WSS 3 Receiver WSS 6 Ceiling Wall Camera Mounting Bracket sold seperately Infrared LEDs CMOS Imaging Sensor Microphone Antenna Plug Power Switch Learning Channel Sync Channel Selector Power Jack Rotating Base Learning Channel Sync Indicator Power Indicator 1 ...

Page 3: ...om Button Channel Button Power Jack Battery Cover Stand Power Adapter Power Adapter Camera Lens Direction Pad A V Output A V Output Receiver also works with 4 AAA Batteries not included Power Switch Channel Sync Indicator second LED Earphone Jack 2 5 to 3 5mm Adapter Included Camera Receiver DVR Monitor TV 2 ...

Page 4: ...ch to the ON position The power indicator will light up and the camera will calibrate itself by automatically running through its full range of motions Connect one of the provided power adapters to the power jack of the receiver and then into a power outlet Then slide the power switch to the ON position This receiver can also work on battery power Please insert four 4 AAA batteries into their appr...

Page 5: ...he receiver until the Learn ing indicator flashes and then press the Learning button on the back of the camera while the indicator flashes about 8 seconds on the receiver at which point the channel number displayed on the receiver should match the channel selected on the back of the camera You may now control this additional camera with the direction pad on the receiver You may adjust the brightne...

Page 6: ...ection pad buttons on the receiver act as a remote control for the viewing angle of the camera 1 Use the keys to rotate the camera horizontally The maximum angle of rotation is 270 degrees 2 use the keys to rotate the camera vertically The maximum angle of rotation in this direction is 120 degrees Rotate Image Hold the CTRL button for 3 seconds to rotate the image seen on the receiver by 180 degre...

Page 7: ...22 F Operating Humidity 1 5 85 Imaging Sensor Type CMOS Picture Total Pixels 640 x 480 Minimum Illumination OLux IR ON 5Lux IR OFF Night Vistion Distance 1 6ft Min View Angle 55 Bandwidth 3MHz Sound Detection Sensitivity 38dB Consumption Current Max 500mA Power Supply 5VDC Dimensions W x D x H inches 4 4 1 x 4 29 x 5 24 Weight 93lbs LCD Screen Type 2 36 TFT LCD Effective Pixels 480 R G B x 234 Rec...

Page 8: ...two conditions 1 This device does not cause harmful interference 2 This device must accept any interference received including interference that may case undesired operation Changes or modifications not expressly approved by the party responsible for compliance could void the users authority to operate the equipment FCC Information WSS 1 should not be exposed to dripping or splashing liquid No obj...

Reviews: