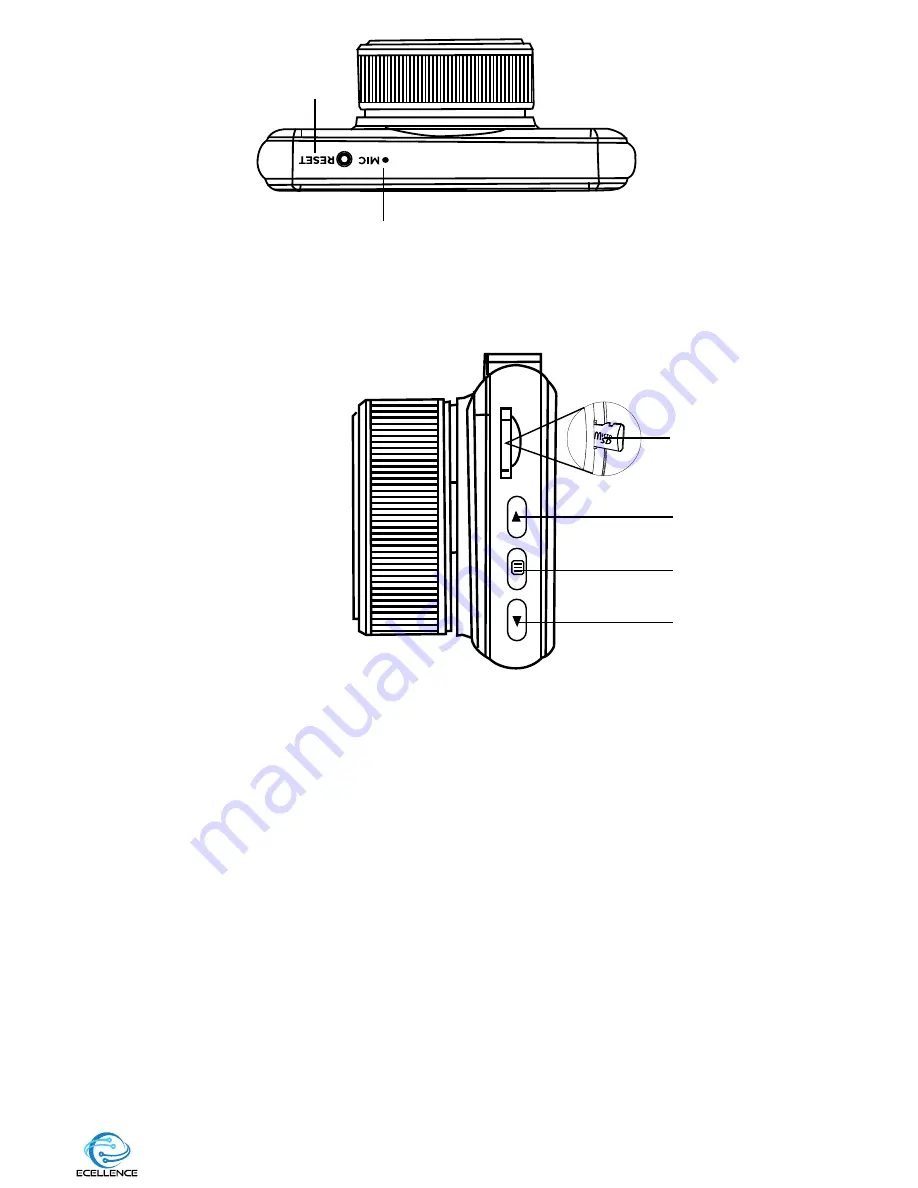
7. TF/ MEMORY CARD SLOT
This unit must have a TF/Memory card in this slot for the camera to work properly. Only insert or
eject micro TF/memory card while device is powered off. It supports up to 32GB memory card
8. UP/+ BUTTON
Press the “Up” button to zoom out while recording. Press once to turn the microphone on/off.
Also in menu setting mode, short press this key to move up in the menu options.
9. MENU BUTTON
Press the OK button to change to standby mode and stop the recording. Then press the
“Menu" button to bring up the Video menu. Use the up/down button to navigate through the
features (Resolution, Loop recording, Record audio, Exposure, Motion detection, Date stamp
and Gsensor) and make a selection. Press Ok to confirm your selection.
Press the “Menu” button a second time for the Setup menu, use the up/down button to navi-
gate through the settings (Park mode, Date/time, Auto power off, Screensaver, Sound,
Language, Frequency, Format and Default setting.
Press the Menu button to return back to the main menu.
10. DOWN/- BUTTON
Press the “Down" button to set the screen to standby mode while the camera is still continuous-
ly recording, press again to bring the screen back on. Press to zoom out while recording. Also,
press this key to move down in the menu options.
5. MICROPHONE
Integral microphone for audio recording.
6. RESET BUTTON
In the unlikely event the Dash Cam becomes unresponsive, press the RESET button to restart.
5
6
7
8
9
10
7


