March 2013 44 IPV58
Congratulations!
You’ve know successfully installed your IP camera. It is always a good idea to ask friends
or family to login to the camera from their own place. Don’t forget to change the password of the camera
afterwards! Please save this manual for additional features. The following steps in this manual are only
needed if the camera is not accessible from outside the network, or if you want to use additional features.
If it didn’t succeed, it is most likely that UPnP is not supported by your router, please set the port forwarding
manually (as explained in the next step). You can always leave UPnP on, whether it’s working or not. If
DDNS status still doesn’t show ‘succeed’ please check the FAQ, Chapter 4, at the back of this manual or our
website
www.ebodeelectronics.eu
.
2.7.3 Set Port Forwarding in the router
(Manually)
This is the most important step. Please check the ‘extra information’ in step 3.4 for more information about
routers and port forwarding.
In order to get the DDNS to work, you have to forward your cameras port in the router. You need:
-
IP address of the camera
-
Port number of the camera (should not be port 80!)
-
Default gateway IP address of the router
-
Username and password of the router (Belgian users visit the Telenet.be website for login)
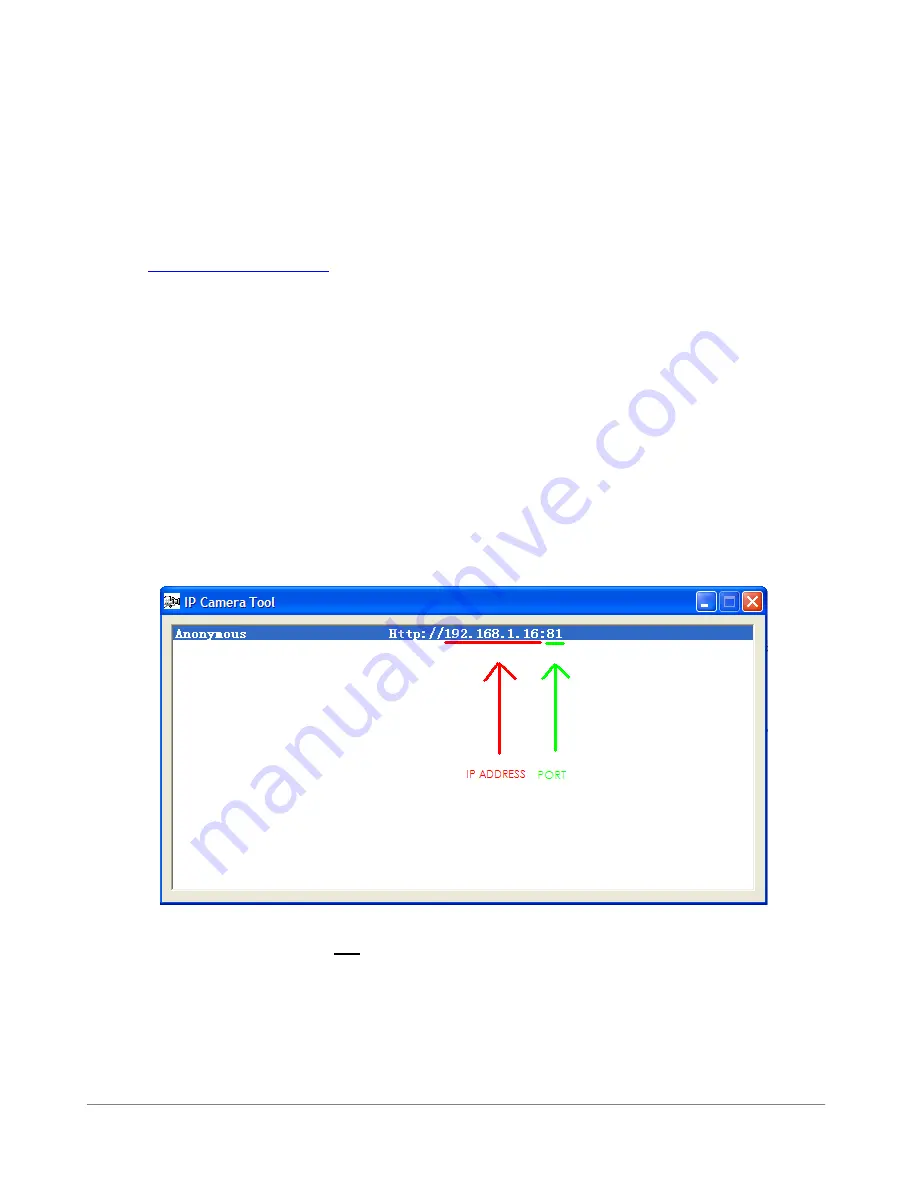
The first two items can be found if you start up the IP Camera tool from your desktop. As an example the
IP address from the below image is 192.168.1.16 and the port is 81.
REMEMBER
: Your camera should
not
be on Port 80. If it is, please go to step 3.7.1 to change the port
number.
How to discover the default gateway IP address in MS Windows Vista or Windows 7: Click ‘Start’, and type
in ‘cmd’, press enter (see image below.) Belgian Telenet users should skip this step!


