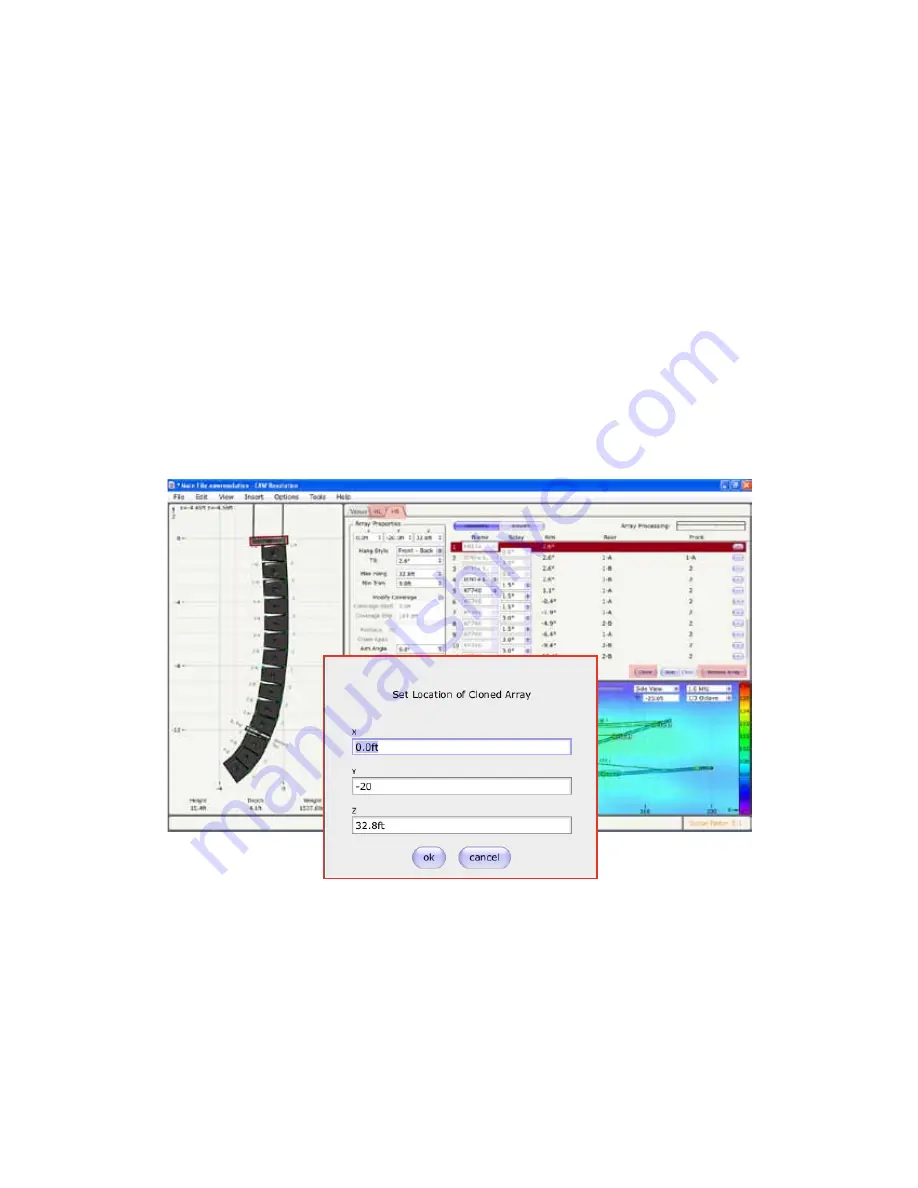
2) NAME - To the right of these cells are the enclosure selection cells. In this case, the cells are
showing KF740, AB7473 adapter bar and KF730 being used as the downfill. Since we have selected
a FB174 flybar, the KF740 cells are “greyed” out meaning that they cannot be altered. If you were
to start the design from scratch, you would have a full menu of choices in the dropdown boxes to
select what you would like to hang.
3) SPLAY – This is where you can modify the inter-element angles of the array. You can elect to follow
the suggestions made from Array Assistant but if you would like to see if improvements can be
made to the design, you can change angles manually here.
4) AIM – This tells you the tilt angle for each enclosure as referenced to level horizontal. The angles
are measured perpendicular to the enclosure face and do not reference the trap angle of the
enclosures.
5) REAR – This gives you the specific mechanical locations on the rear of the enclosure that you must
preset in order for the real-world assembly to match the virtual design
6) FRONT – This gives you the specific mechanical locations at the front of the enclosure that you
must preset in order for the real-world assembly to match the virtual design
7) The minus (-) button to the far right will delete the corresponding enclosure from the design.
In this example I have enlisted the help of a time-saving tool in Resolution called “Clone”
Once I have verified that the array is exactly as I want it, I can use the cloning tool to create an exact
replica of it. This is very useful when dealing with any L/R setup situation where the arrays perfectly
mimic each other. Once you select clone, you will be prompted with a new panel to set the position of
the array.
To the far right, you can also remove an array from the design by clicking on the “Remove Array”
button. The software will prompt you first before removing the array in case the click was accidental.
I also took the liberty of naming the arrays HL and HR which you can see in the tabs above. This is
accomplished by double-clicking on the tab which will open the title up for editing.


