Eaton 93PM UPS 480V Three-Wire – 100 kW Frame Installation and Operation Manual 164000227—Rev 07
67
44..1122
IInnssttaalllliinngg aa R
REEP
PO
O S
Sw
wiittcchh
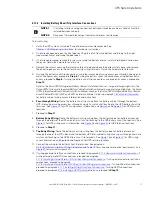
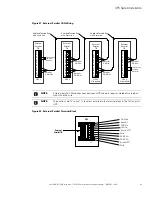
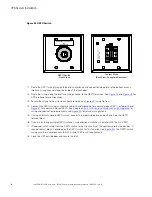
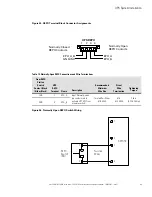
A latching-type Remote Emergency Power-off (REPO) switch can be used in an emergency to shut down the
UPS and remove power to the critical load from a location away from where the UPS is installed.
shows a REPO switch.
NOTE 1
Before installing a REPO switch, verify that the UPS was installed according to the
instructions in paragraphs
Unloading the UPS Cabinet from the Pallet
through
.
NOTE 2
When installing the REPO switch, you must install conduit between the device and the
UPS cabinet for wiring the switch.
NOTE 3
The REPO switch must be a Normally-open or Normally-closed latching-type switch not
tied into any other circuits.
NOTE 4
This procedure is intended for installing the Eaton-supplied REPO switch. If installing
another manufacturer's switch, use this procedure,
and
as a guide.
NOTE 5
The REPO switch wiring must be in accordance with NEC Article 725 Class 2
requirements.
NOTE 6
Disconnect terminal block plugs from terminal blocks to wire plugs.
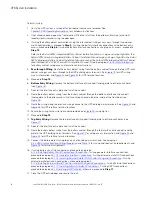
To Install a REPO switch:
1.
Verify the UPS system is turned off and all power sources are removed. See
, for shutdown instructions.
2.
Securely mount the REPO switch. Recommended locations include operator's consoles or near exit doors.
See
for enclosure dimensions and wiring knockouts.
3.
If not already opened, open the front door by lifting the latch from the bottom and turning to the right
(counterclockwise) and swing the door open.
4.
If wiring the REPO terminals from the bottom of the UPS, proceed to
Step 9
; otherwise, proceed to
Step
5
.
5.
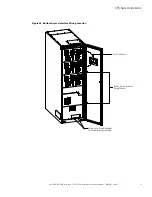
Remove the top interface entry conduit landing plate to drill or punch holes (see
).
6.
Reinstall the interface entry plate and install the conduit.
7.
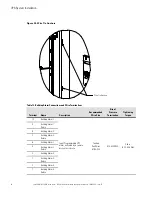
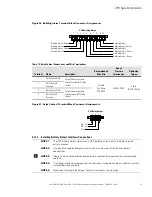
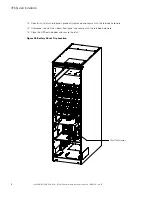
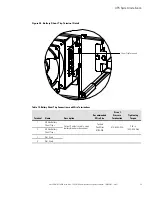
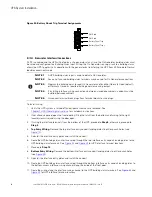
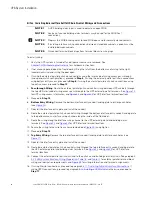
Route the REPO wiring through the top interface entry conduit landing plate to the REPO terminals. See
and
for UPS interface terminal locations.
8.
Proceed to
Step 14
.
9.
Remove the bottom interface entry conduit landing plate to drill or punch holes (see
).
10. Reinstall the interface entry plate and install the conduit.
Summary of Contents for 93PM Series
Page 4: ......
Page 138: ...16400022707 164000227 07 ...

