background image


20 

more than half a second (less than 2 seconds) to determine whether the CF function is used or not. If used, 

select 50HZ or 60HZ according to you. It is determined by yourself, the default value is 50HZ. 

④ Confirm  the OPF selecting interface. After selecting 50HZ or 60HZ, press and hold the function setting 

key

  for more than half a second (less than 2 seconds). Now, the OPF setting function is completed 

and the “50HZ” or “60HZ” will light without flash. 


⑤E xit from  the setting interface. Press and hold function setting key

for more than 2 seconds, exit from 

the setting interface and return to main interface.   


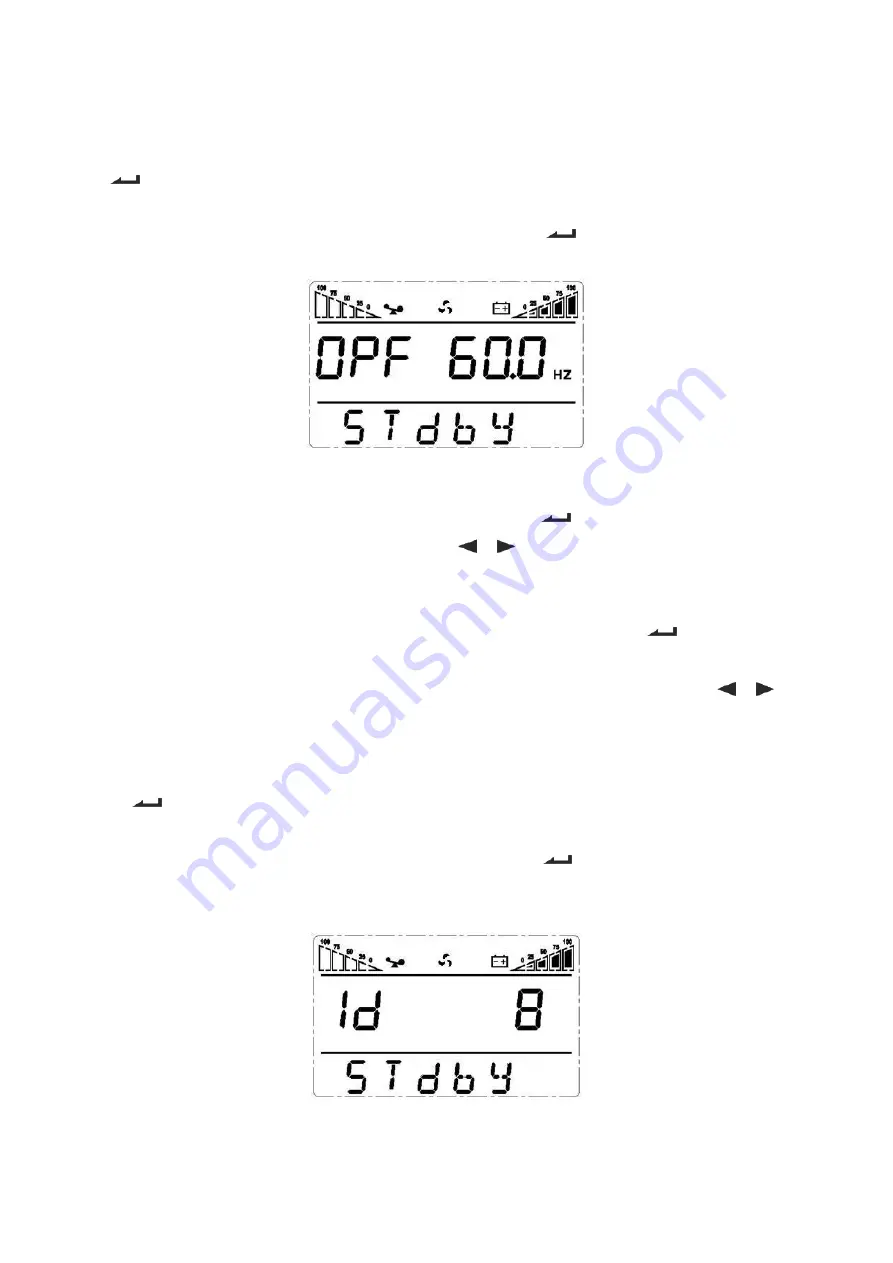
4.6.7 ID setting 

① E nter the setting interface. Press and hold the function setting key

for more than 2 seconds, then come 

to setting interface, press and hold the inquiring key (

,

for more than half a second(less than 2 

seconds), select the function setting, choose output voltage setting interface, at the moment, the letters “Id” 

will flash. 

② E nter the output voltage setting interface. Press and hold the function setting key

  for more than half a 

second(less than 2 seconds), then come to setting interface of ID, at this time, the letters “Id” will not flash 

any more. The numerical value next to the “Id” will flash. Press and hold the inquiring key (

,

for 

more than half a second (less than 2 seconds), select the numerical value. The provided ID numbers are 1, 

2, 3, 4, 5, 6, 7, 8, you can choose anyone by yourself (The default value is 1). 

③ Confirm  the output voltage setting interface. After selecting num erical value, press and hold the function 

setting

for more than half a second (less than 2 seconds). Now, the ID setting function is completed 

and the numerical value will light without flash. 

④ E xit from  the setting interface. Press and hold function setting key

for more than half a second (less 

than 2 seconds), exit from the setting interface and return to main interface. 

Note: ID only can be set before doing parallel operation. 


4.7 Parameters inquiring operation 

Summary of Contents for EA9010H

Page 1: ......

Page 2: ...1 ...

Page 3: ...2 ...

Page 4: ... purchase it from our local service center or distributors to avoid fever and lighter which can cause fire from inadequate power capacity Batteries may cause electric shocks and have a high short circuit current for human being safety please follow the specifications as below when replace the batteries A Remove wristwatches rings and other metal objects B Use only tools with insulated grips and ha...

Page 5: ...OT OPEN EXCEPT QUALIFIED TECHNICIAN Input Breaker USB Parallel Port Intelligent Slot BAT_NTC RS232 EPO Manual Bypass Switch Fan Terminal Block INPUT BREAKER ON OFF WARNING HIGH LEAKAGE CURRENT EARTH CONNECTION ESSENTIAL BEFORE CONNECTING SUPPLY DO NOT OPEN EXCEPT QUALIFIED TECHNICIAN PARALLEL PORT BAT_NTC RS232 USB EPO INTELLIGENT SLOT RS232 EPO USB Parallel Port Intellengent Slot BAT_NTC Input Br...

Page 6: ... before used Once the AC mains power energizes the UPS it will automatically charge the battery Without prior charging UPS output remains as usual but with shorter back up time than normal When connected to motor display equipment laser printer etc UPS power selection should be based on the startup power of the load which is usually twice as rated power When wiring please ensure input cables and o...

Page 7: ...an take all the load independently It allows isolation repairs for malfunctioning UPS and according to users own different requirements every single UPS could install manual maintenance bypass switch 3 3 1 Parallel system installation The function of parallel operation is an optional function of UPS users can purchase parallel function parts including parallel card and parallel wire and contact se...

Page 8: ...AGE CURRENT EARTH CONNECTION ESSENTIAL BEFORE CONNECTING SUPPLY Parallel system of two UPS wiring HIGH LEAKAGE CURRENT EARTH CONNECTION ESSENTIAL BEFORE CONNECTING SUPPLY USB EPO RS232 PARALLEL PORT INTELLIGENT SLOT BAT_NTC USB EPO RS232 PARALLEL PORT INTELLIGENT SLOT BAT_NTC USB EPO RS232 PARALLEL PORT INTELLIGENT SLOT BAT_NTC USB INTELLIGENT SLOT PARALLEL PORT EPO RS232 BAT_NTC INPUT BREAKER ON ...

Page 9: ... to a common terminal block Connect input cables of all UPS together to one common utility power terminal block I nput com m on t er m i nal bl ock U t i l i t y pow er suppl y O ut put com m on t er m i nal bl ock Load Load Load Load Parallel UPS system view Parallel Card Short Pin Parallel Card ...

Page 10: ...the system with mains power After inputting the mains power turn on any one UPS of system others will start by themself at same time All UPS will enter into Line mode Start the system without mains power Make sure the battery pack is connected well and the breaker is in ON position There are two ways to start the UPS parallel system without utility power supply A Press the key on each UPS make eac...

Page 11: ... can not connect 16 batteries to UPS if the UPS should be connected 20 units Please strictly follow the procedure of batteries connection or will get electric shocks 1 Set the battery switch at OFF position then install batteries in series 2 Connecting the cables to batteries firstly or you may get electric shocks if you connect the cables to UPS firstly You d better connect the red cable to batte...

Page 12: ...in1 and pin2 or there is a anther useful simple way is pulling it out 3 5 3 Intelligent card option This series High frequency online UPS supply a intelligent slot on rear panel it s for SNMP card dry contact and USB card users could insert any type intelligent card from those three into it to monitor and manager the UPS You don t have to turn off the UPS when you install the intelligent card Proc...

Page 13: ...ce switch if the UPS has this function When you need to maintain or repair the UPS online follow the procedure as below Open the maintenance bypass switch cover UPS will transfer to BYPASS mode automatically Set the switch at BYPASS position Now you can maintain or repair the UPS After finishing the maintenance operation set the switch back to UPS position and put the cover back Complete all the s...

Page 14: ...ol board Note for long run type UPS there are two chargers users have to operate two charger board 4 Panel function and operation The operation is simple operators only need to read the manual and follow the operation instructions listed in this manual without any special training 4 1 Keys function ON KEY Press and hold the two keys for more than half a second to turn on the UPS OFF KEY Press and ...

Page 15: ...C TION SETTING KEY Non function setting mode Press and hold the key for more than 2 seconds Function setting interface Function setting mode Press and hold the key for more than half a second less than 2 seconds Enter the function setting option Press and hold the key for more than 2 seconds exit from this function setting interface 4 2 LED Function Number LED Explanation Inverter LED Inverter gre...

Page 16: ...vate ECO mode activate CUCF mode select an ID number and so on by operating function setting key and inquiring keys Mode display area A This area will display the power capacity of the machine after starting the UPS within 20 seconds B After over 20 seconds this area will display the working mode of the machine Such as STDBY standby Mode BYPASS Bypass Mode LINE AC Mode BAT Battery Mode BATT Batter...

Page 17: ...hold the self test mute key for more than 1 second the buzzer stops beeping If you press and hold the self test mute key for one more second it will restart to beep again 4 6 Single UPS panel function setting UPS has setting function It can run the setting in any mode After setting it will become effective at once when meets some standards The set information can be saved only when the battery con...

Page 18: ... inquiring key for more than half a second less than 2 seconds to select the numerical value There are two Input methods the value 1 means single phase input the value 3 means three phase input The default input method is single phase Confirm the IPP selecting interface After selecting input method press and hold the function setting key for more than half a second less than 2 seconds Now the IPP ...

Page 19: ...han 2 seconds then come to setting interface Press and hold the inquiring key for more than half a second less than 2 seconds select the function setting choose battery voltage setting interface at the moment the letters bat will flash Enter the battery voltage selecting interface Press and hold the function setting key for more than half a second less than 2 seconds then come to setting interface...

Page 20: ...or OFF press and hold the function setting key for more than half a second less than 2 seconds Now the CF setting function is completed and the ON or OFF will light without flash Exit from the setting interface Press and h old function setting key for more than 2 seconds exit from the setting interface and return to main interface After setting CF at ON UPS would be back in STDBY Mode The default ...

Page 21: ...oltage setting interface at the moment the letters Id will flash Enter the output voltage setting interface Press and hold the function setting key for more than half a second less than 2 seconds then come to setting interface of ID at this time the letters Id will not flash any more The numerical value next to the Id will flash Press and hold the inquiring key for more than half a second less tha...

Page 22: ... output frequency is 50Hz Load Display the numerical value of the active power WATT and apparent power VA of the load For example as the following graphics shows the WATT of the load is 9KW VA is 10KVA when disconnect load it is a normal phenomenon to show a small numerical value of WATT and VA Temperature Display the maximum temperature of the components in the UPS As the following graphics shows...

Page 23: ...g what LCD displays depending on the exact load and battery capacity Turn to bypass mode under the following two conditions Turn off the UPS line mode while start the bypass output Overload in line mode Note When UPS is working in bypass mode it has no back up function 5 2 Line mode LED indications on front panel in line mode or CUCF mode are as following The inverter green LED is on When input AC...

Page 24: ... is on and the buzzer beeps UPS will turn to fault mode UPS cuts off the output and LCD display fault codes At the moment you can press the mute key to make the buzzer stop beeping temporarily to wait for maintenance You can also press the OFF key to shut down the UPS when confirmed that there is no serious fault 6 The warning code list of the LED light and display panel Appendix 1 The table of th...

Page 25: ...attery Bypass Fault 1 Inverter mode mains power Mains power voltage N Mains power high low voltage protection switch to battery mode One beep 4 sec 2 Battery mode Battery voltage normal One beep 4 sec Warning for abnormal voltage of battery One beep sec 3 Bypass mode Mains power normal under Bypass One beep 2 mins Mains power high voltage warning under Bypass One beep 4 sec Mains power low voltage...

Page 26: ...ditions Note End user need to provide below information when require to maintain the UPS UPS Model No Serial No Date of fault occurrence Fault detail LED status noise AC power situation load capacity for long back up type battery capacity configuration is also necessary 7 Trouble shooting When the system runs in failure mode the LCD will show as below Explicit Troubleshoot Introduction Sheet Troub...

Page 27: ...ease check the load level and disconnect the noncritical devices recount the total capacity of your load and reduce the load to the UPS Please check whether the load device has fault or not Fault LED on audible buzzer persistently alarm the fault code is 55 59 Negative output power Please contact the supplier Fault LED on audible buzzer persistently alarm the fault code is 60 64 Power fault Please...

Page 28: ...ntion When the output is short circuited the action of the protection of the UPS will show up Before turning off the UPS please make sure to disconnect the entire load and cut off the AC mains power supply otherwise will make the AC input short circuit Appendix 1 EMC Level The series product is designed to meet the below standard EMS IEC61000 4 2 ESD Level 4 IEC61000 4 3 RS Level 3 IEC61000 4 4 EF...

Page 29: ...ized with utility on AC mode 50 60 0 1Hz on battery mode Waveform Pure sine wave Crest Factor 3 1 Harmonic Distortion 2 Linear load 5 Non linear load Transfer Time AC mode to battery mode 0ms Inverter mode to bypass mode 0ms Overload Capability 105 125 Transfer to bypass after 3mins 125 150 Transfer to bypass after 30s 150 Transfer to bypass after 100ms EFFICIENCY AC Mode 93 Battery Mode 92 ECO Mo...

Page 30: ...mension mm W D H 355 682 615 H 359 687 822 S 359 687 717 H Net Weight kg 25 0 H 73 0 S 25 5 H 74 0 S 38 5 H 39 0 H Gross Weight kg 28 5 H 82 5 S 29 0 H 83 5 S 47 0 H 47 5 H Derate capacity to 70 in CUCF mode and to 90 when the output voltage is adjusted to 208Vac 3 1 means three phase input and single phase output mode 1 1 means single phase input and single phase output mode S means standard mode...

Reviews: