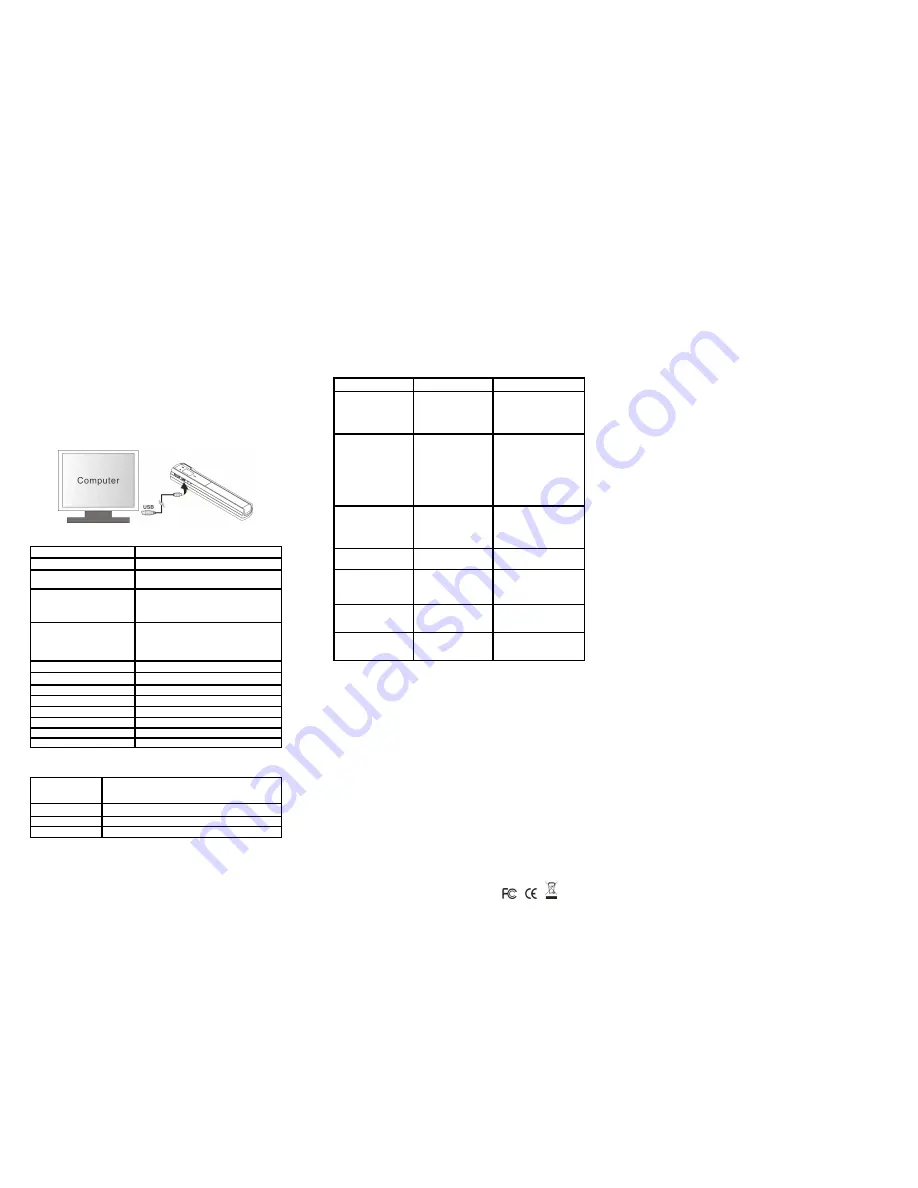
6. Viewing your scans
1.
Connect your scanner to your computer and then turn on your scanner.
2.
Your computer should recognize the scanner as a “Removable Disk.” Click “Open folder
to view files” to view and import scans.
NOTE:
If the Removable Device window did not launch automatically, go to your “My Computer”
(PC) and find the device under Removable Storage.
NOTE:
In power off mode, connect your scanner to your computer to charge the battery. OR use the
power adapter that is included.
7. Specifications
Image sensor
Color Contact Image Sensor
Number of sensor
6048 dots
Resolution
Low resolution : 300x300 dpi(default)
High resolution: 600x600 dpi
Maximum scanning
speed for A5 size
document
Color High resolution: 6 Seconds
Color Low resolution: 5 Seconds
Capacity (Based on 1GB microSD
card. Scan A5 size file, the quantity
of scans varies depending on the
content complexity)
600dpi color: 550 Photos(Min.)
300dpi color: 1200 Photos(Min.)
Scan width
Approx. 5”
Scan length
300DPI: 53"(Max), 600DPI: 26"(Max)
File format
JPEG
LCD
Scanning status display
Auto Power Off
3 Minutes
USB Port
USB 2.0 high speed
External memory
microSD Card
Standard Battery
4.2V Rechargeable Lithium Polymer battery
8. Computer system minimum requirement
Operating System
Windows® XP, Windows® Vista™, Windows® 7 and Mac
OS® 10.4 or above
(direct plug-in, driver installation not required)
CPU
Pentium III or above
RAM
At least 256MB
Interface
USB port
9. Troubleshooting
Problem
Cause
Solution
Cannot turn on the
scanner
1. Low battery.
2. Battery not inserted
properly
1. Recharge the battery by
connecting scanner to the
computer via USB cable.
2. Replace or install the
battery correctly
Pictures cannot be
saved when you are
scanning them
1. microSD card has not
been installed
correctly.
2. Memory is full
3. The microSD card
has not been
formatted properly
1. Install microSD card with
metal side facing
upwards.
2. Download the pictures
from the scanner to the
computer to create
storage space
3. Format your microSD
card. Refer to section 4.4
Computer does not
recognize your scanner
when connected. (You
cannot find removable
disk)
Connection failure.
1. Make sure all cable
connections are secured.
Restart the computer if
necessary
2. Try a different USB port.
The battery life is
very short
Use wrong type of
battery
Replace with new
4.2V rechargeable battery
Blurry images
The lens of the scanner
is dirty.
1. Clean the lens with soft
dry cloth
2. Recalibrate the scanner.
Refer to section 4.5
ERR. LED is on when
scanning a document
Scanning speed is too
fast
Press the [SCAN] button to
reset and try re-scanning
the document more slowly
ERR. LED is on after
powering on the
scanner
The calibration data
is reset.
Recalibrate the scanner.
Refer to section 4.5
Windows® XP, Windows® Vista™, Windows® 7 are registered trademarks of Microsoft Corporation.
Mac OS® is a registered trademark of Apple Inc.
All trademarks are the property of their respective owner.
AM-TSN510-GB-STD-3


