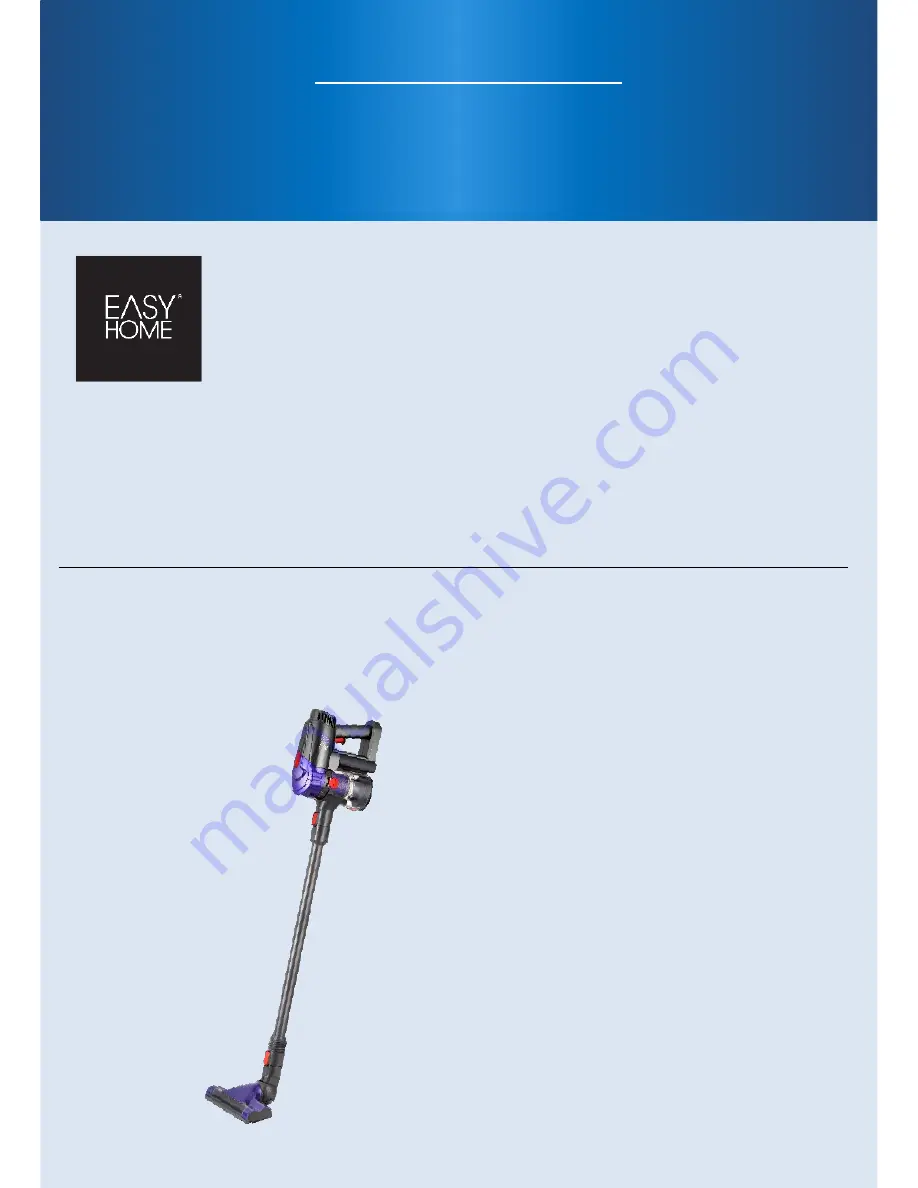
CORDLESS
CYCLONIC STICK VACUUM
ASPIRADORA ESCOBA CICLÓNICA
SIN CABLE
User Manual
Manual
del usuario
English……Page 3 Español…..Página 18
Page 1: ...CORDLESS CYCLONIC STICK VACUUM ASPIRADORA ESCOBA CICLÓNICA SIN CABLE User Manual Manual del usuario English Page 3 Español Página 18 ...
Page 2: ...arts list 3 Contents 4 Assembly 5 General information 7 Safety instructions 9 User instructions 10 Troubleshooting 14 Cleaning and maintenance 15 Other useful information 16 Technical specifications 16 Storing 16 ...
Page 3: ...tension pole 7 Pole attachment release button Main body disassembled 8 Dust container lid 9 Dust container release button 10 HEPA filter 11 Round filter 12 Filter assembly 13 Filter assembly release tabs 14 Dust container 15 Main body attachment release button 16 Dirt release button 17 Indicator light 18 ON OFF trigger 19 Power adapter receptacle 20 Battery release button 21 Battery 9 ...
Page 4: ...e main body Insert the turbo brush head 2 into the hole on the bottom of the extension pole 6 until you hear an audible clicking noise Insert the top of the extension pole 6 into the main body 1 until you hear an audible clicking noise To disassemble the turbo brush head from the extension pole press the pole attachment release button 7 To disassemble the extension pole press the red main body att...
Page 5: ...e brush up or down until it locks into place Insert the 2 in 1 crevice brush tool 3 into the connecting joint 4 It does not click into place Insert the connecting joint into the bottom of the extension pole 6 until you hear an audible clicking noise Insert the top of the extension pole into the main body 1 until you hear an audible clicking noise To disassemble the 2 in 1 crevice brush tool from t...
Page 6: ...es not click into place Insert the connecting joint into the main body 1 until you hear an audible clicking noise To disassemble the 2 in 1 crevice brush tool from the pole pull the 2 in 1 tool straight out from the connecting joint It is not clicked into place Press the red pole attachment release button 7 then remove the connecting joint ...
Page 7: ...ct Customer Service for examination repair or reimbursement 6 Do not operate vacuum cleaner too close to hot objects like heaters radiators etc 7 Do not put any objects into vacuum Keep end of pole brush heads and other openings away from your face and body 8 Remove large or sharp objects from the floor to prevent damage to the vacuum 9 Do not use to pick up flammable items such as cigarette butts...
Page 8: ...re dry when plugging in and unplugging the Cyclonic Stick Vacuum 19 Do not use this Cyclonic Stick Vacuum for other than intended use 20 Do not use vacuum if it has been dropped damaged left outdoors or dropped in water 21 This Cyclonic Stick Vacuum is not intended for use by persons including children with reduced physical sensory or mental capabilities or lack of experience and knowledge unless ...
Page 9: ...extension cord is required special care and caution is necessary Also the cord must be 1 marked with an electrical rating of 125V and at least 13 A 1625 W and 2 the cord must be arranged so that it will not drape over the countertop or tabletop where it can be pulled on by children or tripped over accidentally Electric power If electric circuit is overloaded with other appliances your appliances m...
Page 10: ...ories The 2 in 1 crevice brush tool is interchangeable from a crevice tool to a brush tool o The crevice tool is used for cleaning radiators corners edges drawers o The brush tool is used for cleaning curtains shelves bookshelves lamps and other delicate objects The extension pole is used for extended reach and to add extra strength to the main body of your vacuum How to empty the dust container P...
Page 11: ...ntainer Place the filter assembly 12 into the dust container by lining up the square tab in the back with the opening on the dust container The Lock Open label is facing towards the attachment release button Push down the filter assembly release tabs 13 until they click into place over the notches Place the round filter in the HEPA filter and place the filters together on top of the filter assembl...
Page 12: ...ain body Line up the hook on the bottom of the main body with the notch on the bottom of the dust container Using both hands push the top of the dust container into the top of the main body until you hear an audible clicking noise How to charge the main body battery NOTE The initial charge can take up to 5 6 hours Plug the power adapter 5 into the power adapter receptacle 19 ...
Page 13: ...he red indicator light stops flashing the vacuum is ready for use Although you can use the vacuum plugged into the adapter between uses it is recommend that you unplug it if you will be away for long periods of time How to remove the battery Slide and hold the red battery release button 20 located on the bottom of the main body The battery 21 slides out of place ...
Page 14: ...mpty dust container 2 Connect and charge the main body Dust escaping from vacuum 1 Dust container is full 2 Dust container with filters are not assembled correctly 1 Empty dust container 2 Reassemble the dust container Check To See if bottom of dust container is locked into place Vacuum brushes will not pick up Dust container is full Empty and clean dust container If troubleshooting does not work ...
Page 15: ...elease the dust container from the main body 3 Empty and disassemble the dust container by following the instructions on page 9 4 The HEPA filter and round filter are removable The filter assembly dust container lid HEPA filter and round filter are washable using warm water and a soft brush if necessary Dry completely before using again 5 The inside of the dust container and the exterior of the st...
Page 16: ...ation Do not place any heavy items on top of the Cyclonic Stick Vacuum during storage as this may result in possible damage Service center If you have any questions in regards to the operation of this Cyclonic Stick Vacuum please contact our service center at Tel 1 888 367 7373 Business Hours Mon Fri 10 00am 5 00pm EST Email help myproduct care Environmental protection If the Cyclonic Stick Vacuum...
Page 17: ...omponentes 18 Contenido 19 Ensamblaje 19 Información general 22 Instrucciones de seguridad 24 Modo de empleo 25 Resolución de problemas 29 Limpieza y mantenimiento 30 Información adicional de utilidad 31 Especificaciones técnicas 31 Almacenamiento 31 ...
Page 18: ...ón del accesorio alargador Cuerpo principal desmontado 8 Tapa del depósito de polvo 9 Botón de liberación del depósito de polvo 10 Filtro HEPA 11 Filtro redondo 12 Conjunto del filtro 13 Traba de liberación del conjunto del filtro 14 Depósito de polvo 15 Botón de liberación del accesorio del cuerpo principal 16 Botón de liberación del polvo 17 Luz indicadora 18 Botón de encendido apagado 19 Recept...
Page 19: ...gador y al cuerpo principal Inserte el cabezal con cepillo turbo 2 en el orificio en la parte inferior del tubo alargador 6 hasta escuchar un chasquido Inserte la parte superior del tubo alargador 6 en el cuerpo principal 1 hasta escuchar un chasquido Para desmontar el cabezal con cepillo turbo del tubo alargador presione el botón de liberación del accesorio alargador 7 Para desmontar el tubo alar...
Page 20: ...o hacia abajo hasta que quede firmemente asegurado en su lugar Inserte la herramienta para resquicios cepillo 2 en 1 3 en la junta de conexión 4 Esta herramienta no emite un chasquido al insertarse Inserte la junta de conexión en la parte inferior del tubo alargador 6 hasta escuchar un chasquido Inserte la parte superior del tubo alargador en el cuerpo principal 1 hasta escuchar un chasquido Para ...
Page 21: ...quido al insertarse Inserte la junta de conexión en el cuerpo principal 1 hasta escuchar un chasquido Para desmontar la herramienta para resquicios cepillo 2 en 1 del tubo jale de la herramienta 2 en 1 para sacarla de la junta de conexión Esta herramienta no emite un chasquido al insertarse Presione el botón de liberación de color rojo del accesorio alargador 7 y a continuación quite la junta de c...
Page 22: ...ado si ha sufrido una avería o si se ha dañado de cualquier manera Póngase en contacto con el servicio de atención al cliente para su revisión reparación o recibir un reembolso 6 No utilice la aspiradora demasiado cerca de objetos calientes como calefactores radiadores etc 7 No introduzca objetos en la aspiradora Mantenga el extremo del tubo los cabezales con cepillo y otros orificios alejados de ...
Page 23: ...s calientes 17 No utilice la aspiradora escoba ciclónica con un enchufe dañado 18 Asegúrese de que sus manos estén secas al enchufar y desenchufar la aspiradora escoba ciclónica 19 No utilice la aspiradora escoba ciclónica para un uso distinto para el cual fue diseñada 20 No utilice la aspiradora si se ha caído está dañada se ha dejado a la intemperie o se ha sumergido en agua 21 La aspiradora esc...
Page 24: ...ensión es necesario tener especial cuidado y precaución Además el cable debe 1 estar marcado con una clasificación eléctrica de 125 V y al menos 13 A y 1625 W y 2 el cable debe colocarse de manera que no cuelgue de un mostrador o mesa en donde los niños pudieran halarlo o tropezar con él accidentalmente Alimentación eléctrica Si el circuito eléctrico está sobrecargado con otros electrodomésticos e...
Page 25: ...los accesorios La herramienta para resquicios cepillo 2 en 1 puede cambiarse de una boquilla para resquicios a un cepillo o La boquilla para resquicios se utiliza para limpiar radiadores esquinas bordes y cajones o El cepillo se utiliza para limpiar cortinas estanterías bibliotecas lámparas y otros objetos delicados El tubo alargador se utiliza para un mayor alcance y para aportar mayor resistenci...
Page 26: ... el filtro y el depósito de polvo Introduzca el conjunto del filtro 12 en el depósito de polvo alineando la pestaña cuadrada en la parte posterior con el orificio en el depósito de polvo La etiqueta Lock Open Asegurar Abrir se orienta hacia el botón de liberación del accesorio Empuje las trabas de liberación del conjunto del filtro 13 hasta que queden fijadas en su posición sobre las pestañas Colo...
Page 27: ...r del cuerpo principal con la pestaña en la parte inferior del depósito de polvo Utilizando ambas manos empuje la parte superior del depósito de polvo en la parte superior del cuerpo principal hasta escuchar un chasquido Cómo cargar el cuerpo principal Batería NOTA La carga inicial puede necesitar hasta 5 o 6 horas Inserte el adaptador de alimentación 5 en el receptáculo del adaptador de alimentac...
Page 28: ...iradora está lista para usarse Si bien la aspiradora puede dejarse enchufada entre usos se recomienda desenchufarla si no va a utilizarse durante periodos de tiempo prolongados Cómo extraer la batería Deslice y sujete el botón de liberación de color rojo de la batería 20 ubicado en la parte inferior del cuerpo principal Deslice la batería 21 para extraerla ...
Page 29: ...l cuerpo principal Sale polvo de la aspiradora 1 El depósito de polvo está lleno 2 El depósito de polvo con los filtros no se ha ensamblado correctamente 1 Vacíe el depósito de polvo 2 Vuelva a ensamblar el depósito de polvo Compruebe que la parte inferior del depósito de polvo esté asegurada en su lugar Los cepillos de la aspiradora no recogen suciedad El depósito de polvo está lleno Vacíe y limp...
Page 30: ...sconectar el depósito de polvo del cuerpo principal 3 Vacíe y desmonte el depósito de polvo siguiendo las instrucciones de la página 25 4 El filtro HEPA y el filtro redondo son extraíbles El conjunto del filtro la tapa del depósito de polvo el filtro HEPA y el filtro redondo pueden lavarse con agua tibia y un cepillo suave de ser necesario Séquelos completamente antes de volver a usarlos 5 El inte...
Page 31: ...ue objetos pesados sobre la aspiradora escoba ciclónica durante el almacenamiento ya que esto puede dar lugar a posibles daños Centro de servicio Si tiene alguna pregunta sobre la operación de la aspiradora escoba ciclónica póngase en contacto con nuestro centro de servicio en Teléfono 1 888 367 7373 Horario de servicio de lunes a viernes de 10 00 a m a 5 00 p m horario del Este en los Estados Uni...
Page 32: ......
Page 33: ...iption of malfunction WARRANTY CARD CORDLESS CYCLONIC STICK VACUUM Customer Service Phone Hours Monday Friday 10 00am 5 00pm EST 2 Return your completed warranty card to Wachsmuth Krogmann Inc 1015 Hawthorn Drive Itasca IL 60143 USA help myproduct care AFTER SALES SUPPORT 49066 888 367 7373 help myproduct care MODEL DV 888DC 12 2016 ...
Page 34: ...eted The warranty does not cover damage caused by Accident or unanticipated events e g lightning water fire Improper use or transport Failure to follow the safety and maintenance instructions Other improper treatment or modification of the product After the expiration of the warranty period you may wish to have your product repaired at your own expense This warranty gives you specific legal rights...
Page 35: ... la avería TARJETA DE GARANTÍA ASPIRADORA ESCOBA CICLÓNICA SIN CABLE Horario de Servicio al cliente de lunes a viernes de 10 00a m 5 00p m horario del Este en EE UU 2 Envíe la tarjeta de garantía completada a Wachsmuth Krogmann Inc 1015 Hawthorn Drive Itasca IL 60143 USA help myproduct care SERVICIO POSVENTA 49066 888 367 7373 help myproduct care NO DEL MODELO DV 888DC 12 2016 ...
Page 36: ...antía completada de manera apropiada La garantía no cubre los daños ocasionados por Accidentes o eventos imprevistos por ejemplo rayos agua fuego Uso o transporte inadecuados Incumplimiento de las instrucciones de seguridad y mantenimiento Otro tratamiento o modificación inadecuados del producto Después del vencimiento del período de garantía tiene la posibilidad de mandar a reparar su producto si...
Page 37: ......
Page 38: ...DISTRIBUTED BY DISTRIBUIDO POR ALDI INC BATAVIA IL 60510 WWW ALDI US MODEL DV 888DC 12 2016 49066 ...