28
tively.) Most of the time, the instructions require you to press either
menu key, so the text simply uses the word
MENU
. Usually, when we
say
MENU
, you can simply press the
MENU UP
key for consistency.
This sonar unit has many features that are accessed with the menu
keys. The
MENU UP
key moves up or forward through the menus, the
MENU DOWN
key moves down or backward. To see the first menu, sim-
ply press either
MENU
key. To see the other menus, press a
MENU
key
repeatedly to cycle through the menu list.
4. UP and DOWN ARROWS
These keys appear in the manual text as
DOWN ARROW
or
UP ARROW
. Use
these keys to adjust virtually every feature and function on the sonar unit.
MEMORY
This unit has permanent memory that saves all user settings, even when
power is removed. It does not require, nor does it use an internal backup
battery, so you never have to worry about replacement batteries.
MENUS
This unit uses menus to guide you through the various functions and fea-
tures. Menu names and settings appear in the manual text as small capital
letters like
S
ENSITIVITY
, which represents the Sensitivity menu. The menu
keys access these features, allowing you to customize the unit to your par-
ticular needs and water conditions. All you have to do to leave one menu
and enter another is press
MENU
repeatedly. If you ever get lost in the
menus, simply press the
PWR
key. This clears the menus from the screen.
Menus change depending on the mode the unit is in. Messages may appear
in menu boxes or new menus can appear, depending on previous selections.
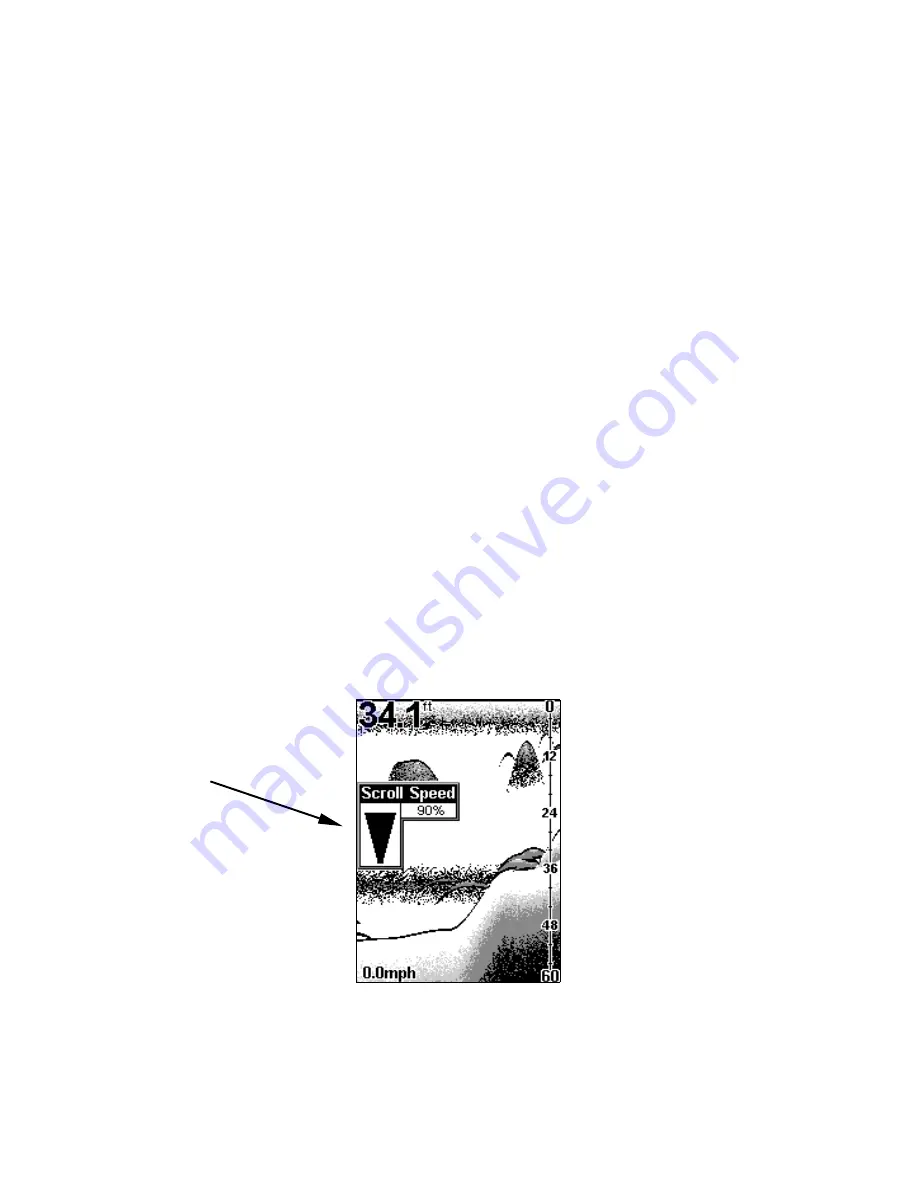
This screen shows a typical menu, the Scroll Speed menu.
DISPLAY – Opening Screen
The lights flash for about 10 seconds when the unit is turned on. The
backlight menu first appears on the screen. To turn the lights on, press
Menu


