E-Vision NVS316P8 Quick Manual Download Page 50

50

Quick Guide  -  NVS308P8 NVS316P8  -  090061007

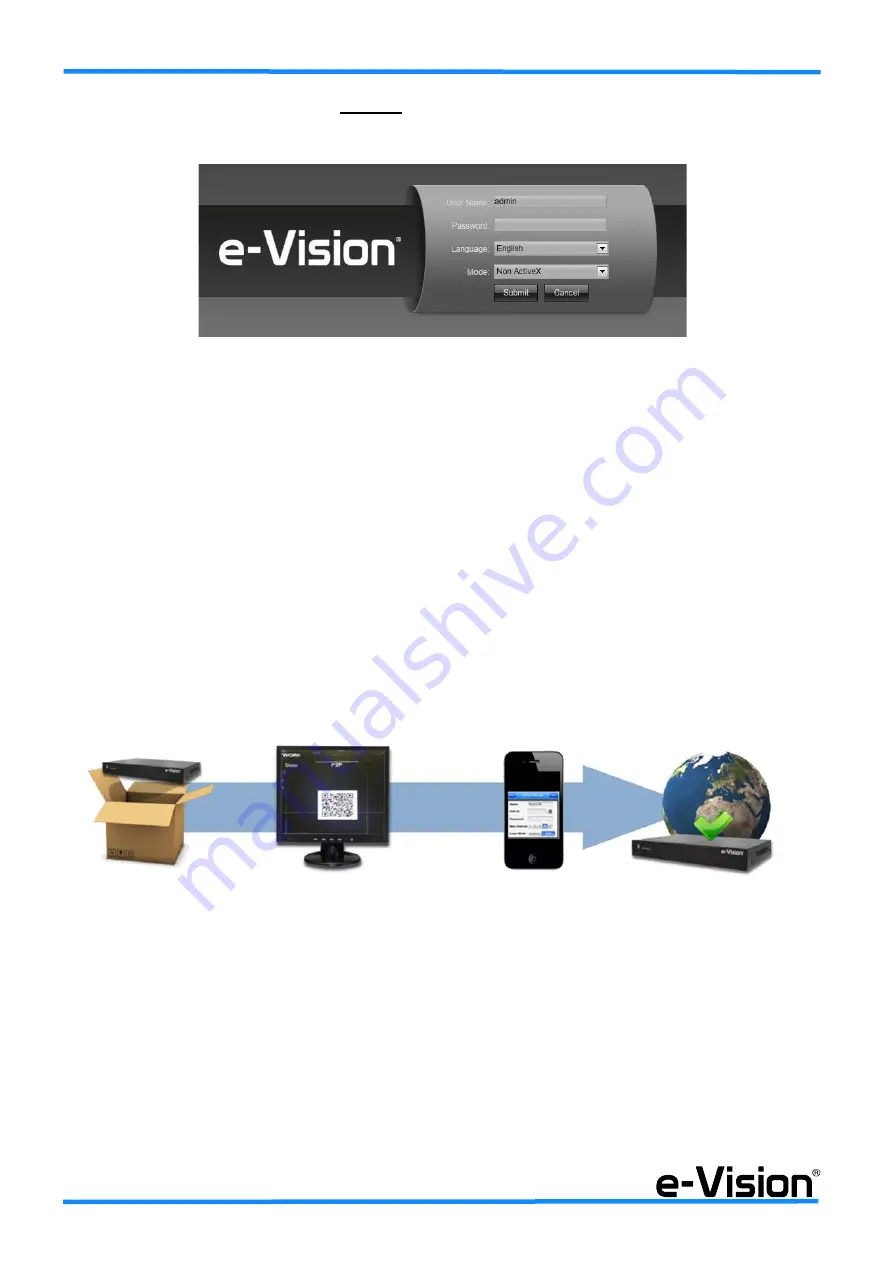
8.6 Software access via browser 

without

 ActiveX 

To install configuration software without ActiveX plugin, select <Non ActiveX> option in the login window:

8.7 Access with the Fseye application

8.7.1 Fseye characteristics 

 - Real Time preview (bi-directional audio, monitoring, PTZ camera control)
 - Remote playback (max 1 channel)
 - Alarm warning
 - Primary and secondary stream support
 - Multiple visualization support (1/4/9/16 channels)
 - Image and recording storage

8.7.2 Fseye operativity

Download the 

Fseye 

application from the APPSTORE or from GOOGLEPLAY.

After downloading and installing the application, you will start at the login screen (on the left). Choose LOCAL ACCESS to

see the list of the devices:

         1. Get the NVR                   2. View the QR code of the NVR              3. Capture the QR code             4. Done! The NVR is connected

Summary of Contents for NVS316P8

Page 1: ...Guida Rapida Quick Guide NVS308P8 NVS316P8 Network Video Recorder 090061007 IT08020000001624...

Page 2: ...i aver disconnesso l alimentazione primaria e di emergenza Alcuni prodotti incorporano batterie ricaricabili o meno per l alimentazione di emergenza Errori nel loro collegamento possono causare danni...

Page 3: ...stallazione ActiveX 20 4 2 Accesso al software tramite browser senza ActiveX 23 4 3 Accesso con applicazione Fseye 23 4 3 1 Caratteristiche dell applicazione Fseye 23 4 3 2 Operativit applicazione Fse...

Page 4: ...n 47 8 2 Software access via browser without ActiveX 50 8 3 Access with the Fseye application 50 8 3 1 Fseye characteristics 50 8 3 2 Fseye operativity 50 8 4 Access with e Vision DDNS service 53 8 5...

Page 5: ...PXQLW UHTXLUHPHQWV IRU FRPSRQHQWV RI ILUH QWUXGHU DQG VRFLDO DODUP V VWHP 1 RPSDWLELOLWj HOHWWURPDJQHWLFD 0 3DUWH 1RUPH JHQHULFKH PLVVLRQH SHU JOL DPELHQWL UHVLGHQ LDOL FRPPHUFLDOL H GHOO LQGXVWULD OH...

Page 6: ...immesso sul mercato dopo il 13 agosto 2005 con divieto di conferimento all ordi nario servizio di raccolta dei rifiuti urbani DISPOSAL INSTRUCTIONS USERS INFORMATION According to Directive 2012 19 EU...

Page 7: ...0p pu essere utilizzata per la connessione di monitor di grandi dimensioni ad alta definizione che rispondono principalmente alle esigenze di sale di regia e controllo per la visualizzazione contempor...

Page 8: ...STEP 4 STEP 5 Far scivolare il coperchio del dispositivo nel senso indicato dalle frecce Connettere i cavi come indicato nelle immagini sopra Collocare l HDD nell alloggiamento predisposto e fissarlo...

Page 9: ...1 1 Accesso al menu OSD con il mouse Collegare un mouse USB ad una qualsiasi delle porte USB disponibili del DVR Le funzioni dei tasti del mouse sono quelle illustrate in figura seguente Muovere il cu...

Page 10: ...e alla seguente finestra di login Selezionare il tipo di utente dal menu a tendina user UTENTE o admin AMMINISTRATORE e digitare la password con la tastiera virtuale che apparir cliccando nel relativo...

Page 11: ...elezionare il formato video e la risoluzione desiderati quindi l opzione Successivo Selezionare LAN 1 e le impostazioni di rete IP Subnet Mask e Gateway quindi l opzione Successivo nei modelli con ver...

Page 12: ...ire il dispositivo puntare con uno smartphone il codice utilizzando l applicazione Fseye A questo punto sar visualizzato il menu principale NOTA Se si desidera rilanciare la procedura guidata selezion...

Page 13: ...NU MERO 80 HTTP E LA NUMERO 554 RTSP 2 IN CASO DI PUBBLICAZIONE DEL DVR SENZA MODALIT ACTIVEX LE PORTE DA APRIRE SUL ROUTER SONO LA NU MERO 80 HTTP LA NUMERO 1935 RTMP E LA NUMERO 554 RTSP 3 SE I DVR...

Page 14: ...e nella colonna di de stra le telecamere aggiunte al NVR 1 Per aggiungere i canali in modalit automatica settando i parametri delle telecamere corretti per la connessione sele zionare l opzione Modifi...

Page 15: ...nterno al NVR o su rete cliente eseguire una ricerca col tasto CERCA e utilizzare le frecce centrali 5 per aggingere le telecamere 3 3 Creazione di strutture L NVR permette di creare strutture layout...

Page 16: ...DATA B i video disponibili per la riproduzione e quindi selezionabili sono indicati in colore blu Per la riproduzione di video selezionare il canale o i canali desiderati A selezionare la data deside...

Page 17: ...azioni selezionare il tasto AVVIA BACKUP H per salvare i dati 4 APPLICAZIONE SOFTWARE DEL NVR L accesso all NVR consentito in vari modi fare riferimento al manuale tecnico per maggiori dettagli 1 tram...

Page 18: ...elezionare Strumenti Impostazioni Visualizzazione Compatibilit Inserire IP della telecamera Speed Dome tra i siti compatibili e selezionare AGGIUNGI NOTA l inserimento dell IP della telecamera tra i s...

Page 19: ...ocedura illustrata di seguito per definire correttamente le impostazioni di sicurezza di internet Avviare il browser Internet Explorer cliccando sull icona del desktop o utilizzando il menu START Sele...

Page 20: ...roseguire con l installazione delle ActiveX 4 5 3 Installazione ActiveX Avviare il browser Internet Explorer cliccando sull icona del desktop o utilizzando il menu START Inserire l indirizzo IP della...

Page 21: ...ale selezionare Downloading Active X Control Please click here e procedere Per installare i controlli ACTIVE X in modalit automatica selezionare CONSENTI Sar visualizzata la seguente finestra Selezion...

Page 22: ...nare NEXT quindi INSTALL Al temine della registrazione selezionare FINISH per terminare l installazione dei controlli Al termine dell intera procedura avviare nuovamente Internet Explorer e digitare l...

Page 23: ...al Time audio bidirezionale monitoraggio controllo obiettivo PTZ Playback remoto 1 canale max Segnalazione allarmi Supporto stream principale e secondario Supporto visualizzazione multipla 1 4 9 16 ca...

Page 24: ...NAME quindi selezionare l icona QR Code e acquisire il QR code con lo smartphone tramite menu OSD del NVR System Setting Network Parameter Platform Icona QR Code oppure utilizzare l etichetta po sizio...

Page 25: ...316P8 Quick Guide 25 Dopo l acquisizione del codice sar visualizzata la finestra a sinistra Selezionare OK Sar visualizzata la schermata DEVICE LIST Selezionare l icona di un immagine per visualizzare...

Page 26: ...re i parametri riportati sull etichetta nel riquadro nella seguente finestra NOTA IMPORTANTE PER L UTILIZZO DEL SERVIZIO DDNS E VISION Prima di iniziare la programmazione del DVR necessario configurar...

Page 27: ...Italian Sar visualizzata la finestra principale del software AREA 1 Tastidelmenuprincipale Anteprima Riproduzione Registro File Configurazione Uscita AREA 2 Elenco telecamere supportate e stream AREA...

Page 28: ...r ottimizzare la visualizzazione in funzione della banda disponibile Il flusso principale supporta 1080p 720p 960H D1 CIF QCIF ma la risoluzione pu variare in base alle diverse impostazioni dei singol...

Page 29: ...e di preset 4 14 AREA 5 Tasti Intercom Voc Acquisizione Schermo Intero Ferma Tutto Info Allarme Icone che indicano da sinistra a destra le funzioni Intercom Voc Acquisizione Schermo Intero Ferma Tutto...

Page 30: ...urre i video archiviati sui DVR Per ricercare il video da riprodurre selezionare il canale 1 la data 2 quindi RICERCA 3 i dati trovati saranno visualiz zati colorati in base al tipo di dato blu progra...

Page 31: ...e le selezioni desiderate quindi selezionare RICERCA per avviare la ricerca dei dati 4 16 4 Menu File Questa finestra consente di riprodurre i video archiviati sul PC Per ricercare il video da riprodu...

Page 32: ...4 16 5 Menu Configurazione Questa finestra consente di configurare i parametri del DVR Per dettagli sulle funzioni fare riferimento al manuale tecnico 4 16 6 Menu Uscita Nella finestra principale sele...

Page 33: ...090061007 NVS308P8 NVS316P8 Quick Guide 33 Pagina bianca Blank page...

Page 34: ...and HDMI outputs and the 1080p Full HD HDMI output can be used to connect high definition large size monitors that mostly meet the requirements of control monitor centers that need to display all the...

Page 35: ...ck Guide 35 STEP 3 STEP 4 STEP 5 Slide the DVR cover as indicated by arrows Wire cables as indicated in the images above Position the HDD in the arranged area and fix it from the outside with the scre...

Page 36: ...e connected to the unit 7 1 1 OSD menu access with mouse Connect the mouse USB mouse to one of the NVR ports available Mouse keys functions are illustrated below Move the cursor on the screen to displ...

Page 37: ...elect START LOGIN to access OSD menu the following window will be displayed Select the correct user from the menu user USER or admin ADMIN then digit the password using the virtual keyboard Default ad...

Page 38: ...ect NEXT Select image resolution then select NEXT Select LAN 1 and network settings IP Subnet Mask and Gateway then select NEXT in models with firmware version lower than 1 1 5 identifiable from the M...

Page 39: ...ck Guide 39 To read the device use a smartphone to scan the QR code using Fseye application The main OSD menu will be displayed NOTE If you wish to run the wizard again please select START GUIDE and r...

Page 40: ...ROUTER NUMBER 80 HTTP AND PORT NUMBER 554 RTSP 2 WHEN USING THE NVR WITHOUT ACTIVEX PLUGIN OPEN THE FOLLOWING PORTS ON THE ROUTER NUMBER 80 HTTP NUMBER 1935 RTMP AND NUMBER 554 RTSP 3 WHEN USING THE...

Page 41: ...as within the network on the right side cameras added to the NVR 1 How to add cameras automatically after having set correct parameters for cameras connection select Modify the IP address when add cha...

Page 42: ...internal switch or the customer network then start the search with SEARCH option 1 and use central arrows 5 to add cameras 7 3 Structures creation NVS300P8 NVR allows to generate structures that is p...

Page 43: ...indow will be displayed In DATE SELECT area B videos available for playback that is selectable will be indicated in blue colour To playback a video select the channel s A select the date in DATE SELEC...

Page 44: ...t START BACKUP H to save data 8 NVR SOFTWARE APPLICATION The NVRs can be accessed see the technical manual for more details 1 using smartphones with Fseye application 2 via IE browser using ACTIVEX or...

Page 45: ...elect Strumenti Impostazioni Visualizzazione Compatibilit Tools Compatibility View Settings Add Speed Dome camera IP address to trusted sites list and select AGGIUNGI ADD NOTE the addition of the came...

Page 46: ...eX plugins See the following instructions to set the Internet security settings Open IE browser from the desktop icon or the Start menu Select Strumenti Opzioni Internet Tools Internet Options Select...

Page 47: ...rification https for all sites in this zone Now the ActiveX plugins can be installed 8 5 3 ActiveX installation Open IE browser from the desktop icon or the Start menu Digit camera IP address in the a...

Page 48: ...48 Quick Guide NVS308P8 NVS316P8 090061007 For the automatic installation of ACTIVE X plugin select CONSENT The following window will be displayed Select INSTALL The following window will be displayed...

Page 49: ...08P8 NVS316P8 Quick Guide 49 Select NEXT then INSTALL At the end of the procedure select FINISH to close the installation of controls Restart IE browser and digit camera IP address the camera will now...

Page 50: ...PTZ camera control Remote playback max 1 channel Alarm warning Primary and secondary stream support Multiple visualization support 1 4 9 16 channels Image and recording storage 8 7 2 Fseye operativity...

Page 51: ...ame in the corresponding field then select the icon that is circled in the image above and use the phone camera to scan the QR code available in the OSD menu of the NVR System Setting Network Paramete...

Page 52: ...Quick Guide NVS308P8 NVS316P8 090061007 Once the code is acquired the screen on the left will be shown Select OK The DEVICE LIST will be shown Select any image icon to visualize the screen on the rig...

Page 53: ...R digit label data in the red square above in the following menu window IMPORTANT NOTE FOR THE USE OF E VISION DDNS SERVICE Before proceeding with the NVR setup the correct configuration of the router...

Page 54: ...e admin password 888888 In Language field select English The software main window will be displayed AREA 1 Main menu functions Preview Playback Log File Configuration Exit AREA 2 Playback stream manag...

Page 55: ...main or extra and recording mode for the stream se lected Select Main Stream Extra Stream to optimise images display according to the bandwidth available 8 12 AREA 3 PTZ controls Use the wheel 8 arro...

Page 56: ...ast and to set cancel call a preset position 8 14 AREA 5 Intercom Voc Capture Full Screen StopAll Alarm Info Audio Keys indicating left to right Intercom Voc Capture Full Screen StopAll Alarm Info and...

Page 57: ...o the NVR To search videos select the channel 1 the date 2 then RICERCA SEARCH 3 the data found will be displayed with different colours according to data type blue configuration etc Select PLAY 4 to...

Page 58: ...ea on the right Select the necessary options then select RICERCA SEARCH to start data search 8 16 4 Menu File File This window allows to playback videos saved to the PC To search videos select time in...

Page 59: ...8 16 5 Menu Configurazione Configuration This window allows to configure NVR parameters For more details on the window options see technical manual 8 16 6 Menu Uscita Exit On the main window menu bar...

Page 60: ...Made in China 090061007 Le informazioni e le caratteristiche di prodotto non sono impegnative e potranno essere modificate senza preavviso The information and product features herein are not binding...

Reviews: