6
Setting the Time Period:
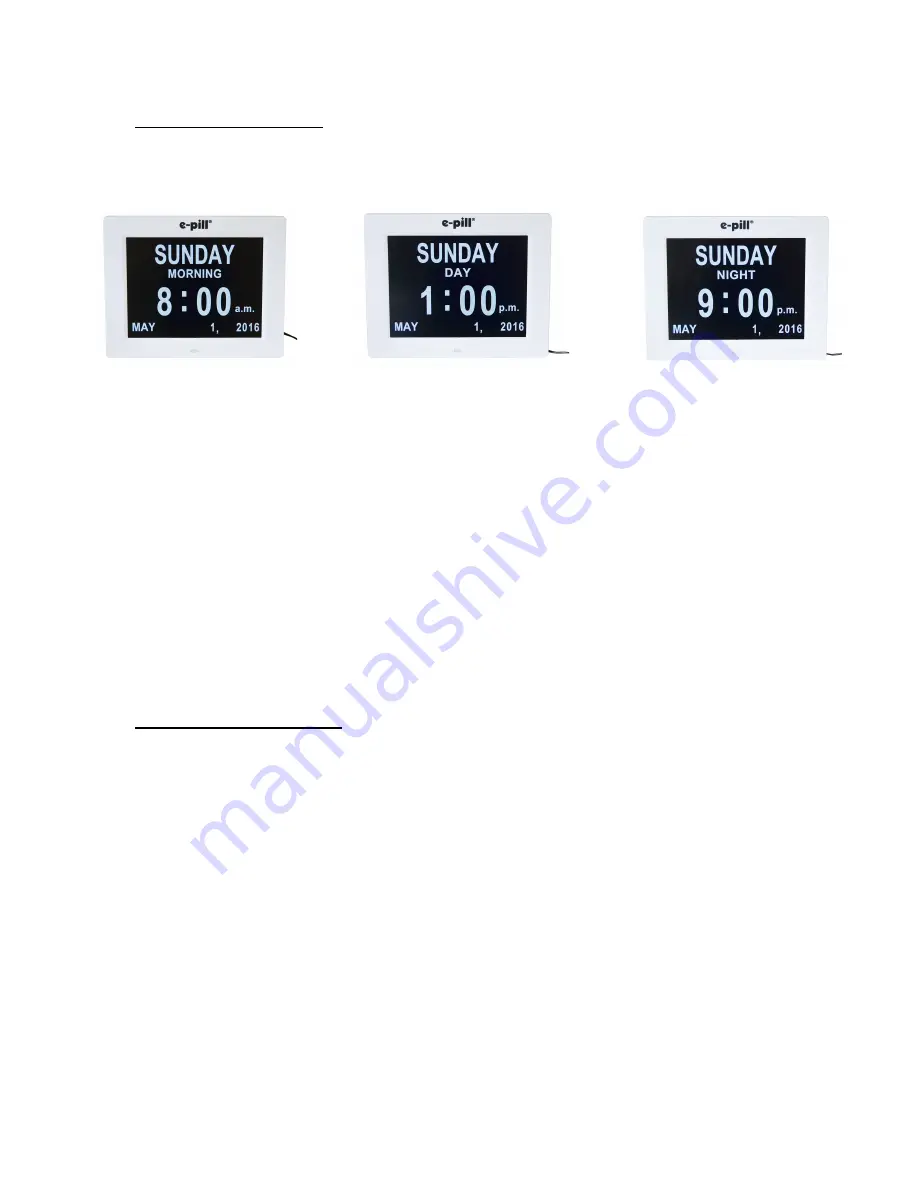
Each day is divided into 3 cycles:
MORNING
,
DAY
, and
NIGHT
.
Using the
CONTROL PAD
, press the
MENU
button to access the settings menu. Using
the
l
button, scroll to the
TIME PERIOD
tab and press the
ll
button to switch
between
ON
and
OFF
. Turning this feature on will prompt "Morning", "Day", or "Night"
to appear on the home screen, accompanying the time and date. To return to the home
screen, press the
MENU
button or allow the settings menu to timeout.
Using the
REMOTE CONTROL
, press the
SETUP
button to access the settings menu.
Using the
DOWN
(
) arrow, scroll to
TIME PERIOD
and press the
ENTER
button to
switch between
ON
and
OFF
. Turning this feature on will prompt "
MORNING",
"DAY,
or "
NIGHT"
to appear on the home screen, accompanying the time and date. To
return to the home screen, press the
EXIT
button or allow the settings menu to timeout.
Setting the Alarm Volume:
NOTE: User will not hear sound when scrolling through volume levels. Alarm
volume can be tested by creating alarms.
Using the
CONTROL PAD,
press the
MENU
button to access the settings menu. Using
the
l
button, scroll to the
VOLUME
tab and continuously press the
ll
button to
scroll through Volume Levels 0-30. To return to the home screen, press the
MENU
button or allow the settings menu to timeout.
Using the
REMOTE CONTROL
, press the
SETUP
button to access the settings menu.
Using the
DOWN
(
) arrow, scroll to
VOLUME
and press the
ENTER
button to scroll
through Volume Levels 0-30. To return to the home screen, press the
SETUP
button or
allow the settings menu to timeout.
Morning: 6AM-9: 59AM
Day: 10AM-5: 59PM
Night: 6PM-5: 59AM


