


IMPORTANT NOTE. Occasionally we may release new software/firmware
upgrades/enhancements for this television. Please check the ‘firmware
upgrade’ section of the website regularly.
19
19
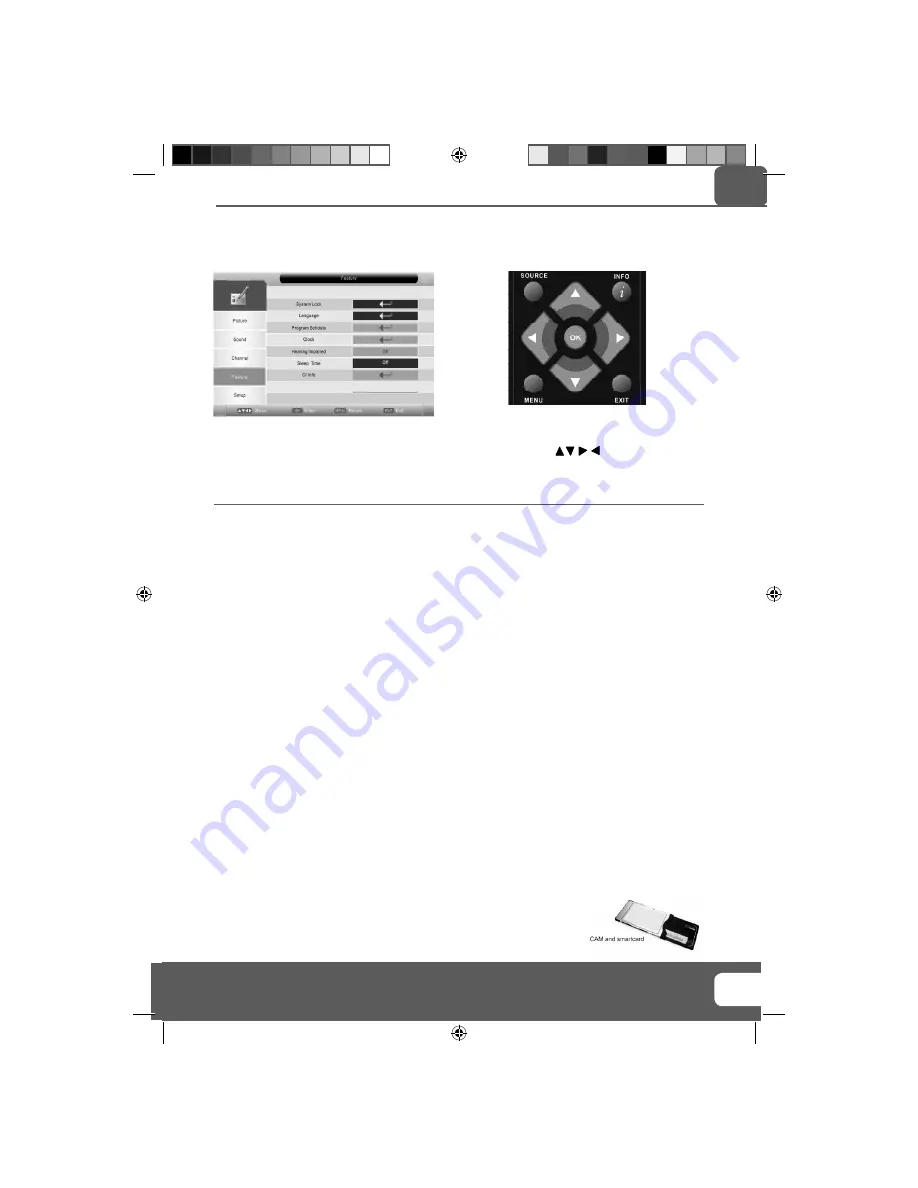
FEATURE MENU
To access this menu, press [MENU] button on the remote control.
If you wish to make changes to any of the default settings, use the scroll
buttons. To confi rm
any settings press [OK] button.
To exit this menu at anytime, press [EXIT] button.
System Lock
- This menu allows you to lock certain features of the television so that they cannot be used
or viewed. For example if you don’t want certain channels viewed by children or if the television is to be
used in a hotel and you want to limit the volume.
When you enter the system lock menu you will be asked for a pin code. As default it is 0000.
You now have the choice to lock any of the following:
System Lock
- Switches all the locks on or off
Key Lock
- Stops the buttons on the television working
Source Lock
– Press [OK] to enter then apply On to lock the source so it can’t be used
Channel Lock
- Press [OK] to enter then apply locks to channels you wish to block. This will lock the
channels of the source you using, i.e. Analogue, Freeview.
Default Source
– You can set the default start up source, so when the television is turned on it goes to this
source, i.e. FREEVIEW, SCART, HDMI etc
Default Channel
- You can set the default start up channel, so when the television is turned on it goes to
this channel.
Maximum Volume
– You can limit the maximum volume
Change Pin Code
– Press [OK] to enter, fi rst enter the current code, then enter your new code and confi rm
your new code. Write the new code here so you don’t forget it ________________
Language
- Lets you adjust the different language options available
Programme Schedule
- Lets you manually set reminders by date, time and number of occasions.
Clock
- Allows you to set the clock (as default the information is taken automatically from the digital TV
signal)
Hearing Impaired
- You can switch on the hearing impaired feature, this provides additional information
and subtitles
Sleep Timer
- Lets you set the sleep timer so the television automatically switches off after a certain
amount of time
Common Interface
- Pay per view services require a “smartcard” to be inserted into the TV.
If you subscribe to a pay per view service the provider will issue you with a ‘CAM’
and a “smartcard”. The CAM can then be inserted into the COMMON INTERFACE
PORT (CI Card In).
TV Menu Operation
AV
E-motion manual No.1.indd Sec1:19
E-motion manual No.1.indd Sec1:19
4/14/2010 10:16:07 AM
4/14/2010 10:16:07 AM


