


24
Using your TV
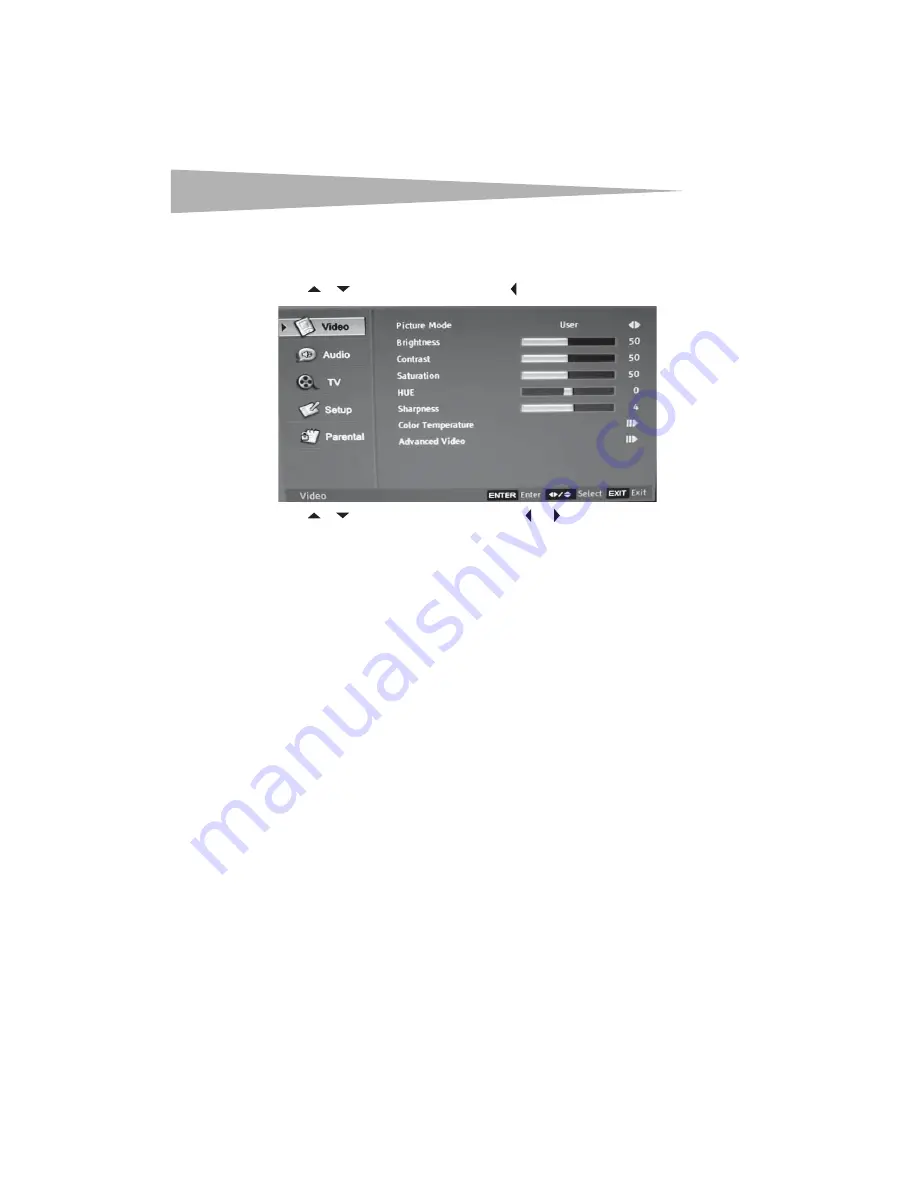
Adjusting the picture
To adjust the picture:
1
Press
MENU
. The OSD opens.
2
Press or to highlight
Video
, then press to enter the
Video
menu.
3
Press or to highlight an option, then press or
to adjust the option. You can
adjust:
•
Brightness
–Increases the brightness to add more light to dark areas of the
picture. Decreases the brightness to add more dark to light areas of the picture.
•
Contrast
–Increases the picture level to adjust the white areas of the picture.
Decreases the picture level to adjust the black areas of the picture.
•
Saturation
–Adjusts the intensity of the colors.
•
HUE
–Adjusts the overall color of the picture.
•
Sharpness
–Increases the sharpness level to show cleaner and clearer images.
Decreases the level to show a smoother picture.
•
Color Temperature
–Changes the color temperature. You can select
Cool
,
Standard
, or
Warm
.
•
Advanced Video
–Accesses advanced video settings such as:
•
DNR
– Reduces video noise in moving images without blurring the picture.
•
Black Level Extension
–Sharpens the image by increasing the black
intensity.
•
White Peak Limiter
–Sharpens the image by adjusting the white.
•
Fleshtone
–Adjusts the fleshtones.
•
Adaptive Luma Control
–Sharpens the image by balancing the brightness
and contrast.
Selecting a picture mode
To select a picture mode:
• Press
PICTURE
one or more times to select the picture mode you want. You can select
User
(a mode you define),
Cinema
,
Sport
,
Vivid
, or
Hi-bright
.


