


14
Navigating the Control Menus
Information Menu
The
Information
menu reports the current status for input video source, image
format and input video type. The
Information
menu may be accessed when no
other menu is displayed on the screen.
1. To display the
Information
menu, press
INFO
button on the remote control.
2. Press
EXIT
on the remote to clear the screen immediately.
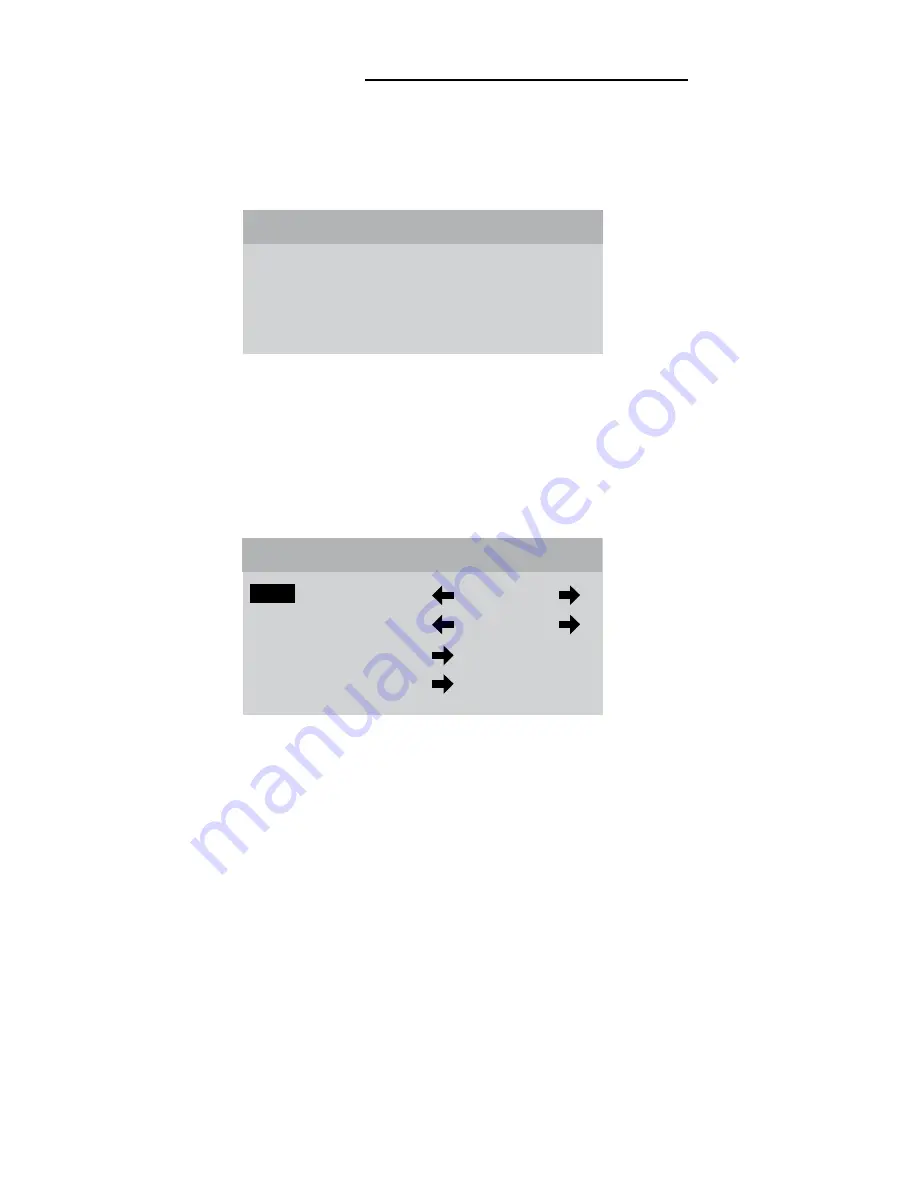
Main Menu
The
Main
menu offers a choice of
Input
selection or
Format
selection, and
navigation options to
Video
controls and
Setup
functions.
1. Press
MENU
to display the
Main
menu.
2. Scroll
up
▲
or
down
▼
the list to highlight the desired option.
3. Press
left
◀
or
right
▶
to move adjust values or navigate to a sub-menu.
4. Press
EXIT
on the remote to clear the screen immediately.
The
Time Out
feature will automatically clear the screen unless another button
on the remote or front panel is pressed.
Information
Input
DVI 1
Format
HD
Video Type
720p
DWIN Plasmaimage
™
Input
DVI 1
Format
HD
Video
Setup


