20
6.1 Activating the 5-minute flush stop (S1)
> Hold the magnetic key in front of the right-hand sensor.
Within approx. 3 seconds, several short signals will sound. Then 1 long signal will sound.
> Remove the magnetic key.
2 short signal tones will sound and then service programme S1 will be selected.
6.2 Activating the intermittent flushing (S2)
> Hold the magnetic key in front of the right-hand sensor.
Within approx. 3 seconds, several short signals will sound. Then 2 long signals will sound.
> Remove the magnetic key.
2 short signal tones will sound and then service programme S2 will be selected.
6.3 Cleaning the dirt filter
The dirt filter can be removed and cleaned without needing to dismantle the stainless steel cover.
A diagram can be found at the end of this document - figures
1
.
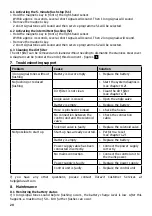
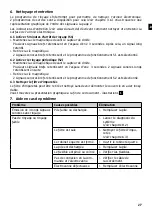
7. Troubleshooting support
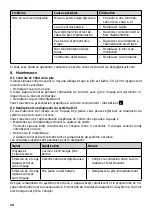
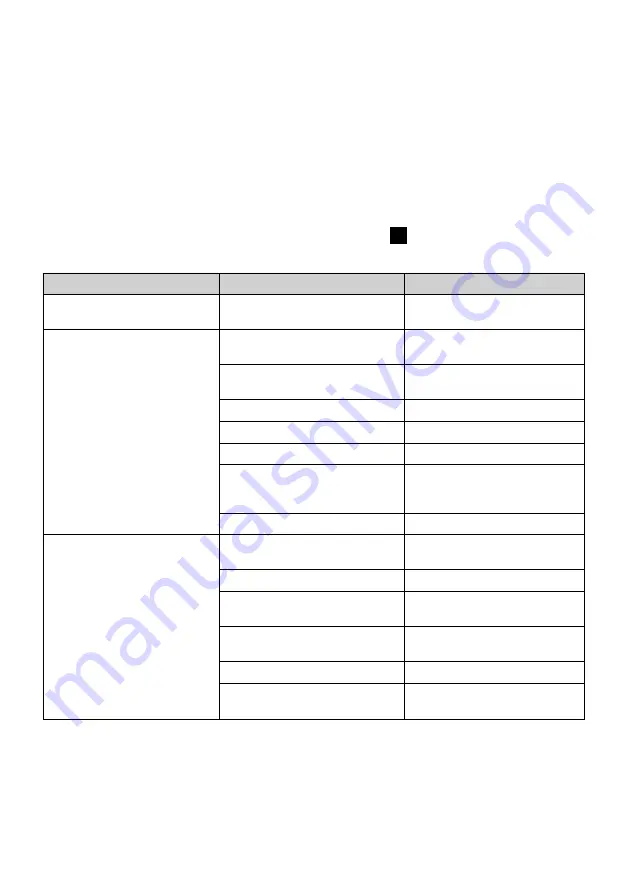
Problem
Cause
Solution
3 long signal tones without
flushing
Battery is low or empty.
> Replace the battery.
No flushing or reduced
flushing
> Start the system diagnosis
(see chapter 8.2).
Dirt filter is not clean.
> Clean the dirt filter
(see chapter 6.3).
Angle valve is closed.
> Open the angle valve.
Battery is empty.
> Replace the battery.
Hose is pinched or kinked.
> Check the hoses.
No connection between the
control unit and the solenoid
valve.
> Check the connection
cable.
Solenoid valve is faulty.
> Replace the solenoid valve.
Not possible to start up
Start-up has already occurred.
> Perform a reset
(see chapter 4.2).
Battery is empty.
> Replace the battery.
Power supply cable has been
connected incorrectly.
> Connect the power supply
correctly.
No mains connection.
> Connect the control unit to
the mains power.
Power supply is faulty.
> Replace the power supply.
Control unit is faulty.
> Replace the control unit.
If you have any other questions, please contact Duravit Customer Services at
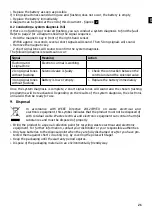
8. Maintenance
8.1 Monitoring the battery status
If 3 long signal tones sound before flushing occurs, the battery charge level is low. After this
happens, a maximum of 50 – 100 further flushes can occur.
Summary of Contents for DuraStyle
Page 2: ...3 s 1 s S1 1 s S2 1 s P1 1 s P2 6 s 6 s S4 1 s S5 S3 ...
Page 4: ......
Page 6: ...6 ...
Page 210: ......
Page 218: ......
Page 219: ...1 0 6 Nm 2 1 2 0 6 Nm ...


