background image

0099001766-02

MODEL

:


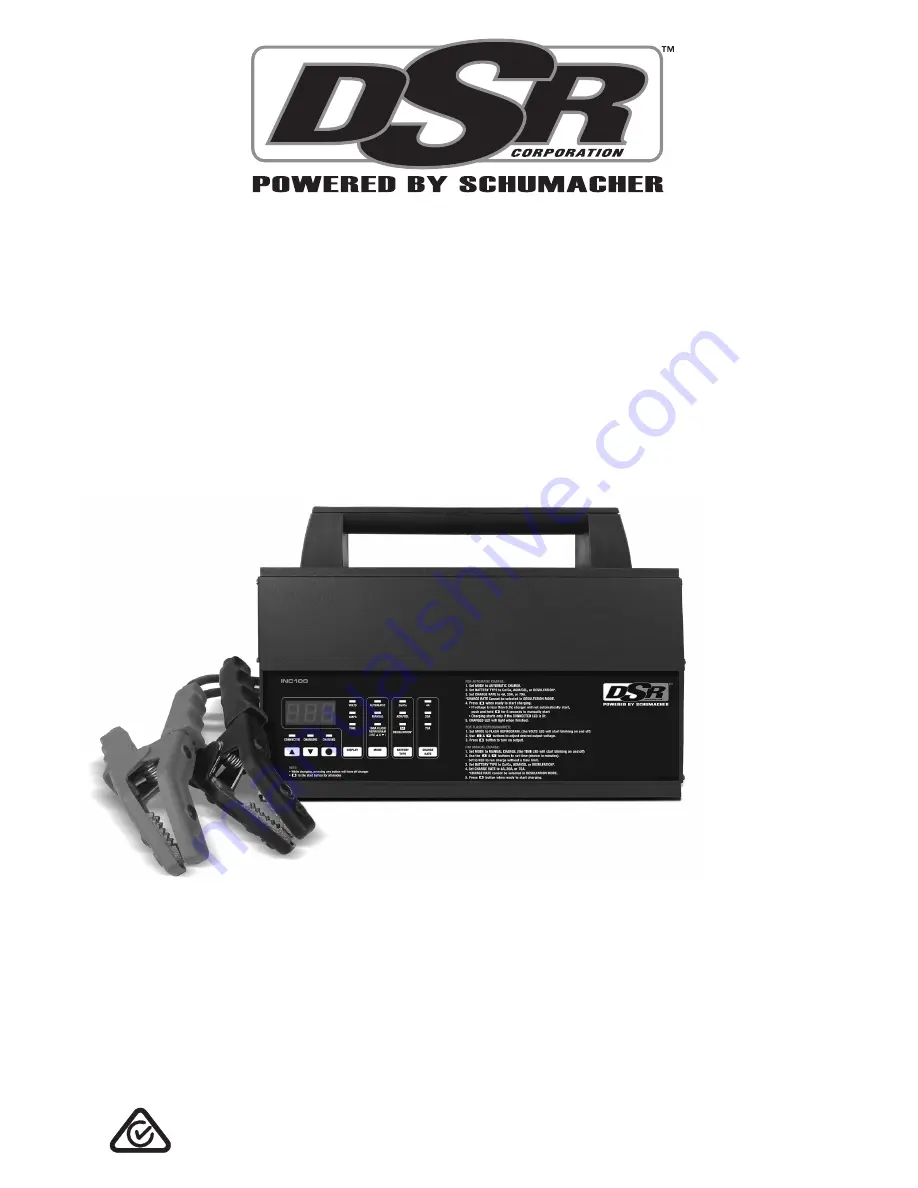
INC100

Battery Charger/ 

Power Supply

OWNER’S MANUAL

PLEASE SAVE THIS OWNER’S MANUAL AND READ BEFORE 

EACH USE. 

This manual will explain how to use the unit safely 

and effectively. Please read and follow these instructions and 

precautions carefully.

Summary of Contents for INC100

Page 1: ...ery Charger Power Supply OWNER S MANUAL PLEASE SAVE THIS OWNER S MANUAL AND READ BEFORE EACH USE This manual will explain how to use the unit safely and effectively Please read and follow these instructions and precautions carefully ...

Page 2: ...p out of reach of children Disconnect the mains cable before connecting or disconnecting the clamps Use in a well ventilated area WARNING RISK OF ELECTRIC SHOCK OR FIRE 1 1 To reduce the risk of damage to the electric plug or cord pull by the plug rather than the cord when disconnecting the charger 1 2 An extension cord should not be used unless absolutely necessary Use of an improper extension co...

Page 3: ...ur skin clothing or eyes 2 6 If battery acid contacts your skin or clothing immediately wash the area with soap and water If acid enters your eye immediately flood the eye with cold running water for at least 10 minutes and get medical attention right away If battery acid is accidentally swallowed drink milk the whites of eggs or water DO NOT induce vomiting Seek medical attention immediately 3 PR...

Page 4: ...s or sheet metal body parts Connect to a heavy gauge metal part of the frame or engine block 5 6 For a positive grounded vehicle connect the NEGATIVE BLACK clip from the battery charger to the NEGATIVE NEG N ungrounded post of the battery Connect the POSITIVE RED clip to the vehicle chassis or engine block away from the battery Do not connect the clip to the carburetor fuel lines or sheet metal bo...

Page 5: ...e for mounting only on concrete or other non combustible surfaces To permanently mount the charger use the following instructions 8 1 Slide all 4 brackets Item 1 into the track on the back from the right side as shown above Make sure the set screws Item 2 are unscrewed enough so they do not scratch the surface of the housing 8 2 Measure what you are mounting the charger to before deciding where to...

Page 6: ...attery terminals If the reading is 12 8 volts or more the battery is charged AMPS Ammeter The ammeter indicates the amount of current measured in amps that is being drawn by the battery 2 amps NOTE The 70 amp charge rate cycles between 20 amps and 70 amps during the charging process and the ammeter will show this This is a normal condition TIME Timer Range 10 minutes to 120 minutes Used only in ma...

Page 7: ...TING INSTRUCTIONS Battery Information This charger can be used with 12V batteries with rated capacities of 12 Ah to 111 Ah Charger Operation NOTE Once automatic charging or flash reprogramming has started the buttons will not work until you turn off the output with the exception of In MANUAL mode and also still operate normally When the display shows no buttons will work for five seconds as the ch...

Page 8: ...under 1 volt press and hold for five seconds to start Automatic Charging or use manual mode to pre charge the battery for five minutes to get additional voltage into the battery for the charger to analyze Aborted Charge If charging cannot be completed normally charging will abort When charging aborts the charger s output is shut off the CHARGING yellow orange LED will go out and the digital displa...

Page 9: ...er could display inconsistent values for such a battery For a more accurate reading the surface charge should be removed by temporarily creating a load on the battery such as by turning on lights or other accessories for a couple of minutes before you read the display Read it a couple of minutes after you have shut the headlights off Testing Sequence There are seven basic steps required to test th...

Page 10: ...rosion and other dirt or oil from the terminals cords and the charger case 12 3After every 100 hours or whenever you see dust accumulating on the fan blades you should clean both fans using compressed air as shown NOTE Use the compressed air on the fan blades only Do not blow dirt into the fan shaft or bearing These fans push a lot of air and are precision balanced Excessive dirt and grime buildup...

Page 11: ...ery will not take a charge have it checked No problem this is a normal condition Continue to charge the battery and see Battery Percent and Charge Time section Charge Rate subsection The battery is connected and the charger is on but is not charging Battery is severely discharged automatic mode only If your battery does not have 1 volt you must press and hold for five seconds Charger has shut down...

Page 12: ...cted or modified in relation to consumer goods Consumer End User Warranty Any claims under this warranty must be communicated to Reseller within 2 months after discovery of the non conformity Resellers Professional End User Warranty The Manufacturer provides a limited warranty for hidden defects or non conformities This warranty is subject to the following conditions a The Manufacturer only warran...

Page 13: ... condition that they assume all warranty obligations with the total exclusion of any warranty provided by the Manufacturer Manufacturer does not provide any warranty for any accessories used with the Product that are not manufactured by Schumacher Electric Corporation This warranty does not exclude or diminish any claims the Manufacturer may have against the distributors of The Product THE MANUFAC...

Page 14: ...er Cory Watkins President November 25 2015 Hereby declares that the equipment Model INC100 is compliant to the DIRECTIVE 2011 65 EU OF THE EUROPEAN PARLIAMENT AND OF THE COUNCIL of 8 June 2011 RoHS on the restriction of the use of certain hazardous substances in electrical and electronic equipment and ITS SUBSEQUENT AMENDMENTS DIRECTIVE EU 2015 863 while The parts do not exceed the maximum concent...

Page 15: ... 15 ...

Reviews: