FIG.1
drapertools.com
RDKC0216
3. ASSEMBLY
AND
USE
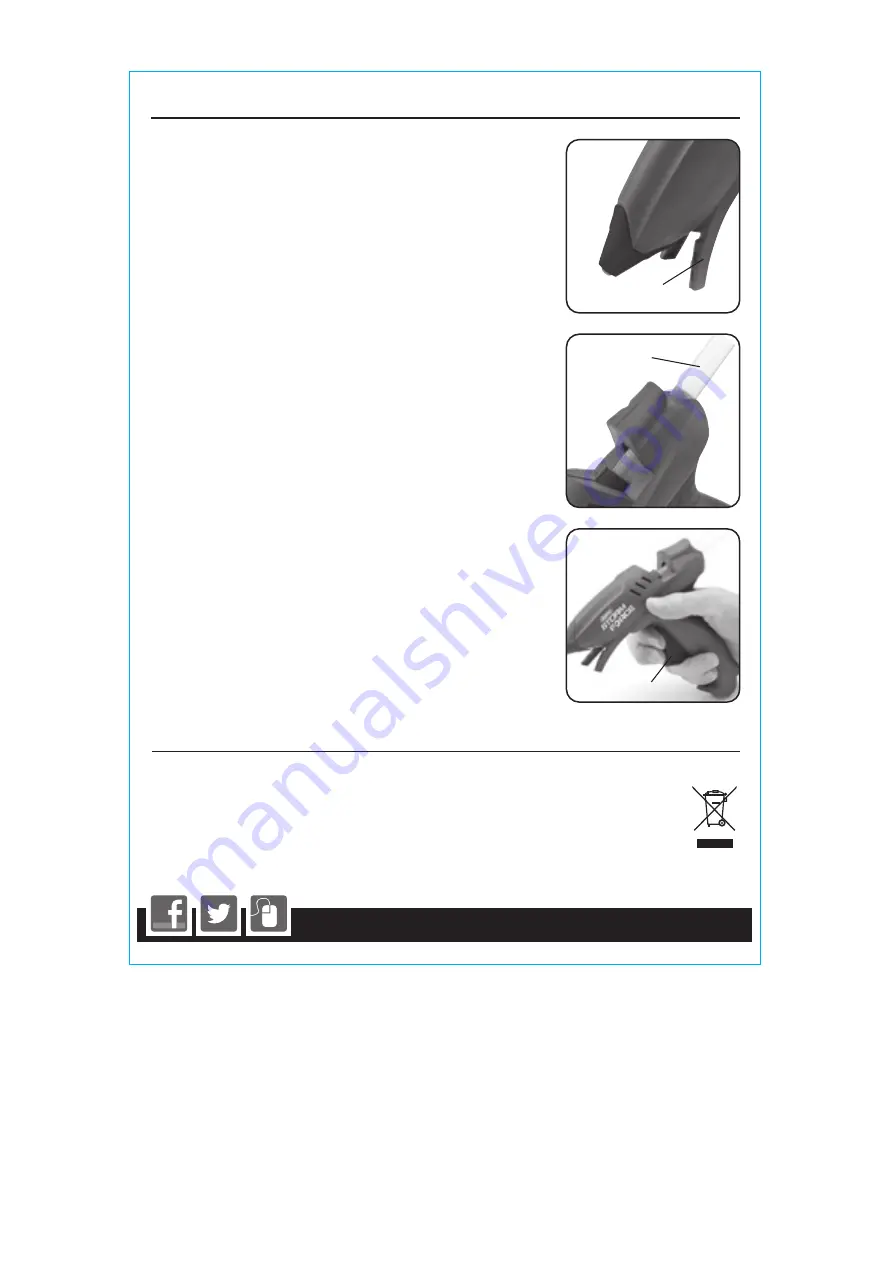
4.1 SUPPORT STAND - FIG. 1
The built in support stand
allows for safe positioning of the gun
between glueing operations and for storage when not in use.
4.2 OPERATION - FIG. 2
Plug into wall socket and Insert the glue stick into the gun through the
feeder tube
. Then allow glue gun to heat up (5 mins approx).
To further load the stick into the gun, squeeze the trigger several
times. Apply glue to one of the two materials and press together
within 15-20 seconds. The glue will set hard in approximately 1minute.
When the glue stick has been used, a second stick will have to be used
to push out the remains of the previous stick.
4.3 TRIGGER - FIG. 3
To start the flow of hot glue, squeeze trigger
.
The trigger may require several operations initially to begin flow.
The glue sticks must be allowed to heat fully to flow properly.
WARNING: If hot glue comes into contact with skin, a serious burn may
occur.
Run burn under cold water for several minutes and seek medical
attention if required.
Residual glue in the chamber of this glue gun may result in dripping.
Ensure that work surface is suitably protected from dripping glue.
Avoid contact with the hot nozzle.
5. DISPOSAL
5.1 DISPOSAL
- At the end of the machine’s working life, or
when it can no longer be repaired, ensure that it
is disposed of according to national regulations.
- Contact your local authority for details of
collection schemes in your area.
In all circumstances:
• Do not dispose of power tools with domestic
waste.
• Do not incinerate.
• Do not abandon in the environment.
• Do not dispose of WEEE*
as unsorted municipal waste.
* Waste Electrical & Electronic Equipment.
FIG.3
FIG.2


