Download the App
Download and install the MMA-A App from the Apple App Store.
The MMA-A can be used right out of the box but to take full advantage of it, please refer to these
instructions to get started using the MMA-A App.
Please note that the MMA-A will
work with most 3
rd
-party apps and
therefore can be used in various
situations including live broadcasts, as
well as audio and video recordings.
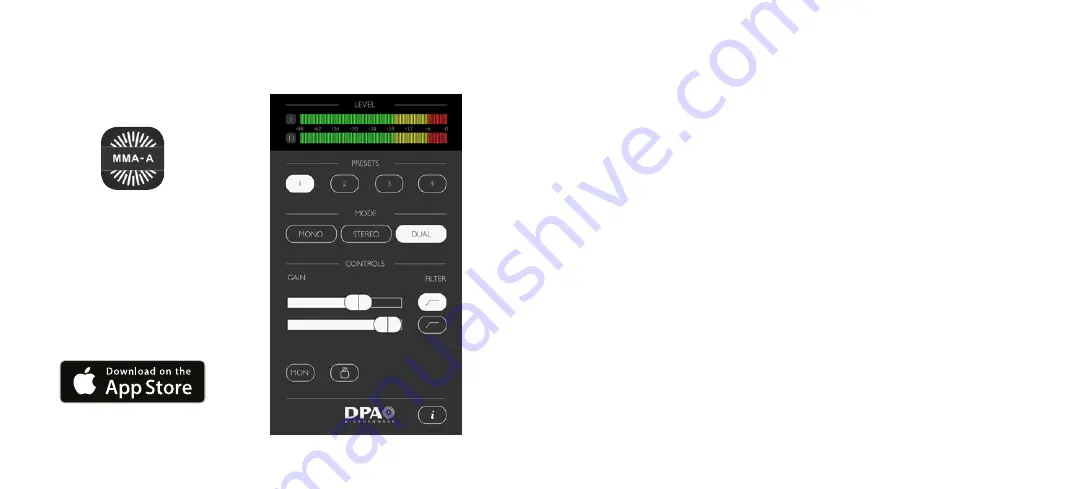
GAIN
Use the GAIN slider to adjust input levels. Slide
to the right to increase amplification, to the left
to decrease. Make sure to keep an eye on the
level meters when you are adjusting gain. The
meters should stay in the green and yellow areas.
FILTER
The FILTER button (low cut) cuts out unwanted,
low-end frequencies (rumble) that can decrease
the intelligibility of your recorded audio. In most
cases we suggest using the FILTER button and if,
for example, you are recording outside near a
road with traffic, this setting is essential.
MONITOR
Use the MON button to send audio to your
headphones so you can hear what you are
recording. Please note that a headphone must
be connected to the iOS device, otherwise the
button will not activate and you’ll be prompted
to connect a headset. If the headset includes
a microphone it
must
be connected prior
to connecting the MMA-A via the Lightning
connector. This is due to the iOS ‘last entry
active’ nature of operation. (We recommend
using a wireless headset when using an
iPhone 7 and beyond. Please note that this
adds additional latency due to the bluetooth
connection.)
LOCK
Use the LOCK button to block 3rd party apps
from controlling gain. Gain settings can be
controlled and saved on the MMA-A for use
in your favorite recording / broadcasting apps.
The lock button also controls the setting of the
low cut / high pass filter. Saved locked settings
are automatically activated the next time you
connect to the MMA-A. The lock also stays
active when connecting the MMA-A to a PC
or Mac.


