Connecting to PC
15
14
Connecting to PC
OSD Control
To connect the monitor to the PC, please follow these instructions:
1. Connect HDMI cable to the PC. Tighten all the screws.
2. Connect HDMI cable to the HDMI connector on the back of the monitor. Tighten all the screws.
3. Connect one end of the power cord to the AC adaptor and the other end to the AC power outlet.
4. Connect DC adaptor cable to the power input connector on the back of the monitor.
5. Turn On the monitor and PC.
6. Adjusting display resolution of PC
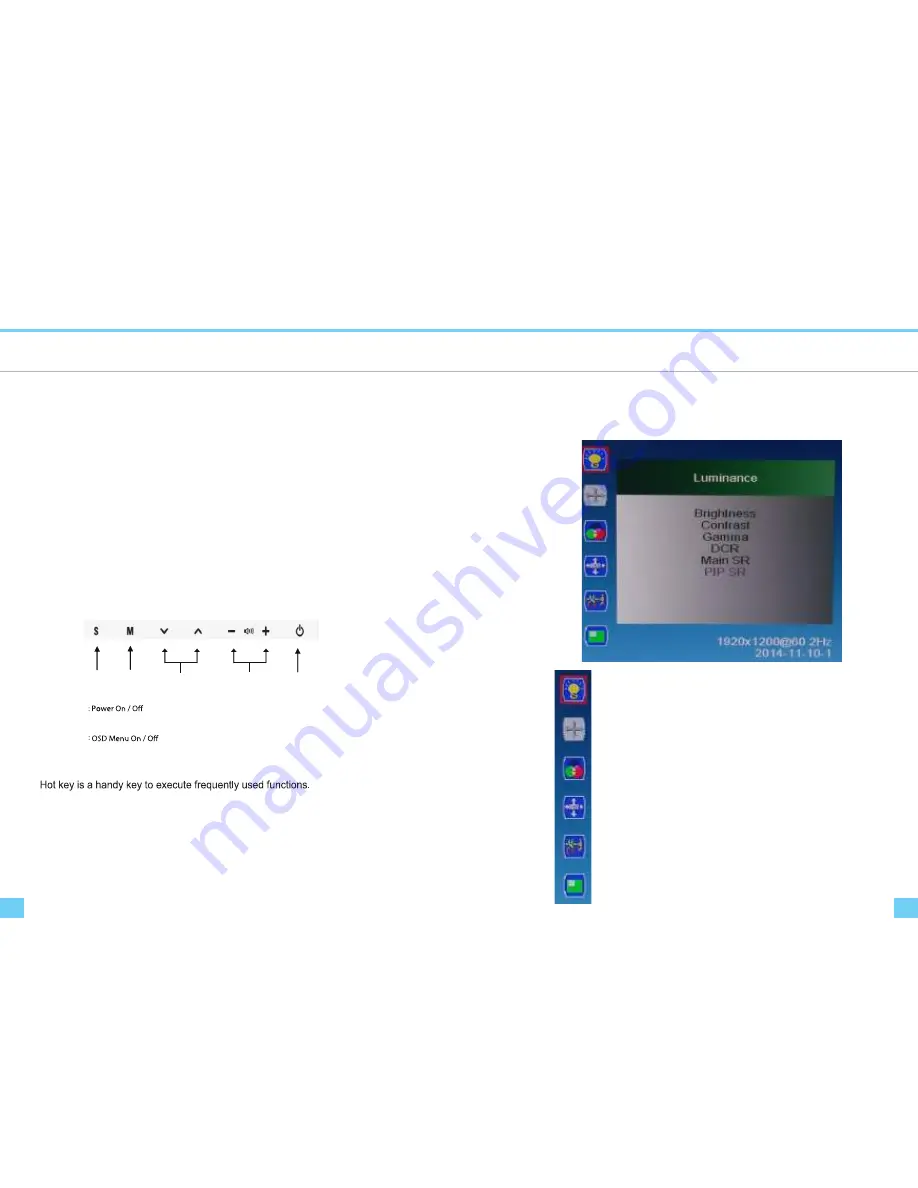
This monitor does support OSD Menu control function.
- Resolution : 3,840 X 2,160
- Refresh Rate :30Hz/ 60 Hz
④
③
②
①
①
: Input Source Select / OSD Sub Menu Select
②
③
: Volume Up & Down / OSD Menu Left & Right
④
: OSD Menu Up & Down / Channel Up & Down
⑤
⑤
Adjusting the Monitor Screen
How to adjust monitors
UP DOWN VOL+ VOL- MENU SOURCE
DOWN : PIP Size Adjusting
UP : Conversion PIP,PBP
④VOL+, VOL- : Controls the speaker volume
OSD Functions Description
OSD Menus
Luminance
.
- Adjust screen’s Brightness, Contrast,Gamma and Color
Temperature.
Color
- Adjust screen's Color, and Color Temperature.
OSD Settings
.
- Adjust OSD Menu time, OSD position and OSD transparency.
Setup.
-
- Adjust Language, Mute,Input and OSD Over Scan.
⑤
⑤
Adjust Select PIP/PBP,Select Input PIP,PIP Size, and PIP Size.
Picture Mode


