background image

22

OPERATING THE DG-HD0211

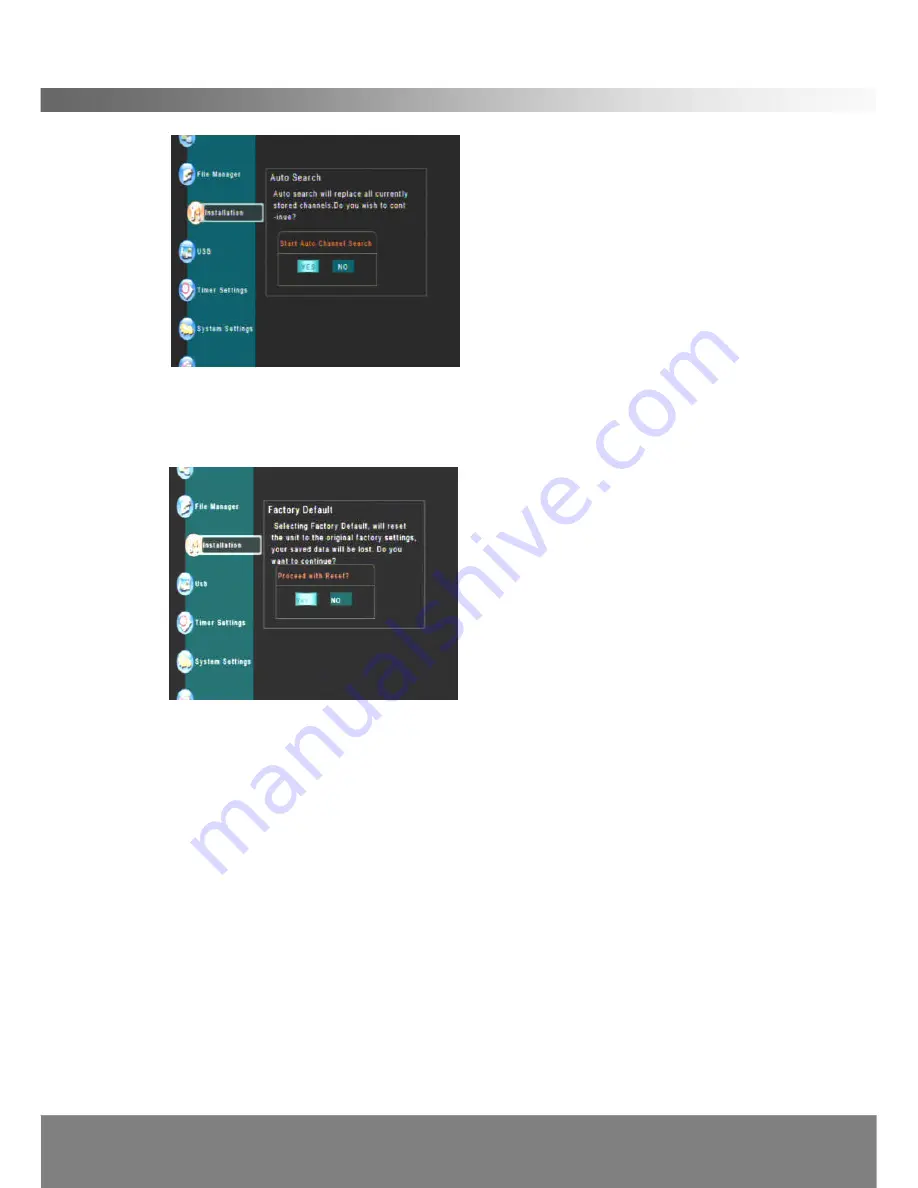
< Factory Default >

Deletes all the data and settings currently saved and brings the system to the initial

state.

(

The default password is 0000.)

<Version Info >

If you press

OK

on Version Info in Installation Menu, important information such as

the software version is displayed. Prior to initiating a software upgrade it is

recommended that you note the software version details displayed here. After

completing the software upgrade you should return to this menu to verify that a new

software version was installed.

3.2.7 USB

Use

▲ /▼

buttons to select the USB Menu, press

OK

and the following screen will

appear.

< USB File >

You can view and access files in a USB storage device. Only MP3 audio files

JPEG or BMP images and recordings made on this device can be viewed. (Might

not be compatible with all devices)

Summary of Contents for DG-HD0211

Page 1: ......

Page 2: ...his product or require set up assistance please contact the DGTEC Service Centre The call is free from anywhere in Australia Our operators will assist you in plain English without the technical jargon...

Page 3: ...2 1 Connecting to Equipment 10 2 2 First time installation 12 2 3 Switching programs 12 2 4 Volume control 12 2 5 Mute 12 2 6 Freezing picture 12 2 7 Change screen aspect Aspect Ratio 13 2 8 Switch b...

Page 4: ...te List in Simple Mode 24 3 5 TeleText 24 RECORDING GUIDE 25 4 1 Instant Recording 25 4 2 Scheduling Recordings 25 4 3 Schedule Recordings With The Electronic Program Guide EPG 27 4 4 Pause And Catch...

Page 5: ...ical shock do not expose the appliance to water Ensure that objects filled with liquids such as vases are not placed on the set top box If an object or liquid gets into the unit disconnect the plug an...

Page 6: ...SCRIPTION 1 1 Package Content Please make sure the following accessories are supplied with the STB High Definition Digital Set Top Box Remote Control RCA Composite Video Audio Cable Batteries AAA Size...

Page 7: ...t program to the previous next channel 4 Front Panel Display Front panel window displays information concerning current operation such as Channel number 5 Port for USB Pull the right edge of the front...

Page 8: ...plifier with S PDIF Optical Digital Audio optional 4 HDMI Connector Connects High Definition Multimedia output to HD Monitors HDMI Type 5 VIDEO Yellow RCA Connects to a TV with yellow video input to o...

Page 9: ...hannel or moves the cursor in the menu 11 Left Right Adjusts volume or moves the cursor in the menu 12 MENU Press to display the Main Menu 13 PAGE PAGE Press to page up down in the channel list 14 OK...

Page 10: ...w and old batteries or batteries of different types 4 If you don t intend to use the remote controller for an extended period remove the batteries to prevent possible leakage and corrosion 5 Do not dr...

Page 11: ...IGH DEFINITION TELEVISION HDTV OPTION 1 HDMI connection ii Connect the HDMI Out on the STB to HDMI In on the HDTV using a HDMI cable not provided OPTION 2 High Definition connection using YPbPr cables...

Page 12: ...n the STB and the AV in sockets at the rear of the TV Optional Connect Optical S PDIF out connector on the STB to the Audio Amplifier using optical cable Note Please ensure that your TV is set to the...

Page 13: ...een you can press MENU key to bring up the main menu 2 3 Switching programs i Press the NUMERIC keys 0 9 on the remote control to select the channel number you want ii Alternatively press the key on t...

Page 14: ...d Captions Press the SUBTITLE key to switch Closed Captions subtitle On or Off NOTE Closed Captions are present only if the broadcaster provides the service 2 11 Teletext service i Press the TEXT key...

Page 15: ...lt Version Info USB File USB Upgrade USB Format USB Disconnect USB Test Timer List OPERATING THE DG HD0211 3 1 Main Menu 1 Press MENU key to bring up the main menu 2 Press key to move left right to th...

Page 16: ...formation 3 2 1 Timer setting You can program the STB to perform a certain event at a specified time using the Timer Settings Entering Timer Settings will show the following screen below Use the butto...

Page 17: ...et the recording duration press the numerical buttons to change the settings 3 2 2 System Settings Return to the main Menu page Scroll down to select the System Settings icon and press OK The followin...

Page 18: ...Combined depending on TV Screen type Otherwise the picture will look elongated or in a Letter box format Play Settings In this menu you can use the keys to select the item and the keys to change the...

Page 19: ...g daylight saving period 3 2 3 Channel Manager Enter the default password Password 0000 unless you have created a new password Channel Manager allows you to manage the channels scanned by the STB You...

Page 20: ...e control to add the channel to the current favorites list One channel can be selected for more than one favorite list You can change between favorite lists by pressing the FAV button You may access t...

Page 21: ...ve PG and Above M and Above etc Password Set The default password is 0000 To change the current PIN code input the current PIN code then input the new PIN code You must confirm this new PIN code again...

Page 22: ...screen will appear 2 Use the button to select the item and change the settings with the and number 0 9 buttons Used to change input frequency 3 Once the settings have been entered then press the OK b...

Page 23: ...tiating a software upgrade it is recommended that you note the software version details displayed here After completing the software upgrade you should return to this menu to verify that a new softwar...

Page 24: ...Test In this menu can calculate out whether the USB drives what you had inserted suit for recording or not Note A Storage Media Must Be Connected to the DG HD0211 USB Port Do not remove the USB device...

Page 25: ...of the highlighted program Press the Green button to schedule a recording Press the EXIT button to exit the EPG 3 4 TV Radio and Favorite List in Simple Mode If you press OK on the remote control whi...

Page 26: ...following will appear on the TV for 5 secs The following icon will then appear on the top right hand corner of the TV for 10 seconds The first 4 digits indicate the channel and the remaining 6 digits...

Page 27: ...Daily Execute event once a day every day Weekly Execute event once a week every week Event This enables the executable events Available options are Power Off Switch OFF the STB Record Record a program...

Page 28: ...ing screen will appear Press the Blue button on the remote to select Alter from the EPG menu The following will appear at the bottom of the EPG menu Select the program you wish to record by navigating...

Page 29: ...11 consumes 15 25 less energy than in full operational mode 4 5 Record One Channel And Watch A Second Channel At The Same Time Unlike other single tuner STBs the DG HD0211 allows you to record a progr...

Page 30: ...Press EXIT to stop playing photographs and music files You can use the FF and REW buttons to Fast Forward Skip and Rewind Review recorded contents and music files Note Only TV programs recorded by th...

Page 31: ...Picture quality will vary compared to HD ready TV s however accessing the additional HD stations is still applicable 3 What are the added benefits of a HD STB The added benefits of a HD STB include S...

Page 32: ...lution No Power Check the power cord for defects Check mains power switch is on No Reception Check the Signal Strength Indictor and check the antenna cable has been inserted correctly No Sound Volume...

Page 33: ...ideo SD Video Output Type CVBS Algorithm MPEG 1 layer I and II Ac3 Frequency Response 20Hz 20k Hz 0 6dBu Sampling Frequency 32 44 1 48KHz Audio Output Type Stereo RCA photo jack Audio Digital Audio Ou...

Reviews: