Risk of child entrapment. Junked or abandoned appliances are still dangerous. Before you
throw away your old freezer, take off the door but le ave the shelves in place so that children
may not easily climb inside. Never allow children to operate, play with or crawl inside the
appliance.
Do not use solvent-based cleaning agents of abrasives on the interior. These cleaners may
damage or discolour the interior.
Do not use this freezer for other than its intended purpose.
2. INSTALLATION INSTRUCTIONS
2.1 Notes on setting up the appliance
When selecting the location, observe the following instructions:
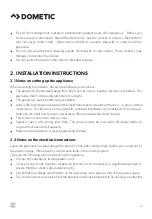
The appliance should stand away from heat sources (ovens, heating devices or radiators). The
appliance must not be exposed to direct sunlight.
The appliance must be sufficiently ventilated.
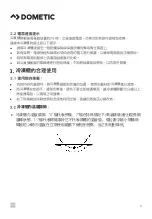
Allow sufficient clearance between the chest freezer and side wall so the door (s) open without
obstruction. This freezer is not designed for recessed installation. Allow at least 10 cm of space
between the sides and the wall, and at lease 30cm between head and the top.
The location must not be damp or wet.
Select a space with strong level floor. The ground must be level and sufficiently stable to
support the freezer at full capacity.
Make sure the appliance is level by adjusting the feet.
2.2 Notes on the electrical connections
Leave the appliance to stand upright for about 2 hours after transporting, before you connect it to
the power supply. Otherwise this could cause faults in the cooling system.
Observe the following when connecting the appliance:
Connect this appliance to a separate circuit.
In case of any doubt, have the receptacle and the circuit checked by a qualified electrician to
ensure that the socket is grounded correctly.
Check that the voltage specification on the type plate is the same as that of the power supply.
The cord must rest securely behind the appliance and not be allowed to lie or hang unprotected.
3
EN
Summary of Contents for DSF 900
Page 1: ...REFRIGERATION UPRIGHT FREEZER EN ZH DSF 900 UPRIGHT FREEZER Installation and O perating manual...
Page 7: ...1 ZH 7...
Page 8: ...2 30cm 10cm 120 10 10 8 ZH...
Page 9: ...3 0 7 1 7 9 ZH...
Page 10: ...10 ZH...
Page 11: ...11 ZH 4 4 4...

